So, what does The Purple Stiletto do with things that most people would throw away? Get creative, of course!
I was presented with some clear glass bottles, the contents having long since been enjoyed. The texture was exactly what I was looking for! This made things interesting and, in some way, made my job easier.
I started by gathering the supplies that I would need for a day of creativity….and waiting for paint to dry.
- Empty bottles … check!
- X-I-M primer (because it sticks to glass) … check!
- Metallic spray (bronze because I’m currently on a dark metallic kick) … check!
- Latex paint for topcoat (way more than I needed but it was a mistint gallon I changed to suit my mood) … check!
- Denatured alcohol & rags for distressing … also check!
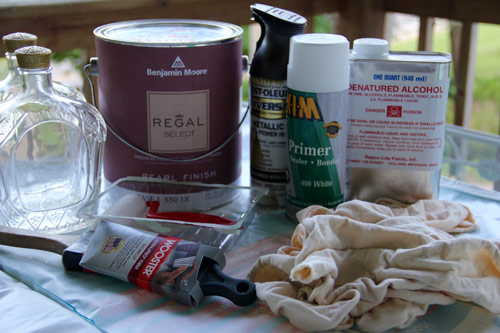
With my supplies gathered together, I was ready to prime my glass. Now, I should mention that all adhesive residue and grease had been cleaned from the bottles before I started this project. Also, I realized that the lids may not screw back on correctly if the threads had been painted over, so I decided to tape the opening of the bottles to be on the safe side.
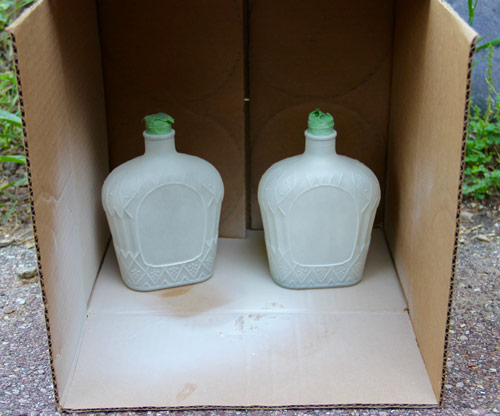
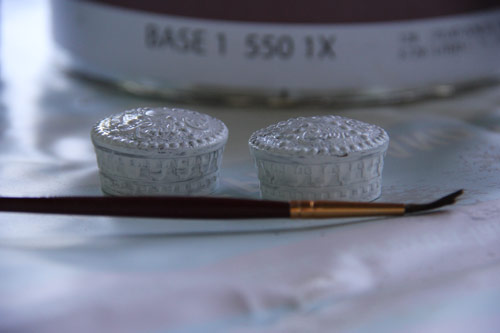
While I waited for the primer on the glass to dry, I painted the caps with a very small artist brush and practiced walking around in my stilettos.
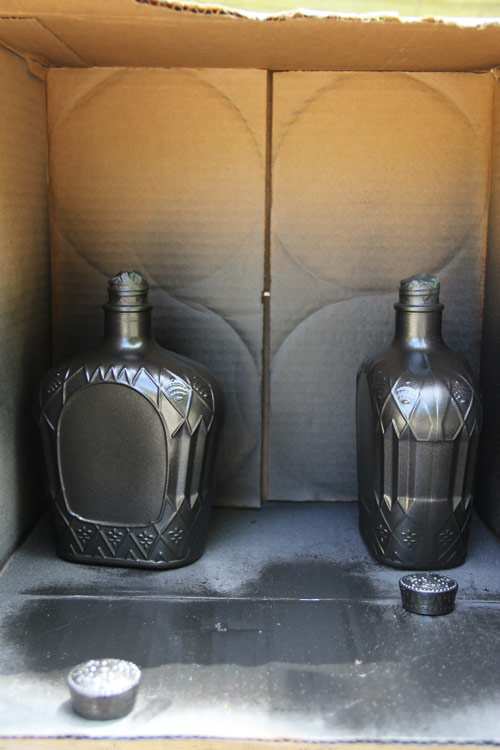
After letting the primer COMPLETELY dry on both the bottles and lids (and with aching feet!), I sprayed a couple basecoats of the bronze metallic according to the can instructions. This one specifically said to spray multiple light coats in a one hour window. And, being that it was quite humid when I did this project, it took all of my patience to let the paint dry all the way before moving on to the topcoat.
After some lunch and a short walk with the dog (not in stilettos), my paint was FINALLY dry! I decided to try rolling the latex topcoat. I have done other projects that I brushed out and was not really happy with the brush strokes. This is nothing but a game of trial and error. As I found out, I did not like the rolling any better. Next time, I think I will try spraying.
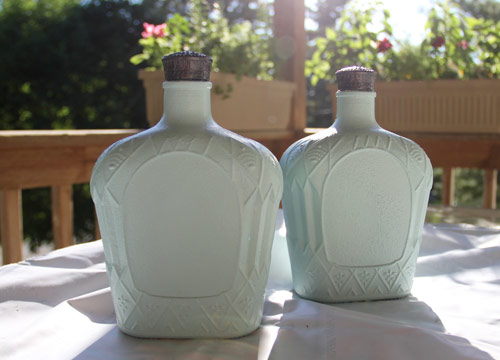
Two coats of latex (and more waiting) later, it was finally time to see what I could create!
Now, I will say I was going to just use a rag to wipe on the denatured alcohol but too much dry time gives one plenty of time to think of other ways to distress.
In the end, I began with a gray scuff pad lightly dipped in the alcohol. I did not want to put too much on, for fear it would eat away more paint in certain areas than I would like. I alternated between the scuff pad and rags, taking off paint only on the raised areas.
When I was happy with the raised areas, I moved on to the center of the bottle. For this, I tried a couple different techniques. The one I liked the best was cutting through certain areas with a piece of sandpaper. Just as I was getting to the metallic layer, I switched to denatured alcohol and a rag. From there, I was able to “buff out” the rough edges made by the sandpaper and reveal just the right amount of bronze. I could plan the “wear spots.”
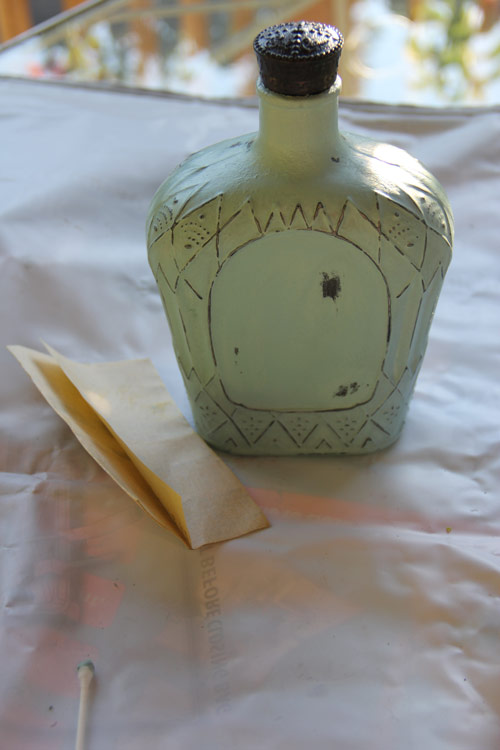
The other technique I tried was just continuously wiping the whole center section with alcohol until the bronze wore through. I did not like this as well because I felt it looked a little splotchy when it was done. I much prefer the “planned aging” look!
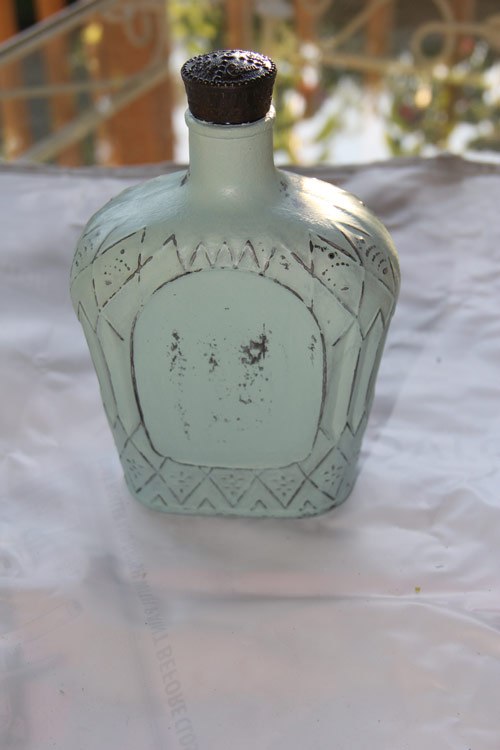
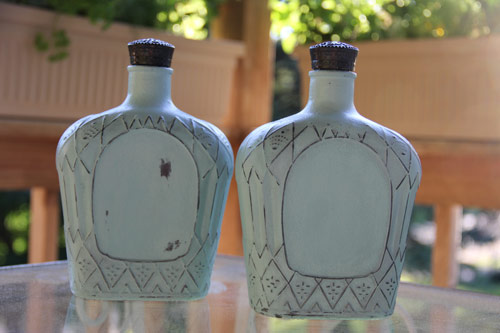
I left one bottle center plain. I think it could be used for a monogram or initial. The jury is still out on what to use the blank space for. Perhaps the Purple Stiletto symbol (which I have yet to create)? These are the two completed bottles. Just another day’s work. The Purple Stiletto crafts again!


Loved reading your inspired ramblings! Delightful! I just distressed some mason jars (my first) and plan to use them with fresh flowers as a centerpiece. I can’t wait to try a royal crown bottle! Thank you for sharing! Loved it!