Lesson Three In Furniture Refinishing: There’s Always a Fix!

Now, the last post may have left you wondering whether our chemical stripping had ACTUALLY led to success. Were the very sweaty hands in heavy rubber gloves really worth it? Was it really worth the extra expense of buying a stripper?

The undeniable answer is ABSOLUTELY YES!!

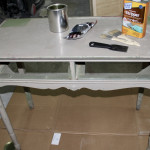
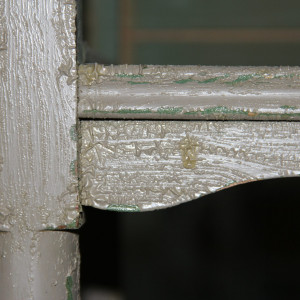
As we slowly scraped away the chemical stripper with a plastic putty knife (yes, that is important because we didn’t want to risk scraping the wood) we saw that the paint on the top wasn’t hiding problems but amazing potential.
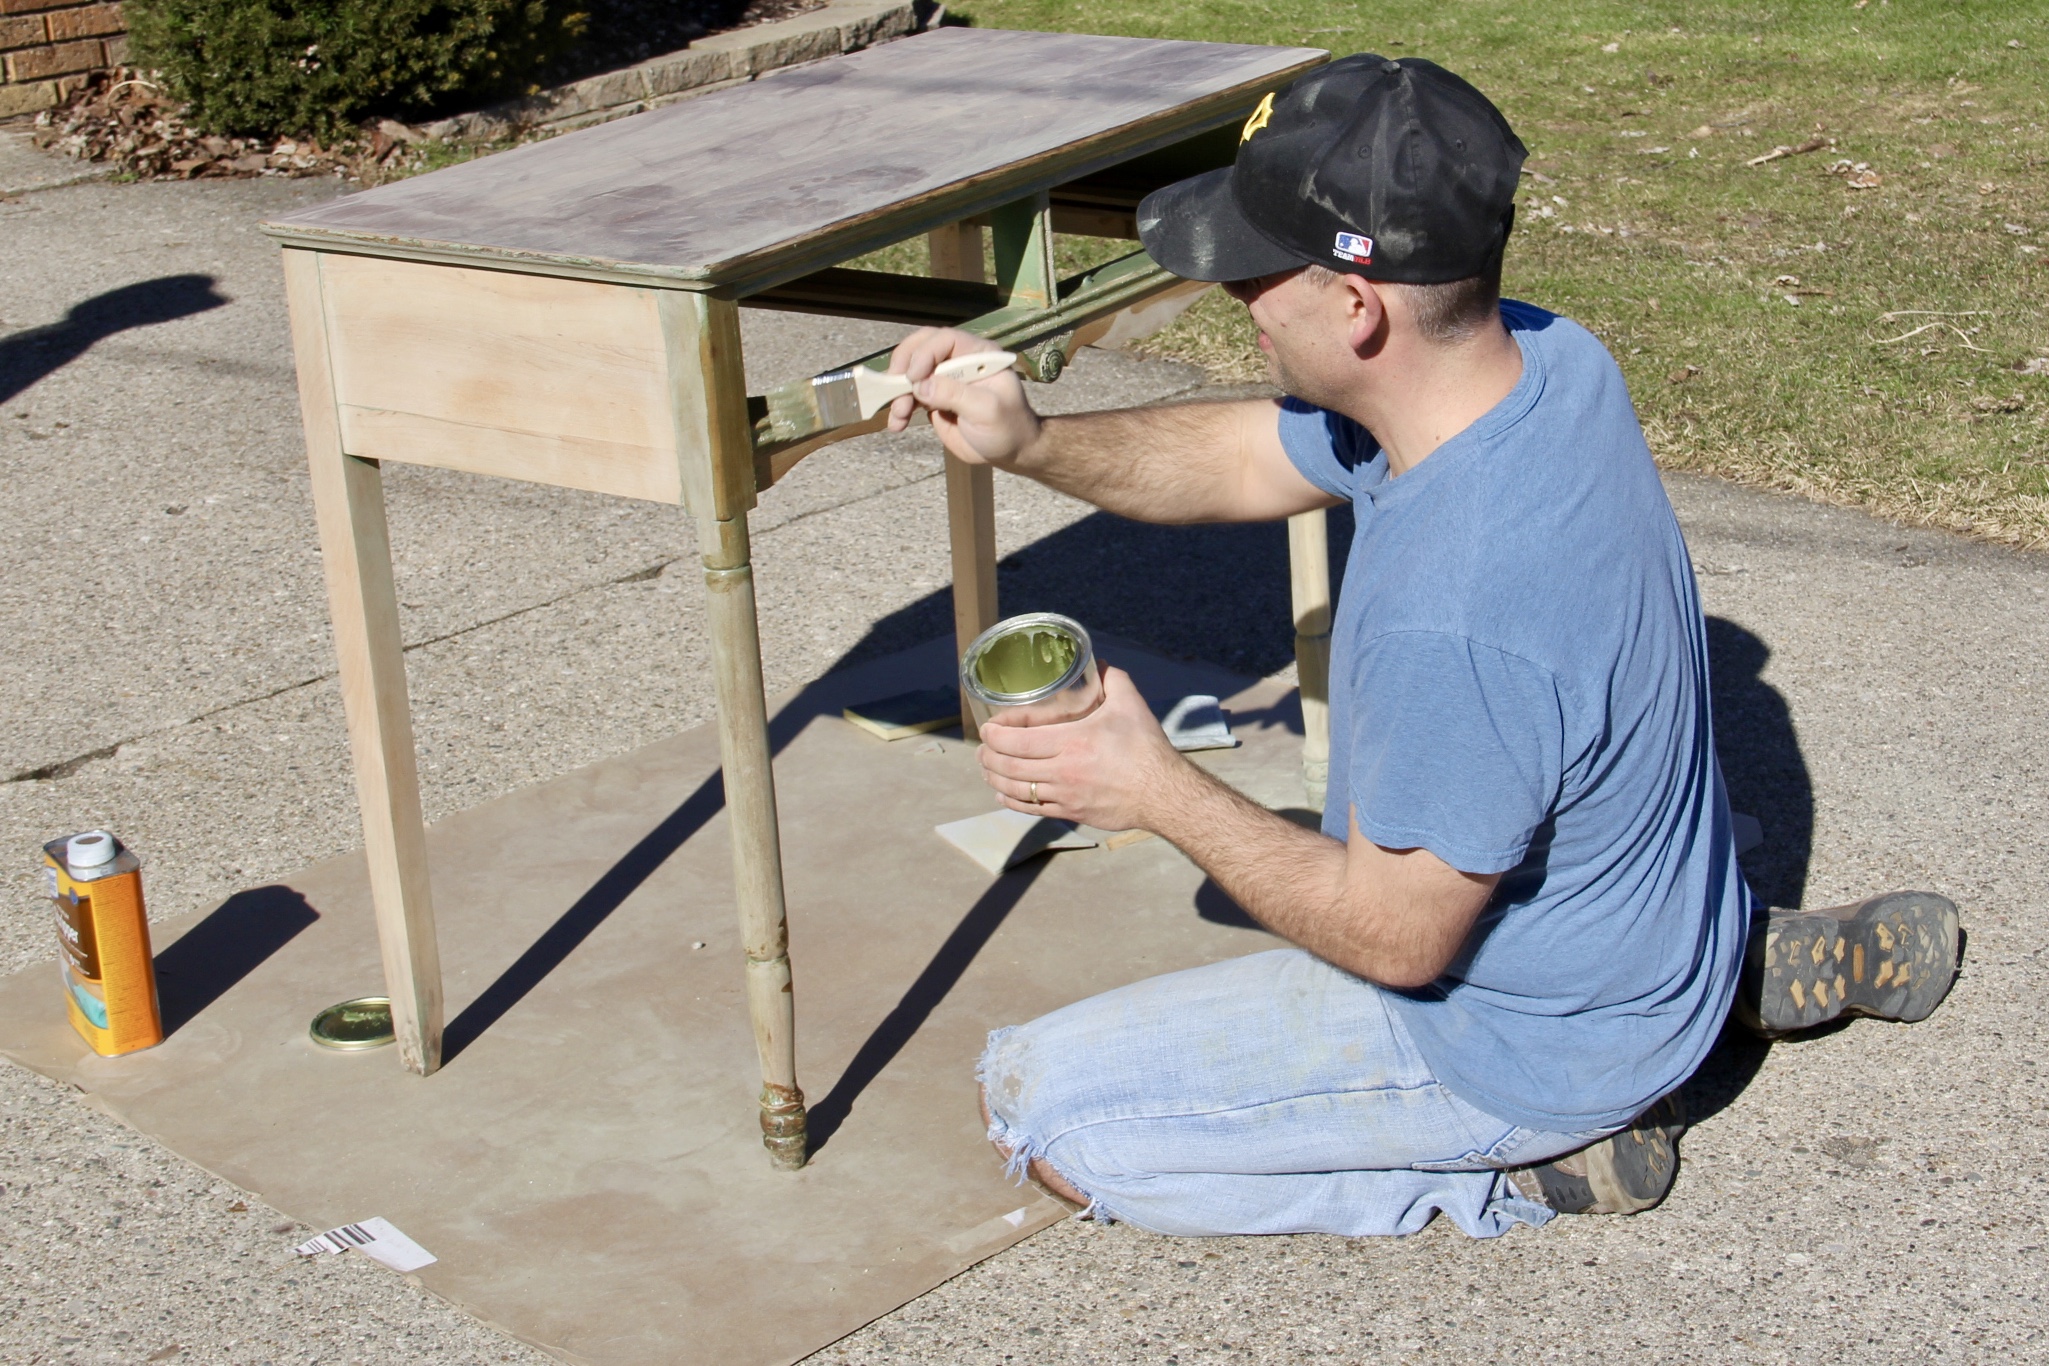
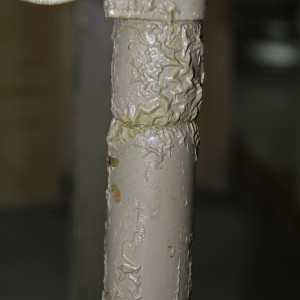
The legs and some of the decorative work needed a few extra coats of chemical stripper to get all the old paint off–mostly because it refused to give up its seat in all the little nooks and crannies–but eventually we saw our little desk for all that it was. And we were thrilled!

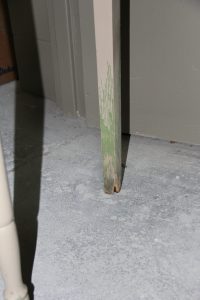
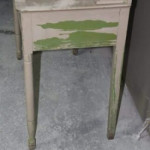
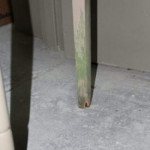
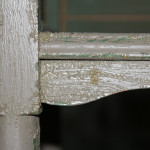
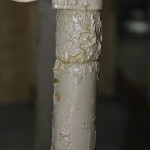
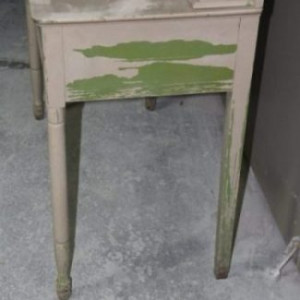
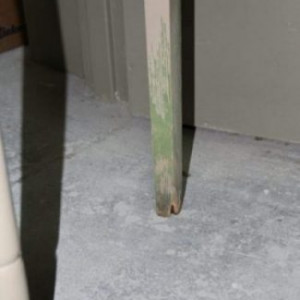
Well, except for those back legs that were missing chunks because of rot…. And the drawers that were so broken that the slightest tug left you holding the front of the drawer while the rest of it fell to the ground in a clatter of old wood!

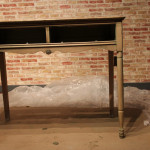
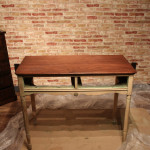
So, we’d discovered beauty beneath all the old paint. But we were also left with a number of problems that made us pause and consider our options. As we mentioned in the last post: furniture refinishing is ALL about rolling with the punches. It’s about being flexible. We had wanted to stain the entire desk, bringing out the beautiful wood we just “knew” was there. Turns out with the broken and rotted legs, staining was out of the question. We’d stain the top of the desk, but paint the rest. But that still left us with some problems: broken, crumbling drawers and the rotted legs.

Lesson Three: There’s Usually a Fix!
And that’s the next lesson: There’s usually a fix. Never forget that! And don’t zip by it tooquickly. Understand that even if you don’t know the answer to a problem, that doesn’t mean there isn’t an answer. At RepcoLite, we work with these types of projects all the time. We’ve helped with so many different situations, there’s a good chance we’ve seen what you’re working on. Also, there are many tools and products on the market of which homeowners are completely unaware.

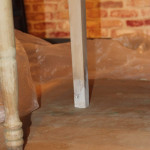
So to go back to the desk example: those rotting legs needed repair. To help with that, we pulled a container of Min-Wax Epoxy Wood Filler from our shelves and mixed up a batch. It’s an incredibly tough wood filler that hardens chemically and, therefore, very quickly.

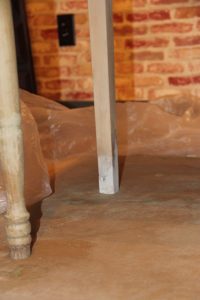
We mixed it up according to the directions and then built a sleeve out of cardboard to go around the legs that needed help. The sleeve helped us form the putty into the shape necessary and it held it long enough for it to harden and hold that particular form. Then we removed the cardboard and started sanding. It didn’t take long before the legs were once again solid and smooth. And best of all, the epoxy wood filler we used was durable and tough! These legs were basically better than new!

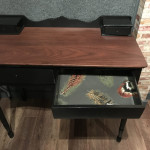
Then it was on to the drawers! And this was an easy fix. The dovetail joints holding the drawers together were already weakening. So all we did was carefully pull them apart the rest of the way, clean off any glue residue that remained, and then cut a new drawer bottom out of 1/4″ MDF. After that, it was just a quick matter of putting everything back together and regluing those joints! The end result, again, was better than new!

And that’s the big point here: you may tackle a project and run into a complication that leaves you frustrated or ready to give up. The rotted legs and the broken drawers didn’t do much for our attitudes regarding our desk, after all! But, before you call it quits on a particular project remember that there is usually a fix! You may need to ask some questions. You may need to learn about some new products. You may need to pick up a new repair skill. But the answers and the fixes are out there! Stop out at any RepcoLite or Port City Paints and ask. We’ll get you moving in the right direction.

SaveSave

SaveSave

SaveSave

SaveSave

EP57 – May 5, 2018: Spring Exterior Painting, Gardening With Children, and Trash Heap Desk Revival


When we think of gardening, we think of things like container gardening, pest resistance gardening, and vegetable gardening. We don’t necessarily think of gardening with and for our kids. But why not?! It gets them interested at an early age and it gets them out in the fresh air. It will be something they look forward to every year. And they will be able to see the fruits of their labor.

Listen here:

Show notes for episode 057:

This past week has been filled with BEAUTIFUL weather! It's been warm and sunny and we even got some much needed rain. Spring has finally graced us with its presence.

Because spring seems to be a little late this year, people are frantically working outside to get spring projects done. And often, those projects involve paint. We got a question from a listener wondering what the temperature needs to be for her to paint outside. Is it warm enough just because the calendar says May? Find out!

With the arrival of spring, many of use are thinking about planting flowers and vegetables. What we might not be thinking about is including our kids. It's a confidence boost when they see something they planted grow from a tiny seed into a great plant.

We are thrilled to have Ian Warnock, Lead Horticulturist from Frederik Meijer Gardens and Sculpture Park in the studio with us. Ian has worked at the Gardens for over 20 years and has spent much of his time designing and maintaining the Children's Gardens. He involves young visitors to the garden in as many ways as possible. He'll even let them mow the grass!

Photos courtesy of Frederik Meijer Gardens and Sculpture Park

How many of us watch those shows in TV or Netflix where people take a junk piece of furniture and turn it into something that everyone is clamoring to buy? How many of us want to be able to do that?

We like those shows as much as anyone, so we decided to try it. We learned a few lessons and have decided to share them. The effort was definitely worth it.

SaveSave

SaveSave

SaveSave

SaveSave

SaveSave

SaveSave

Lesson Two In Furniture Refinishing: Plans Change, Roll With It!

Ok, now as you may recall from a previous post, we were talking about a desk we had just purchased. We thought it was a great find and that we got a deal. Turns out, the people selling the desk were the ones getting a great deal!

In fact, when we hauled the desk into the store at RepcoLite, all of our co-workers thought we were crazy! “You actually paid MONEY for that thing?!” was a question we received over and over. When we told them about our original plans to strip and stain the entire desk, they just laughed (and of course we laughed along with them because we didn’t want them to think we were dumber than we were).

As we all looked it over, we realized that our original plans had to go. We couldn’t stain the whole desk and, looking at it, we wondered if it was worth trying to stain any part of it at all. Maybe it was better to just paint the whole thing. After all, someone must have painted this little desk for a reason—were they trying to cover up something even worse than we’d already discovered? But still, there was always a chance …

Maybe, just maybe … we’d find a pleasant surprise under the paint.

Lesson Two: The Art of Being Flexible!

See, that’s the thing with refinishing old things. You have to be flexible. You have to roll with the punches. In almost every furniture refinishing project, you’ll find yourself in the same spot we did. You’ll have made glorious plans. And you’ll discover something–often many things–that completely disrupt those plans. And when that happens, you have to find a way to be flexible!

Don’t stubbornly cling to a plan just because it was the original plan! Be ready to adjust on the fly. Be willing to compromise.

And NEVER let yourself believe that the compromise is actually the lesser of the plans! What starts as a compromise can turn out better than your original intentions!

But you’ll never get there if you’re not flexible. If you’re not flexible, you’ll spin your wheels. You’ll struggle. And you’ll be disappointed. Instead, assess the situation, make a new plan, and ROLL with it!

In our situation, we had nothing to lose! We told ourselves that if the desk was painted for a reason, we’d just paint everything. We knew the legs had to be painted because of the MAJOR pieces that had to be filled in. But we held onto the hope that the top might still be stainable! Sure, the whole piece might not be a rich wood tone as we’d planned, but a stained top with everything else painted could be very cool!

Chemical Stripping or Sanding? That is the Question!

So we were back in business. Now the only question left was how to remove the peeling paint: sanding or chemical stripping?

We opted for chemical stripping. Yes, it’s stinky. Yes, it is pretty nasty to work with. Yes, it makes a mess. But it also works quickly and efficiently. And, let’s face it, we were anxious to know if our gamble was going to pay off.  We also knew that if the top WAS worth staining, the image that was in our heads was of a darker stain. Using an orbital sander on a large, flat surface can leave visible swirl marks when a dark stain is applied. We definitely didn’t want that and so a chemical stripper was definitely the way to go.

Watching Chemical Stripper is More Fun Than Watching Paint Dry

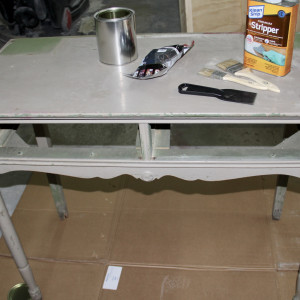
So, with rubber-gloved hands and chip brushes, we began applying the Klean Strip Premium Stripper. We stood around staring at it intently. Watching chemical strippers work is WAY more fun than watching paint dry! We could actually see the old layers of paint as they crinkled and shriveled up, ready for scraping.

After about 15 minutes of careful watching, we grabbed some plastic putty knives and started scraping off the softened paint. The first layer came off like a dream. The second layer, however, refused to give up. But we were more stubborn and simply applied more stripper. We would endure the smell if it meant we would win the paint battle.

Anticipation grew as layers of paint were scraped away. For us it seemed like we waited forever, even though it was really only about an hour. Was the waiting and work worth it? Check out the next post to find out!

Lesson One In Furniture Refinishing: Pay Attention!

Who among us hasn’t seen those shows where they take some junky piece of furniture that seems destined for the trash heap and miraculously turn it into something incredible? Many of us WISH we could do that. They make it look so easy on TV!

Let the Treasure Hunt Begin!

Well, we decided to investigate how hard it really is to do something like that. So we began our search for the perfect piece to transform. And when we couldn’t find that perfect piece even remotely in our price range, we decided that any piece would do!

In the end, we found an old desk in a quiet (and dark) little secondhand shop. It looked perfect sitting in there, covered with assorted knick-knacks. The price was right and, quite honestly, someone else was eyeing it, so we snatched it up.

Riding back to our shop with the little desk in the back of the car, we were pleased with our find. And we talked about how we were going to trannsform this tired and dusty desk into a gloriously stained piece of fine furniture. We had big plans.

But, as they say, even the best laid plans…

See, it all started to fall apart when we actually looked at the piece in the light. We knew it was covered with peeling paint. But we hadn’t realized that the drawers would fall into a hundred pieces at the slightest tug and that huge chunks of the legs were missing from rot and water damage.

Lesson One: Pay Attention!

We had been in such a rush to find the perfect piece, we never took the time to inspect it as we should!

If you’re going to try your hand at furniture refinishing, the very first lesson to learn is not about the actual refinishing process at all. The first lesson is about the search!

Pay attention. Take your time. Look a piece over–even if it takes getting on the floor and looking at it from underneath. Check out the legs and the feet. Examine the hardware. Pull out the drawers. Do they slide easily? Are the joints tight? If not, will a little wood glue bring everything back together?

Look at the sides and inspect the veneer. Is it in good shape or are pieces missing?

Look for dings and dents in the wood. And don’t forget to look to see if the piece is truly made of wood at all! We’ve seen a number of people make this mistake, purchasing a laminated piece with the thoughts of stripping it and refinishing it. It’s an embarrassing mistake! Don’t make it.

All in all, take your time, pay attention, and examine the piece from top to bottom. You know your skill set. You know what you can fix and what you should leave for someone else. You don’t want to be surprised. Like we were!

Moving Forward

At any rate, surprised or not, there was only one direction for us to move: forward! After all, we’re stubborn. And we had paid good money for this thing. We weren’t quitting now. We were going to turn it into something cool if it killed us. But how? Check out the next post to find out!

SaveSave

SaveSave

SaveSave

SaveSave

SaveSave

SaveSave

SaveSave

SaveSaveSaveSave

SaveSave