Tag Archives: wood staining
EP36 – December 9, 2017: Wood Staining Basics, Snowblower Buying, DIY Gifts, and Wallpaper Stripping
Christmas time can be very stressful! Not only does life seem to be more chaotic this time of year, but there are gifts to be bought and that alone causes panic. What do you get for someone who has everything? What if they don’t like what you give them? Are you just wasting your money?
In the spirit of giving, we thought we would help make everyone’s shopping a little easier by giving you our lists of great gift ideas (suited for every budget!) for that DIYer in your life. Most are practical, some are a must, and others may be as much a gift to the giver as to the receiver.
Listen here:
Show notes for Episode 036:
It's not uncommon for people to start a wood staining project only to discover--very quickly--that the wood they're staining doesn't seem to take the stain the way they had expected. And when that happens, things get frustrating quickly!
On this segment, we talk about some common woods and their limitations when it comes to accepting stain. We also dig into some of the concessions we as homeowners have to make when tackling a staining project. After all, wood is a natural substrate and as such, it's full of "character"! And that means the pieces aren't going to be exact duplicates. There will be variations. Accepting it right at the beginning will help.
And here's a bonus point that didn't make it into the broadcast:
On top of EVERYTHING we said in the segment, if you have the opportunity, before you have custom cabinets, built-ins or even trim installed, talk to the finisher. The builder you hire can direct you to the finisher he or she uses. And once you can actually sit down with that person, take time to discuss the color you want to achieve with your stain and listen to the recommendations regarding wood choices!
Finishers are always in the position on a job to take whatever wood was used and make it beautiful. And sometimes, this is a monumental task. They definitely know what woods are going to produce the best results and can make some solid recommendations for you based on the color you want to achieve. Take that info to your builder and see if you can have the items built in that wood so you end up with the color results you want.
If you don't have a finisher or are doing the work yourself, make sure you stop at any RepcoLite or Port City Paints Store, and bring your target color and we will gladly make a wood recommendation!
Some of us procrastinate when it comes to buying a snowblower. We really just want to see snow on the ground and KNOW it's going to stay before we shell out the cash.
Or, sometimes we find ourselves in the market because after the first real snowfall happens, we start our old one up only to realize that last year was it's last year!
Whatever your situation, if you're in the market for a snowblower, we've got answers! We're on the phone with Larry Bergman from Bergman Power Equipment and he's got some solid recommendations to help you make sure you pick up the right machine for your situation!
Looking for a great list of home improvement tools for that DIYer on your Christmas list? We've got the best recommendations out there.
Around $10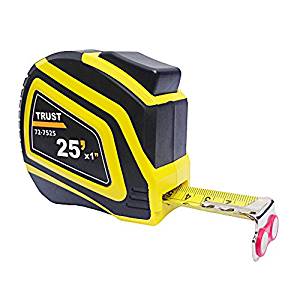
Dan's Choice
My first choice is a good tape measure. Yes, it's boring. No, it's not flashy. But it is practical.
The tape measure I like is called the TRUST 72-7525 Tape Measure. You can pick it up for around $12 (so I'm stretching the price limits a little), but it's worth it!
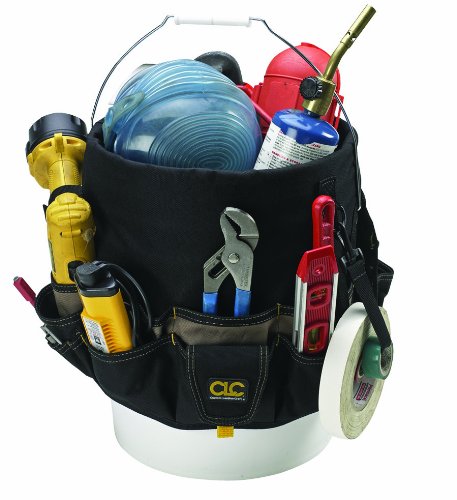
My first choice is cooler than Dan's: it's a bucket organizer. Simply put it in a 5-gallon bucket and you've instantly got a very portable tool box!
It has pockets and looks for all your tools and you can put larger items in the bucket. It also works great for all your painting supplies.
Around $25
Dan's Choice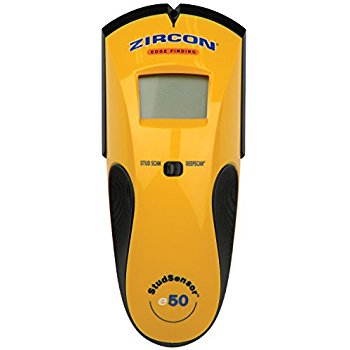
A stud finder. Stop pounding the walls and hoping to hear a different sound. And even more so, stop pounding nails in the walls in little trial and error sections! I've done both and definitely have enjoyed the ease of use and accuracy of a stud finder. No, they're not perfect. Yes, they can make mistakes from time to time. But overall, it's a time saver and a wall saver!
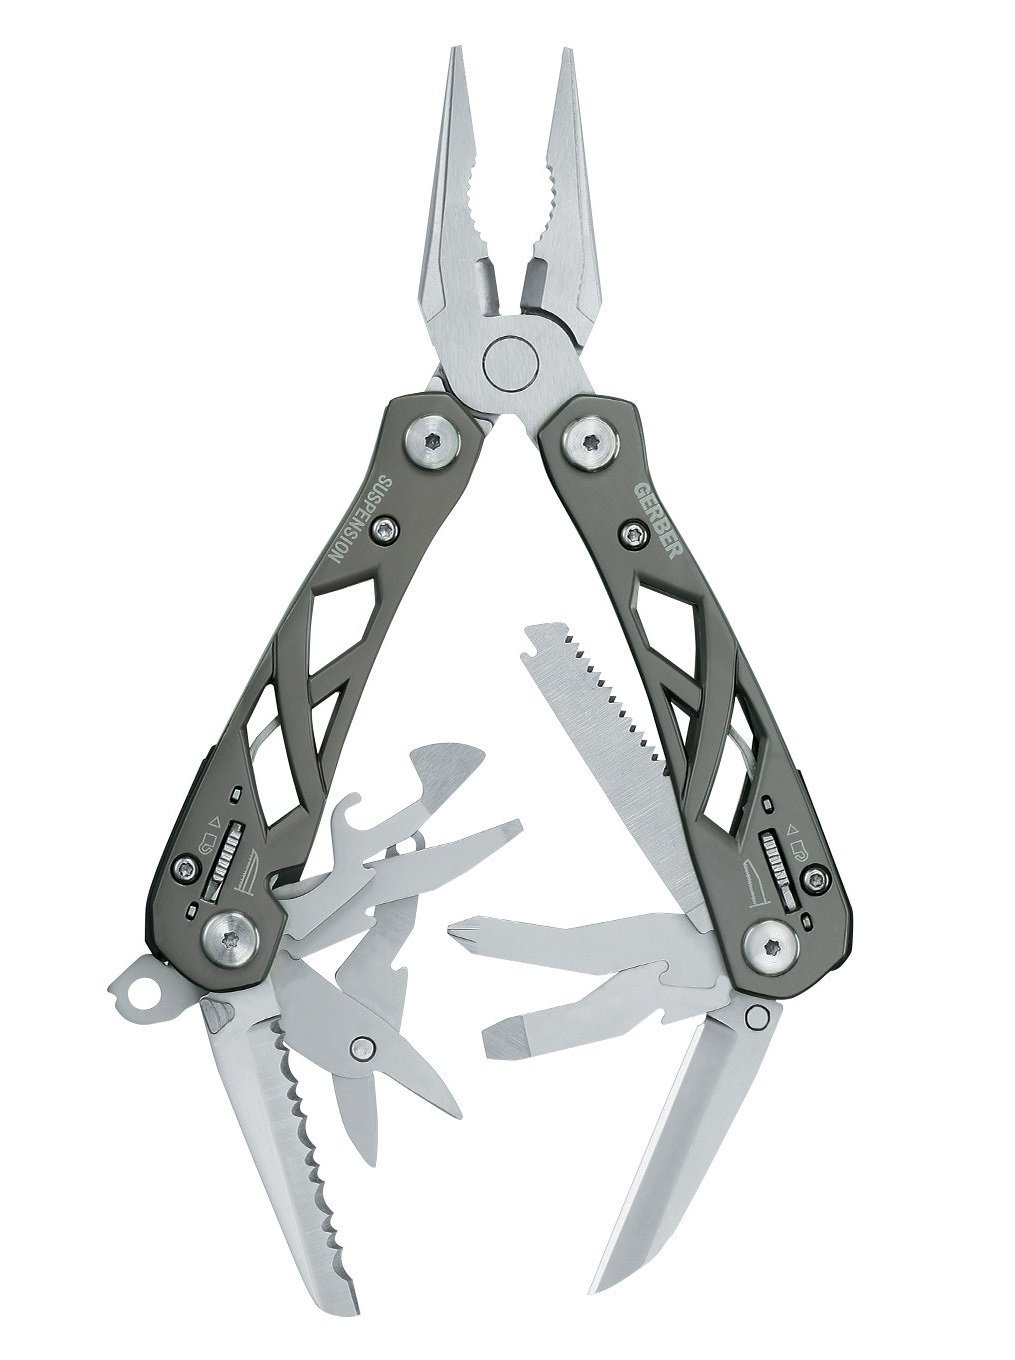
A multi-tool. I love these things! And while you could go crazy and buy a very expensive one, even a $25 multi-tool will get you at least a knife, a pliers, a wire cutters, and flat head and Phillips head screwdrivers! Everything you need to use in a pinch!
Around $50
Dan's ChoiceAn orbital sander. You'll use it all the time and on all kinds of different projects. I've used it to sand everything from furniture, to boards, to the edges of a deck where a bigger floor unit wouldn't reach. It is remarkably handy. And best of all, you can get a good one for under $50.
Betsy's Choice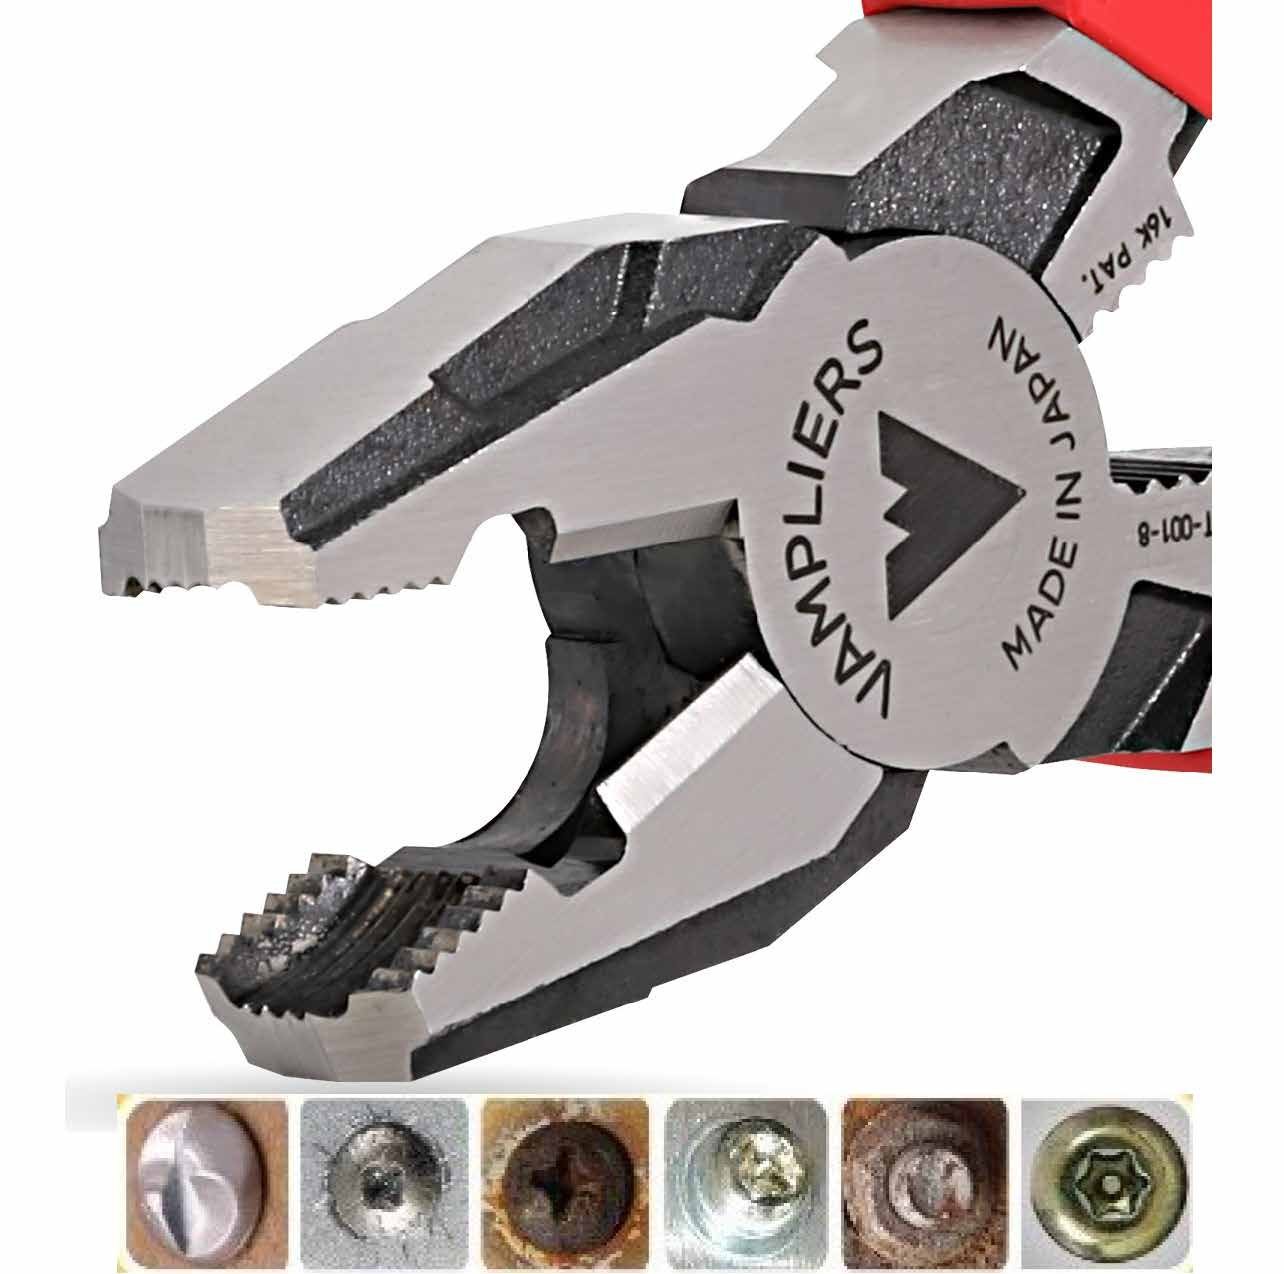
Vampliers Screw Extraction Pliers! These these are AWESOME! I did everything I could on-air to describe them, but a picture's worth 1000 words. The rows of teeth are designed to grab even the slipperiest screw and help you extract it with ease! Just read the reviews on this tool! It's definitely something for every toolbox. And, best of all, it prices out at about $40. So you've got $10 you can spend on that bucket organizer!
Around $100
Dan's ChoiceA jigsaw. And a good one. Don't skimp! Get one that has variable speeds and an easy mechanism for changing blades. This is another of those tools that is a workhorse around the home. No, it's not as fancy as Betsy's Vampliers, but you're going to use it way more! (Unless you routinely strip screws!) The biggest point to stress here is to invest in a good saw. Read reviews, ask questions and find one that will do what you need.
Betsy's Choice
A laser measure. Specifically, I'm recommending the Bosch GLM 40 Laser Measure. It'll measure area, length, volume and will also do addition and subtraction! It's pocket sized and is perfect for anyone who has the need to measure larger areas, like rooms, on a regular basis.
However, as Dan pointed out, NEVER point the laser at a helicopter or an airplane or any other vehicle or person for that matter! Trouble will ensue. Don't believe us, look below (and consider this a bonus present for the holidays that will keep you out of court and prison!)
Over $100
Dan's Choice
If you can spend the money on someone you love dearly, you can't go wrong with this drill/driver and impact driver combo set! As we mentioned in the show, an impact driver is an amazing tool if you drive a lot of screws. It's better than any other tool at the job and makes easy work of drilling screws into even the thickest, most dense boards.
Man Crates. Yes. You read that correctly. As Dan said, they're basically funny and cool crafty kits for guys. There are knife making kits, pipe carving kits, a chef kit (complete with band-aids). And best of all, many of them come in super cute (ahem, I mean ultra-manly) wooden crates. With a tiny pry bar. Which is actually half the fun! Give the gift and then laugh til you cry as your loved one tries to open it! It's awesome. Unique. And definitely makes me the winner of this contest! Check them out!
- People have stripped wallpaper before and had a terrible experience.
- People have heard horror stories of stripping wallpaper and don't want any part of it.
And....spolier alert!
The secret to stripping wallpaper is PATIENCE and KEEPING THE PAPER WET! These two things will put you on the path to wallpaper stripping glory!
7 Tips When Staining Poplar
 Very often when folks are at the lumber yard picking out wood for a particular home project, they choose Poplar. The reason is because it looks beautiful in its unstained, natural form and it’s very easy to work with. It also can be less expensive than woods like Cherry. And so, many homeowners pick up Poplar and then go to work trimming out their kitchen or living room or building a bookcase or two.
Now, Poplar is an absolutely perfect choice if your plans are to prime and paint your wood. Poplar is what we in the paint and stain industry refer to as a “paint-grade” wood. This means it’s perfectly suited for a paint application. That “paint-grade” classification also means that Poplar is not ideal for staining.
Poplar is technically a hardwood, but it’s one of the softer ones. This means it will take stain very unevenly. Stain soaks in and usually looks blotchy and lifeless, dull and generally not all that visually appealing.
Folks who choose Poplar with the intention of staining it to make it look like their more expensive Cherry cabinets face an uphill struggle. If that’s you, here are some tips that may help! (And just to be clear: these tips aren’t meant to be read as step-by-step instructions. For instructions, bring your wood to any RepcoLite or Port City Paints store and let us see what you’re doing and tell you the best way to get there. The tips below are just that–tips. Things to do and be aware of!)
TIP 1
If you’ve got the option, don’t choose Poplar if you’re going to stain the wood. I know this isn’t really a tip to help you stain your Poplar, but it’s still the best advice I can give to start with: don’t sink a lot of money into Poplar if you’re hoping for beautifully-stained end results. Oh, you can get a beautiful finish out of Poplar, but it’s not as easy as staining a wood that’s better-suited for stain, like Cherry, for example. So, if you’ve got the option, avoid Poplar for staining. If you don’t–if money’s an issue or if you’ve already purchased the Poplar–read on…
TIP 2
If you haven’t already picked up your wood, start by choosing the darker Poplar. Poplar generally will come in various shades: white, a darker yellow or almost grey tone, and then something much more green. Usually people resonate toward the white Poplar because it looks the cleanest. Unfortunately, the whiter the wood, the softer it usually is–and the softer it is, the more blotchy the stain will look. Darker Poplar generally has a denser grain and will take stain much better. If you have the option, choose the darker wood.
TIP 3
Save your scraps! When you work with the wood, save all the cut-off scraps. Use these as samples when it comes time to test your stain (or when you need a stain match). One of the key mistakes when staining wood is failing to test your stain ahead of time. You don’t want to apply stain to your trim only to find out then that the stain or your system for applying it doesn’t get you the color you want. Instead, test the color and the method on your scraps until you’re comfortable with the process and are sure that the stain color is correct.
TIP 4
Bring those scraps into RepcoLite for a custom stain match. Now, you may be tempted to balk at this step, but if you’re working with Poplar, this is a no-brainer. Sure, you could pick a wood stain off a shelf in some store and hope for the best, but why? If you bring a sample of your wood and a sample of the color you want to RepcoLite, Port City Paints or Snyder Paints, we’ll create a custom stain for you and also work out the process that’s necessary to get you there. THIS IS ESSENTIAL! Any store can give you a stain, but it takes a place with some expertise to be able to explain and walk you through the actual process of applying it–the various products you might need, the steps you should take and the time you should allow between each one.
On some easy-to-stain woods this may not be as critical, but with Poplar, there are a lot of variables–a great number of different application techniques that can be employed to get your color. We’ll work with your wood, figure out what must be done, and then give you the details so you can produce the correct look in your home. So bring the scraps to us and let us help.
TIP 5
Be aware of a product RepcoLite manufacturers called “Softwood Sealer”. This is a wood conditioner that is applied before you stain and which serves to seal up the porous wood to minimize or eliminate the blotchy appearance. This sealer is applied with a brush and then wiped off with a rag. It can be left to dry anywhere from 15 minutes to 24 hours depending on how porous the wood is and what type of look you desire. If you have your stain custom-matched by RepcoLite, we’ll tell you how long to let this sealer dry before you stain. If you don’t, and you’re flying solo on this project, make sure you use those sample boards from step 3!
TIP 6
Purchase a wiping stain or a gel stain–not a penetrating stain. Wiping stains will give you a little more control over your color and penetrating stains will simply soak in too quickly and too deeply (even with the softwood sealer), producing a blotchy end result.
TIP 7
Finally, (to repeat): sample, sample, sample! Use those cut-off scraps from step 3 and test your stain until you’re comfortable with the process and the method.
Staining Poplar isn’t easy–the nature of the wood is constantly working against you, making it tough to achieve a beautifully-stained finish. But, with that said, you can still accomplish a great end result. It just takes a little more work and a little more know-how, but it can be done! And once more, let me encourage you to stop out at any RepcoLite, Port City Paints or Snyder Paints store (Indiana) for expert advice! We’ve been helping people do this for years–let us help you!


