
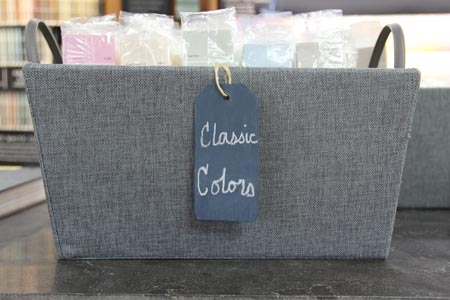
Benjamin Moore’s Chalkboard Paint is a versatile product that can really bring out the “creative” in us! Here’s an interesting project by Betsy Thompson from our 17th Street Store that might get you thinking about some different ways you can use Chalkboard Paint in your own home!
Chalkboard Storage Tags
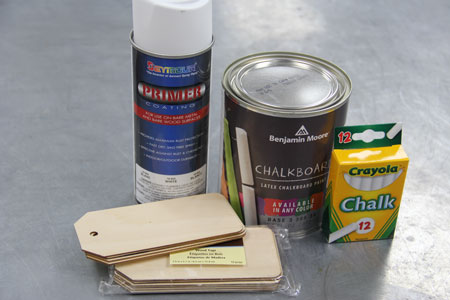
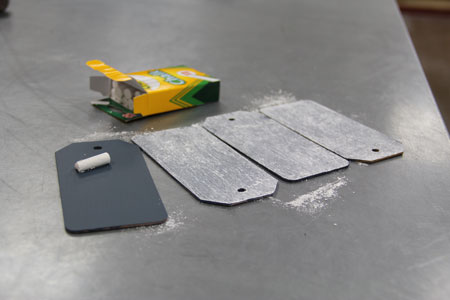
STEP 1
The first step is to gather all your supplies. You’ll need some wooden tags from a local art supply store as well as some light-colored chalk designed specifically for chalkboards. Finally, you’ll want to stop at RepcoLite for some primer, a quart of Benjamin Moore’s Chalkboard Paint (in whatever color you want!), and a sheet of 180 grit sandpaper.
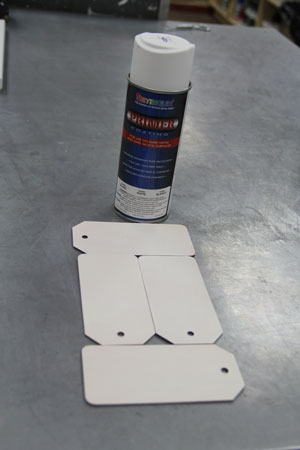
STEP 2
The second step is to apply primer to the wooden tags. In our project, we used a spray primer to minimize brush strokes or roller marks on the tags and because it’s a little quicker! Now, even though “Primer-and-Paint-in-one” products are very popular, we still recommend the primer step in a project like this. The reason is that bare wood can be exceptionally porous. The helps fill in the wood grain and creates a smooth surface for the Chalkboard Paint.
STEP 3
The third step involves a light sanding of the primed tags. Depending on how quickly your particular primer dries, you might be able to do this quite soon after application. At any rate, when the primer is sufficiently dry, lightly sand the surface to knock down any raised wood fibers. When finished, wipe the tags clean with a damp cloth. Don’t introduce a lot of water to the surface. We’re only talking about using a damp rag to get the dust that you created from the sanding step off of the surface.
See Corona Excalibur Brushes in our Shop!
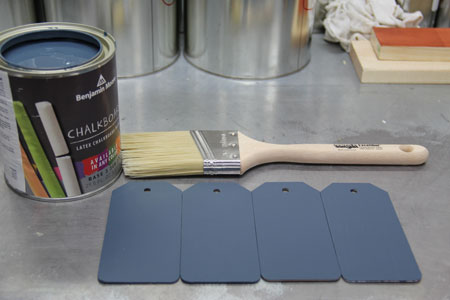
STEP 4
The fourth step is to apply the Chalkboard Paint. Once the tags have dried from step four, apply one or two coats of Benjamin Moore Chalkboard Paint. In our project, we used a high quality Corona Excalibur Brush for application. However you accomplish it, Whether rolling or brushing, make sure you use a high quality applicator. Cheap brushes will be more likely to leave brush strokes (or release bristles into your finish). Cheaper roller covers will provide you with a rougher, orange-peel, texture.
STEP 5
The final step is to condition the chalkboard surface. After allowing the painted area to cure for at least 3 days, rub the entire chalkboard surface with a piece of white chalk. After you’ve erased that, you’re chalkboard surface is ready for use!

Benjamin Moore’s Chalkboard Paint is available in any color in the Benjamin Moore spectrum. So, get creative! Think outside the box and see what you can come up with!
Some Hints:
- For erasing, we recommend using a clean, damp cloth or paper towel. We do not recommend using a chalkboard eraser.
- You’ll acheive the best results when using light-colored chalk designed for use on chalkboards.