

When it comes to applying stain or sealer to your deck, there are a wide variety of tools and applicators available. But which tools work the best? Which ones do the job quicker than anything else?
Success on a deck project–as well as your overall experience–depends largely on the tools you use to apply the stain. Using the wrong tools can make the job more grueling than it needs to be. They can slow you down and prevent you from getting the stain on quickly and evenly. This can affect not just your experience, but also the quality and durability of the finished job. So, finding the right tools is important.
Well, last year, we filmed a review video where we tested out most of the various application tools and techniques that we’ve ever heard discussed at RepcoLite. Some of these were recommended by employees and others are the “favorite” methods of some of our customers. Either way, we put all of these methods to the test and discovered very quickly that some of them are much better than others.
Here are our top 3 recommendations:
METHOD 1: Roller and Brush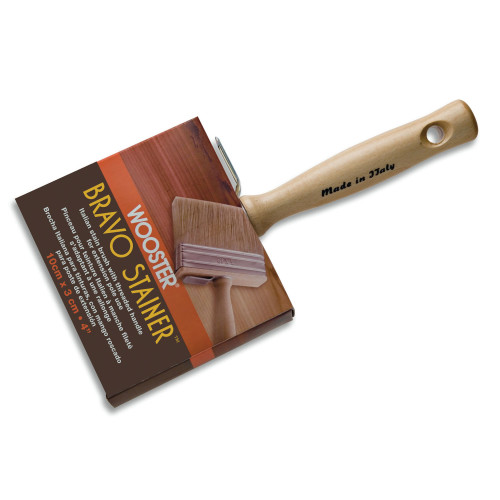
In our tests, we found that the fastest way to apply the stain evenly and quickly was to roll it on with a standard, 9″ roller with a 3/8″ nap and then back-brush it using a Wooster Bravo Stain Brush. If you’re going to use this application method (and it’s the best!), make sure you pick up 1 or 2 extension poles. You can attach the roller to the pole and apply your stain to the deck without leaving your feet. And, that’s why we recommend that particular Wooster stain brush–you can unscrew the handle and instead thread the brush onto the end of an extension pole. So you’ll be able to back-brush your deck from a standing position as well. Which is, (though I don’t have to say it), awesome.
Now, when we tested this method, we found it to be the fastest and easiest way to apply a smooth, even coat of stain to your deck. There are other faster ways (but they’re not as easy). And there are other easier ways (but they’re not as fast.) This method provides, in our opinion, the best balance between ease and speed. However, it’s important to note that the back-brushing step is of paramount importance! And typically will require a second person (helpers are always helpful!). The reason it’s important is because the roller alone will apply the product too heavily which can lead to all sorts of problems. Back-brushing spreads the stain evenly, helps you get it into the gaps between the boards, and works into deep into the fibers of the wood. It’s a critical step to producing a beautiful deck. So don’t skip it! (And don’t, for your own sake, buy any brush other than the Wooster Bravo–you’ll thank us later. We promise!)
METHOD 2: Padco Paint and Stain Pad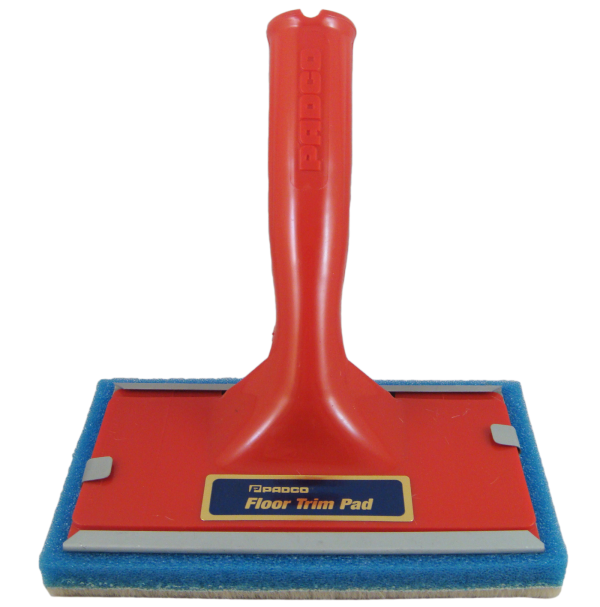
Alright, in our testing, there was a second method that we really liked as well: a Padco paint and stain pad. You can see it in the picture here, but just to clarify, it’s a six-inch pad with a handle that can be threaded onto an extension pole. The pad itself is a sponge with a bristled face.
We found this tool to work very quickly and because the face of the sponge is bristled, it does not require back-brushing. It was as fast or faster than the roller and back-brushing method, but, there are two reasons we rated it second. First, it is not nearly as easy to stain the gaps between the deck boards when using this pad. It works and can be done by turning the pad on it’s side, but it’s much easier to do so with the brush. Second, and more importantly in our consideration, the pad works best when the deck boards are in very good condition. If you have boards that are splintered, uneven, or rough, the pad doesn’t perform as well. It’s too rigid to conform to boards that have cupped over time (and you end up with spots that get no stain). It’s also a sponge pad that can be easily snagged and torn apart by boards with splintered edges.
If you’re staining a new deck or a deck that’s in great shape, this is a very fast tool that you won’t be sorry you purchased. If the boards are less than ideal, definitely opt for the roller and brush combo we mentioned above!
METHOD 3: Garden Sprayer and Brush
A third method we tested (and really liked) was the garden sprayer/brush combination. Basically, we took a conventional garden pump-up sprayer and used that to apply our stain to the deck. Now, a couple of clarifications. First, this only works for transparent or translucent stains–sprayers like this are not designed to spray stains with too much pigment. Second, this method can be… will be… messy! So, watch out for overspray on your siding, on your house, on your feet, and so on!
However, if you can take care of all of those issues, then this is a tremendously fast method for applying stain to your deck. Just remember that as was the case with the roller, the stain still needs to be backbrushed to work it into the wood.
And there you go! RepcoLite’s top 3 methods for applying stain to your deck. And if you’d like to check out our full review (and first video–so be kind to the dopes on camera), we’ve conveniently placed it just below this sentence!