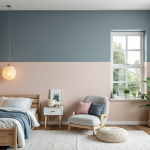
Two-tone walls are a modern twist on the classic accent wall. Instead of painting one wall a bold color, this trend splits a wall—or even an entire room—into two colors, either horizontally or vertically. The result? A dynamic, visually engaging look that’s as customizable as it is creative. Let’s dive into 5 reasons to try two-toned walls in your home.
1. Add Drama Without Overwhelming the Room
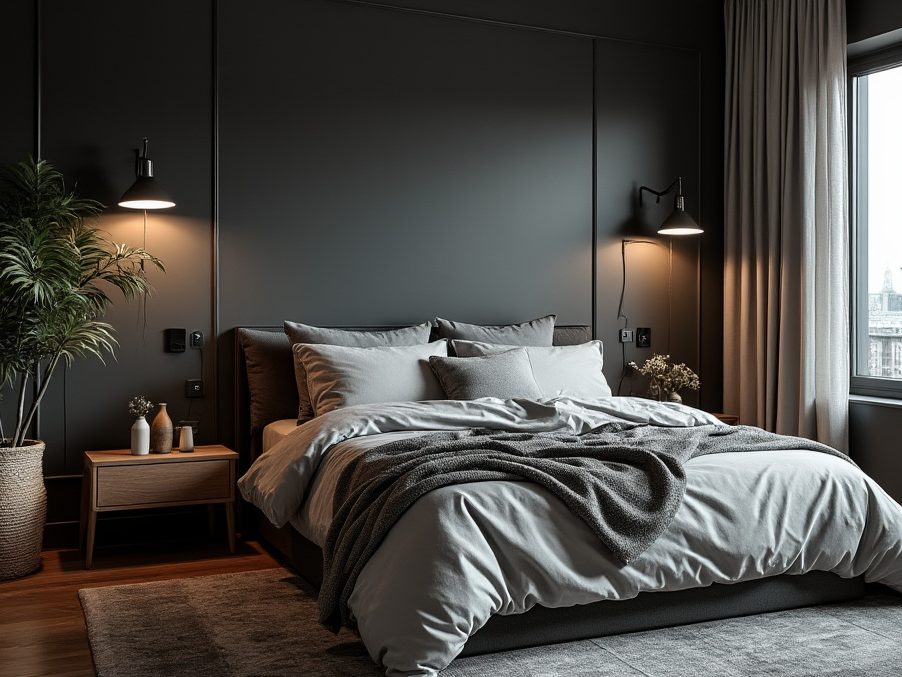
Two-toned walls let you experiment with bold colors in a way that feels balanced. By confining a vibrant or dark shade to only half the wall, you minimize the risk of overpowering your space. This approach creates a sense of harmony, as the bold color is often paired with a more neutral or softer hue.
Even better, the contrast between the two colors draws the eye and amplifies the overall visual impact. It’s a striking yet subtle way to make a statement, giving your space energy and personality without overwhelming the senses.
2. Highlight (or Hide) Architectural Features
This painting technique isn’t just stylish—it’s functional, too. Use two-tone walls to:
- Tone Down Elements: If you have a less-than-ideal feature like a utilitarian stove or a visually busy entryway, a two-toned paint scheme can blend these elements into the background. For instance, a horizontal stripe of neutral color at stove height can help it disappear into the design.
- Showcase Features: On the flip side, two-toned walls can highlight your favorite pieces. Imagine a bold painting or unique furniture placed right at the dividing line between two colors. This framing effect adds depth and enhances the visual impact of your decor.
You can even extend the two-tone concept to doors, trim, or built-ins to create a cohesive, streamlined look that feels intentional and polished.
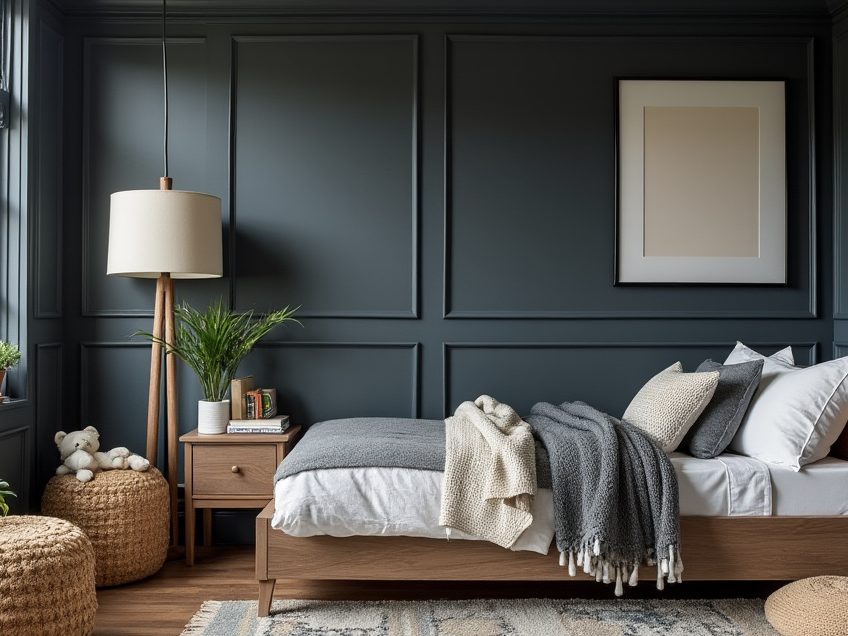
3. Mimic Classic Paneling Without the Cost
Love the elegance of wainscoting or paneling but not the expense, labor, or even the commitment? Two-toned walls give you a similar vibe with just paint. By dividing the wall into upper and lower sections, you create the illusion of architectural detail. This modern interpretation brings depth and sophistication to any space, with far less effort than traditional woodwork. And when you’re ready for a new look, there’s no materials to remove—just prep and repaint
4. Create the Illusion of Height and Space
Strategic use of two-toned walls can make a room feel larger or taller:
- Elongate a Space: A horizontal division can visually extend a room, perfect for hallways or smaller spaces.
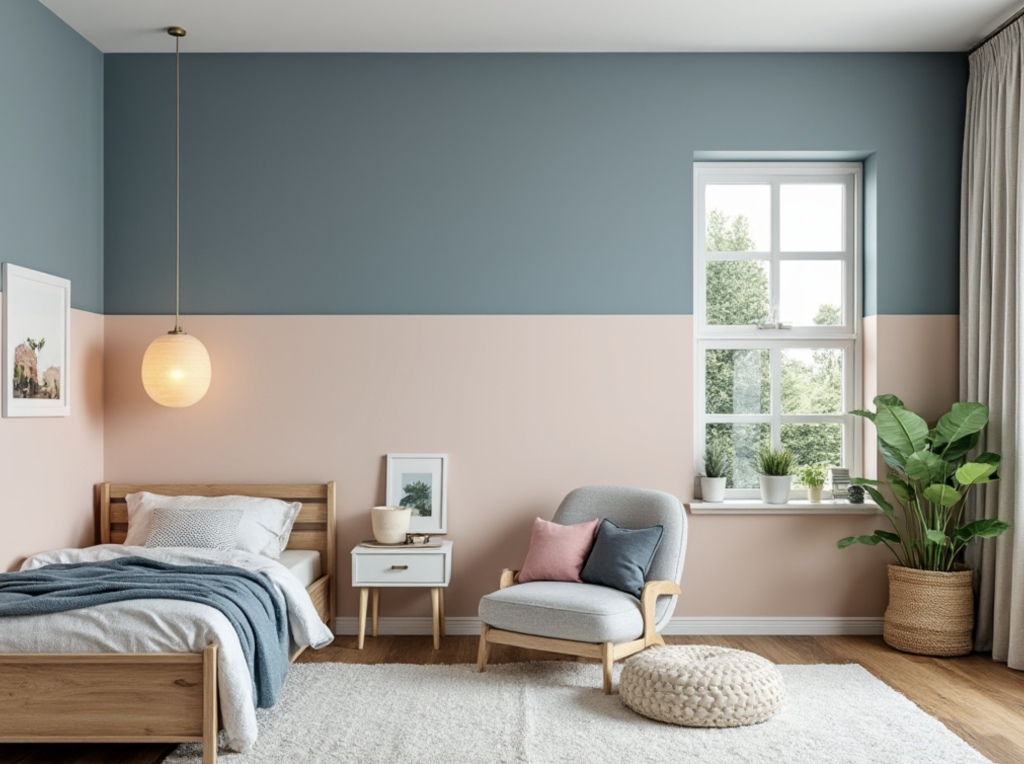
- Add Height: Painting the upper half of the wall and ceiling in a lighter shade draws the eye upward, giving the illusion of higher ceilings and a more expansive feel.
This trick works wonders in rooms that feel cramped or low-ceilinged, creating a sense of openness without structural changes.
Check Out Our Podcast on Two-Toned Walls (starts at 29:06)
5. Perfect for Kids’ Rooms
Two-tone walls are ideal for kids’ spaces, offering a playful yet practical design solution. They bring energy and fun to the room without overpowering it, and they can help parents and kids compromise on color choices. For example:
- Balance Bold Choices: If your child loves a strong, bright hue, confining it to half the wall can keep it manageable.
- Share the Space: In shared bedrooms, each child can choose a color, creating a coordinated yet individualized look.
This technique is a great way to incorporate creativity and ensure everyone feels heard in the design process.
A Final Thought
Two-tone walls are an incredibly versatile way to refresh your space. They’re bold yet balanced, functional yet stylish, and customizable for virtually any room or decor style. Whether you want to add drama, disguise problem areas, or experiment with color in a new way, there are a lot of reasons to try two-toned walls in your home!
Ready to jump in? Head to your nearest RepcoLite store and let us help you start transforming your walls!