Color Me Home Episode 5: Clean and Protect Your Deck

This week, Betsy and Dan talk about the quintessential Spring/Summer project:  cleaning and protecting your deck! Deck projects may seem complicated, but they’re really very straightforward. You just need to arm yourself with a little information. Lucky for you, that’s almost entirely what’s contained in this episode. (Actual information content is roughly around 85%. The other 15% is stuff we have a tough time categorizing…)

Episode Outline

  • How long do I have to let a new pressure-treated deck dry before staining? (2:30)
  • My deck’s gray and faded! How do I get it ready for stain? (6:37)
  • Why is cleaning the deck important? Can’t I just skip this step? (15:00)
  • Do I have to protect my wife’s plants around the deck? Or will they be OK? (18:00)
  • I don’t understand all the different deck stains that are out there! Can you help? (22:38)
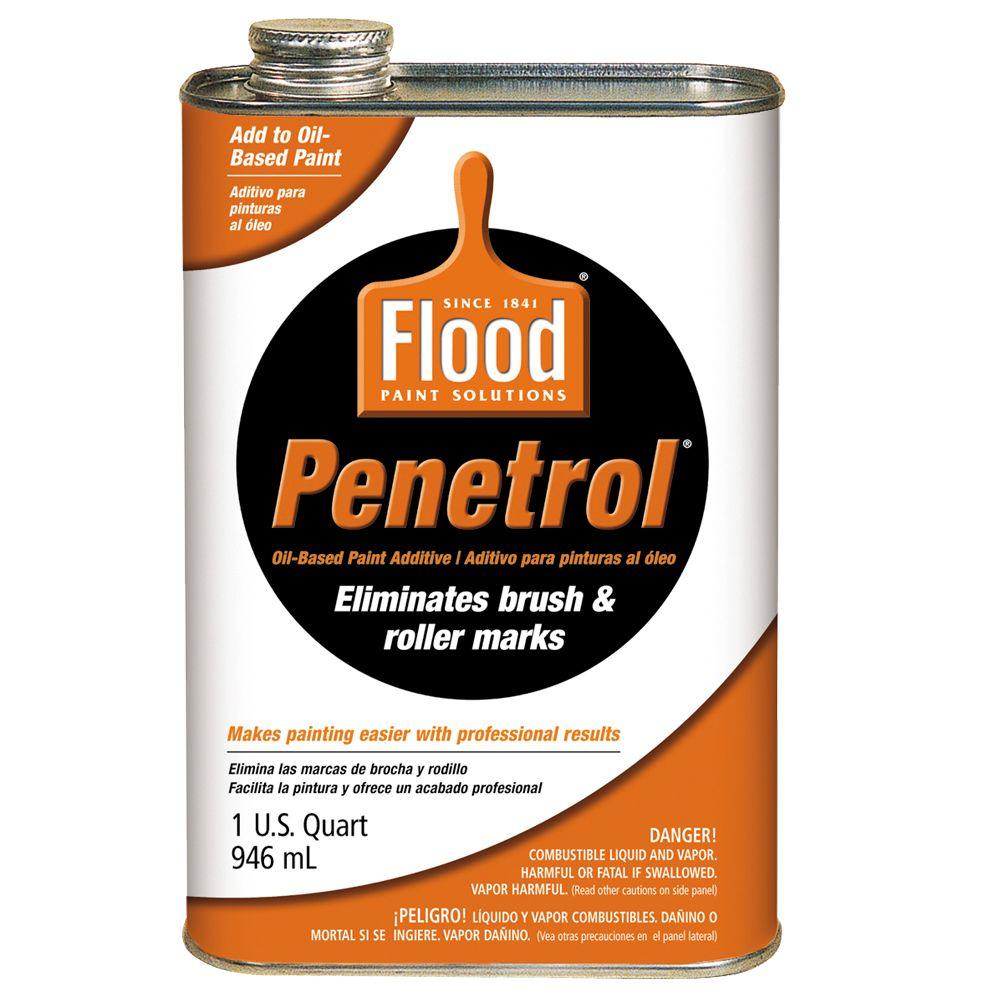
  • What tools do you recommend for applying the stain? (30:02)
  • How do I apply the stain to my deck? (37:52)
  • Is there a best time of day to apply the stain? (43:20)

Pressure-Treated Lumber

Pressure-treated lumber has been chemically treated to resist rot, decay, and termites. And really, it’s an interesting process by which this is all done. See, the lumber is rolled into giant pressurized tanks where the preservative is forced deep into the wood’s fibers. Here’s a video for those of you who want the full “deck experience”!

Getting the Deck Ready for Stain

OK. In the episode, Dan talked about having video of a co-worker, Dave Williams, falling down the stairs while cleaning the deck. As is usually the case, Dan’s memory of the event and the reality depicted in the footage, aren’t necessarily the same. While in his mind, the event was long, drawn out, and utterly hilarious, the video is much less so. Still, it’s someone falling down who’s not Dan. So, that’s cool. And, best of all, Dave was just fine! The big takeaway here is this: these deck cleaning products can create a very, very slippery surface! So be careful!

Other than the video of Dave falling, we also mentioned a very quick video that demonstrates a sample of what Benjamin Moore’s Restore and Brighten can do for a deck that’s old and weathered. The results are remarkable! Check it out:

OnFloor Machine

Here’s a demo of the OnFloor Machine we discussed in the podcast, though we want to note that the situation in this video shows the OnFloor Machine removing nearly 5 layers of freshly applied stain (yikes!). As a result, the speed is dramatically reduced. Still, you can see a great example of how clean the OnFloor Machine will get your deck. It’s a very quick way to get your wood ready for stain without having to do any cleaning or introduce any water to the deck at all. This means you could clean it and stain it on the same day!

We have an OnFloor Machine for rent. You can contact us at 616-396-5213 to check availability and rental rates!

Which Tools are Best?

In the podcast, we discuss 3 recommended tools for staining your deck. For a more in-depth look complete with video of how quickly (or not!) the tools work, look below:

Summary

And that’s it for all the information we covered in the podcast. We knew this was a long one and we debated about the best way to present it. In the end, we decided to present it in it’s entirety and let people pick and choose what parts they wanted to listen to more closely! We hope the information’s helpful. And don’t forget, if you have any questions at all, you can stop out at any RepcoLite Paints, Port City Paints, or Snyder Paints location and let us help! Or, you can email Dan and Besty directly at colormehome@repcolite.com!

Color Me Home Episode 4: Curb Appeal on a Budget, 2

This week, Betsy and Dan continue their discussion regarding simple exterior projects designed to help you increase the curb appeal of your home without breaking the bank!

Episode Outline

  • Is Your Front Porch Inviting? (1:06)
  • What Does Your Landscaping Say About Your Home? (17:10)
  • Have You Ever Considered Painting the Whole House? (23:50)
  • A Simple Cleanup Can Make a Tremendous Difference! (28:14)

Haint Blue

One of the interesting discussions we had in this episode revolved around an old tradition in the South where porch ceilings were painted blue. There were a number of reasons why people did this, but one of them revolved around the ability of blue paint to ward off or deter spirits, or “haints”. You can read one of the articles we referenced right here!

The Porch on the Grand Hotel (or, Dan’s Wrong Again).

grand_hotel_web
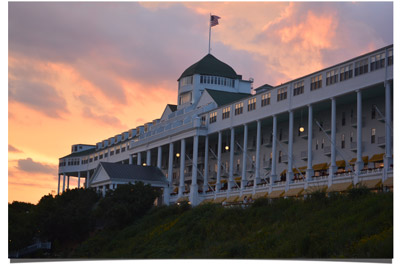
During the discussion about porches, Dan suggested that the famous porch on the Grand Hotel on Mackinac Island was painted blue. He was adamant. Betsy was, of course, skeptical. She offered to check with a “reliable source”, who turns out to be her father. Who turns out to be the supplier of much of the paint that’s used on the Island. Who confirmed that Dan was indeed wrong. The actual color on the huge covered porch of the Grand Hotel is called “Grand Hotel Porch Green”.

Now, technically, it’s a bluish green. But it’s also, technically, called “green”. So, Dan (though he was really close and would get an A for effort if he would accept a grade based solely on effort) was wrong. Betsy, as seems to be her tendency, was right. Oh well, tomorrow’s a new day…

Vinyl Safe Colors

We mentioned this in our previous episode as well, but here’s the link to Benjamin Moore’s Vinyl Safe Colors. Check out the full palette!vinyl_safe_colors_revive4

Painting Your Vinyl Siding

Painting your vinyl siding isn’t typically a project we’d consider “low-budget”. Yet, in the grand scheme of things, it really is. Here’s why: painting the vinyl siding of your home will produce a remarkable change. In fact, not many outdoor projects (if any!) are going to produce as profound a change in the curb appeal of your home. So, the project produces amazing results. And to get those amazing results, you typically only have to spend anywhere from $300 – $600 on paint. Add some supplies and figure in your time to do the work and you’re still talking about a relatively low expenditure to produce the biggest change possible without remodeling or re-siding your home. So, relatively speaking, it’s inexpensive when you consider the results!

And, it’s not a difficult project. We’ll go into greater detail on a future blog post, but for now the basics are these:

CLEAN THE SIDING: Before you apply any paint, the siding needs to be cleaned and free from any surface contaminants. The paint you will later use bonds to the surface of the vinyl. If that surface is not clean and ready for paint, you can end up with the paint bonding to whatever contaminant was there (dust, dirt, etc). So, make sure you clean the siding. We recommend a cleaner called Jomax. It’s designed to clean vinyl siding and if you use this in conjunction with a scrub brush and a power washer, you’ll be able to get the dust, mildew, and any other surface contaminants off the siding to make it ready for paint.

PICK YOUR PAINT: Once the siding’s ready for paint, it’s time to get the paint! We recommend Benjamin Moore’s Regal Select Revive. Revive provides excellent color retention, is resistant to mildew and can be applied in temperatures as low as 40 degrees Fahrenheit. It’s designed specifically for vinyl siding and comes in a wide palette of vinyl-safe colors. As we mentioned above, to avoid warping caused by colors that absorb heat, be sure to select vinyl safe colors for your project!

Below, we have a gallery showing you why you want to use vinyl safe colors! In the photos, the paint on the vinyl was simply regular exterior paint and a vinyl safe color wasn’t chosen. The new color was darker than the original vinyl and, in the sun, heated up so much that the actual vinyl siding warped, creating a problem that can only be fixed by replacing the siding. The lesson? Always choose vinyl safe colors!

APPLY IT and ENJOY: After cleaning and picking your paint (and vinyl safe color!) all that’s left is to do the work. Apply the paint on the cool side of the house, working out of direct sunlight. You can use a roller (we have various sizes), a paint pad, a brush (generally just for trim work), or even a sprayer (if you can safely do that without having overspray drift throughout your neighborhood!). Painting the whole house is labor intensive. It will take you some time and it’s definitely a work out (you’re going up and down ladders all the time!). But, the good news is that once you’re done, you’ll be able to enjoy the benefits for many years to come!

If you decide to tackle a project like this, stop out at any RepcoLite, Port City Paints, or Snyder Paints location and let us give you the full rundown regarding method and tools!

A Simple Cleanup

jomax_400
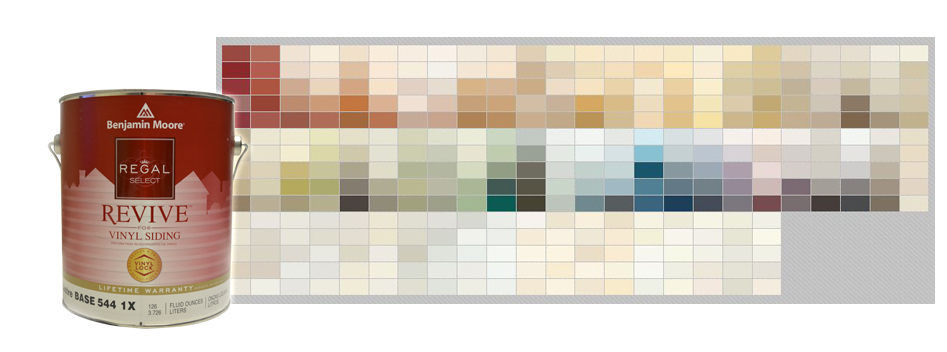
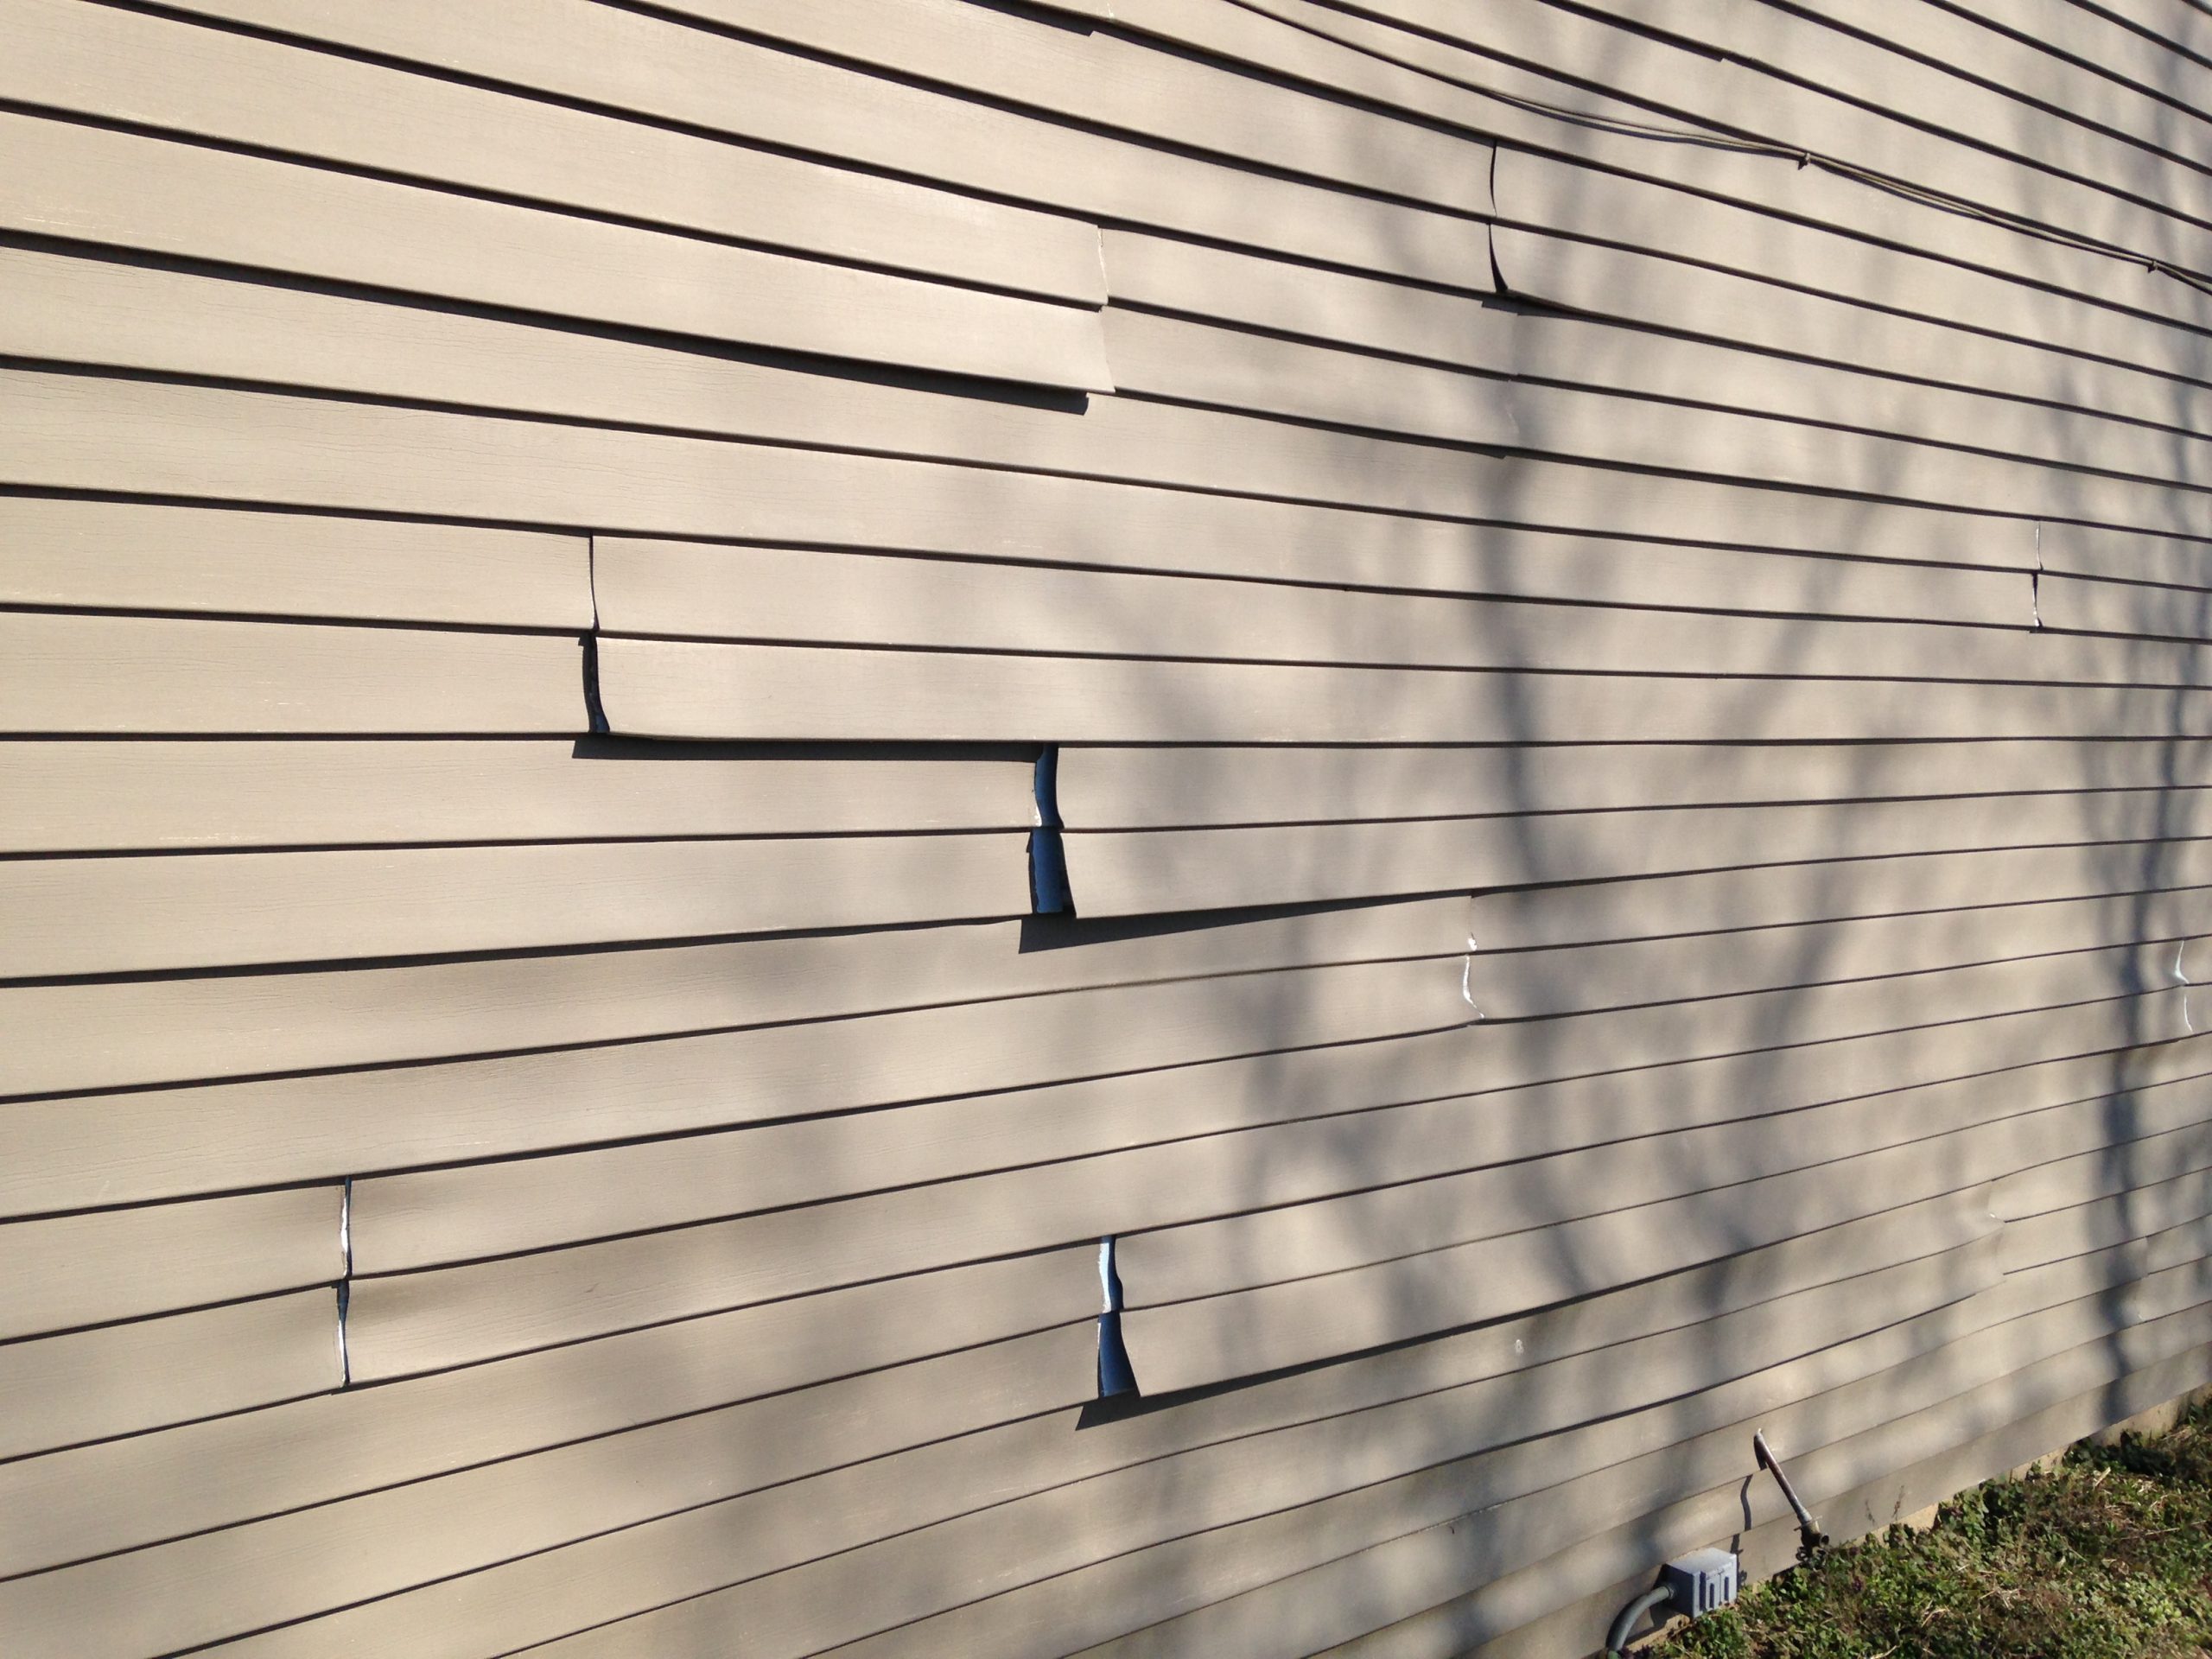
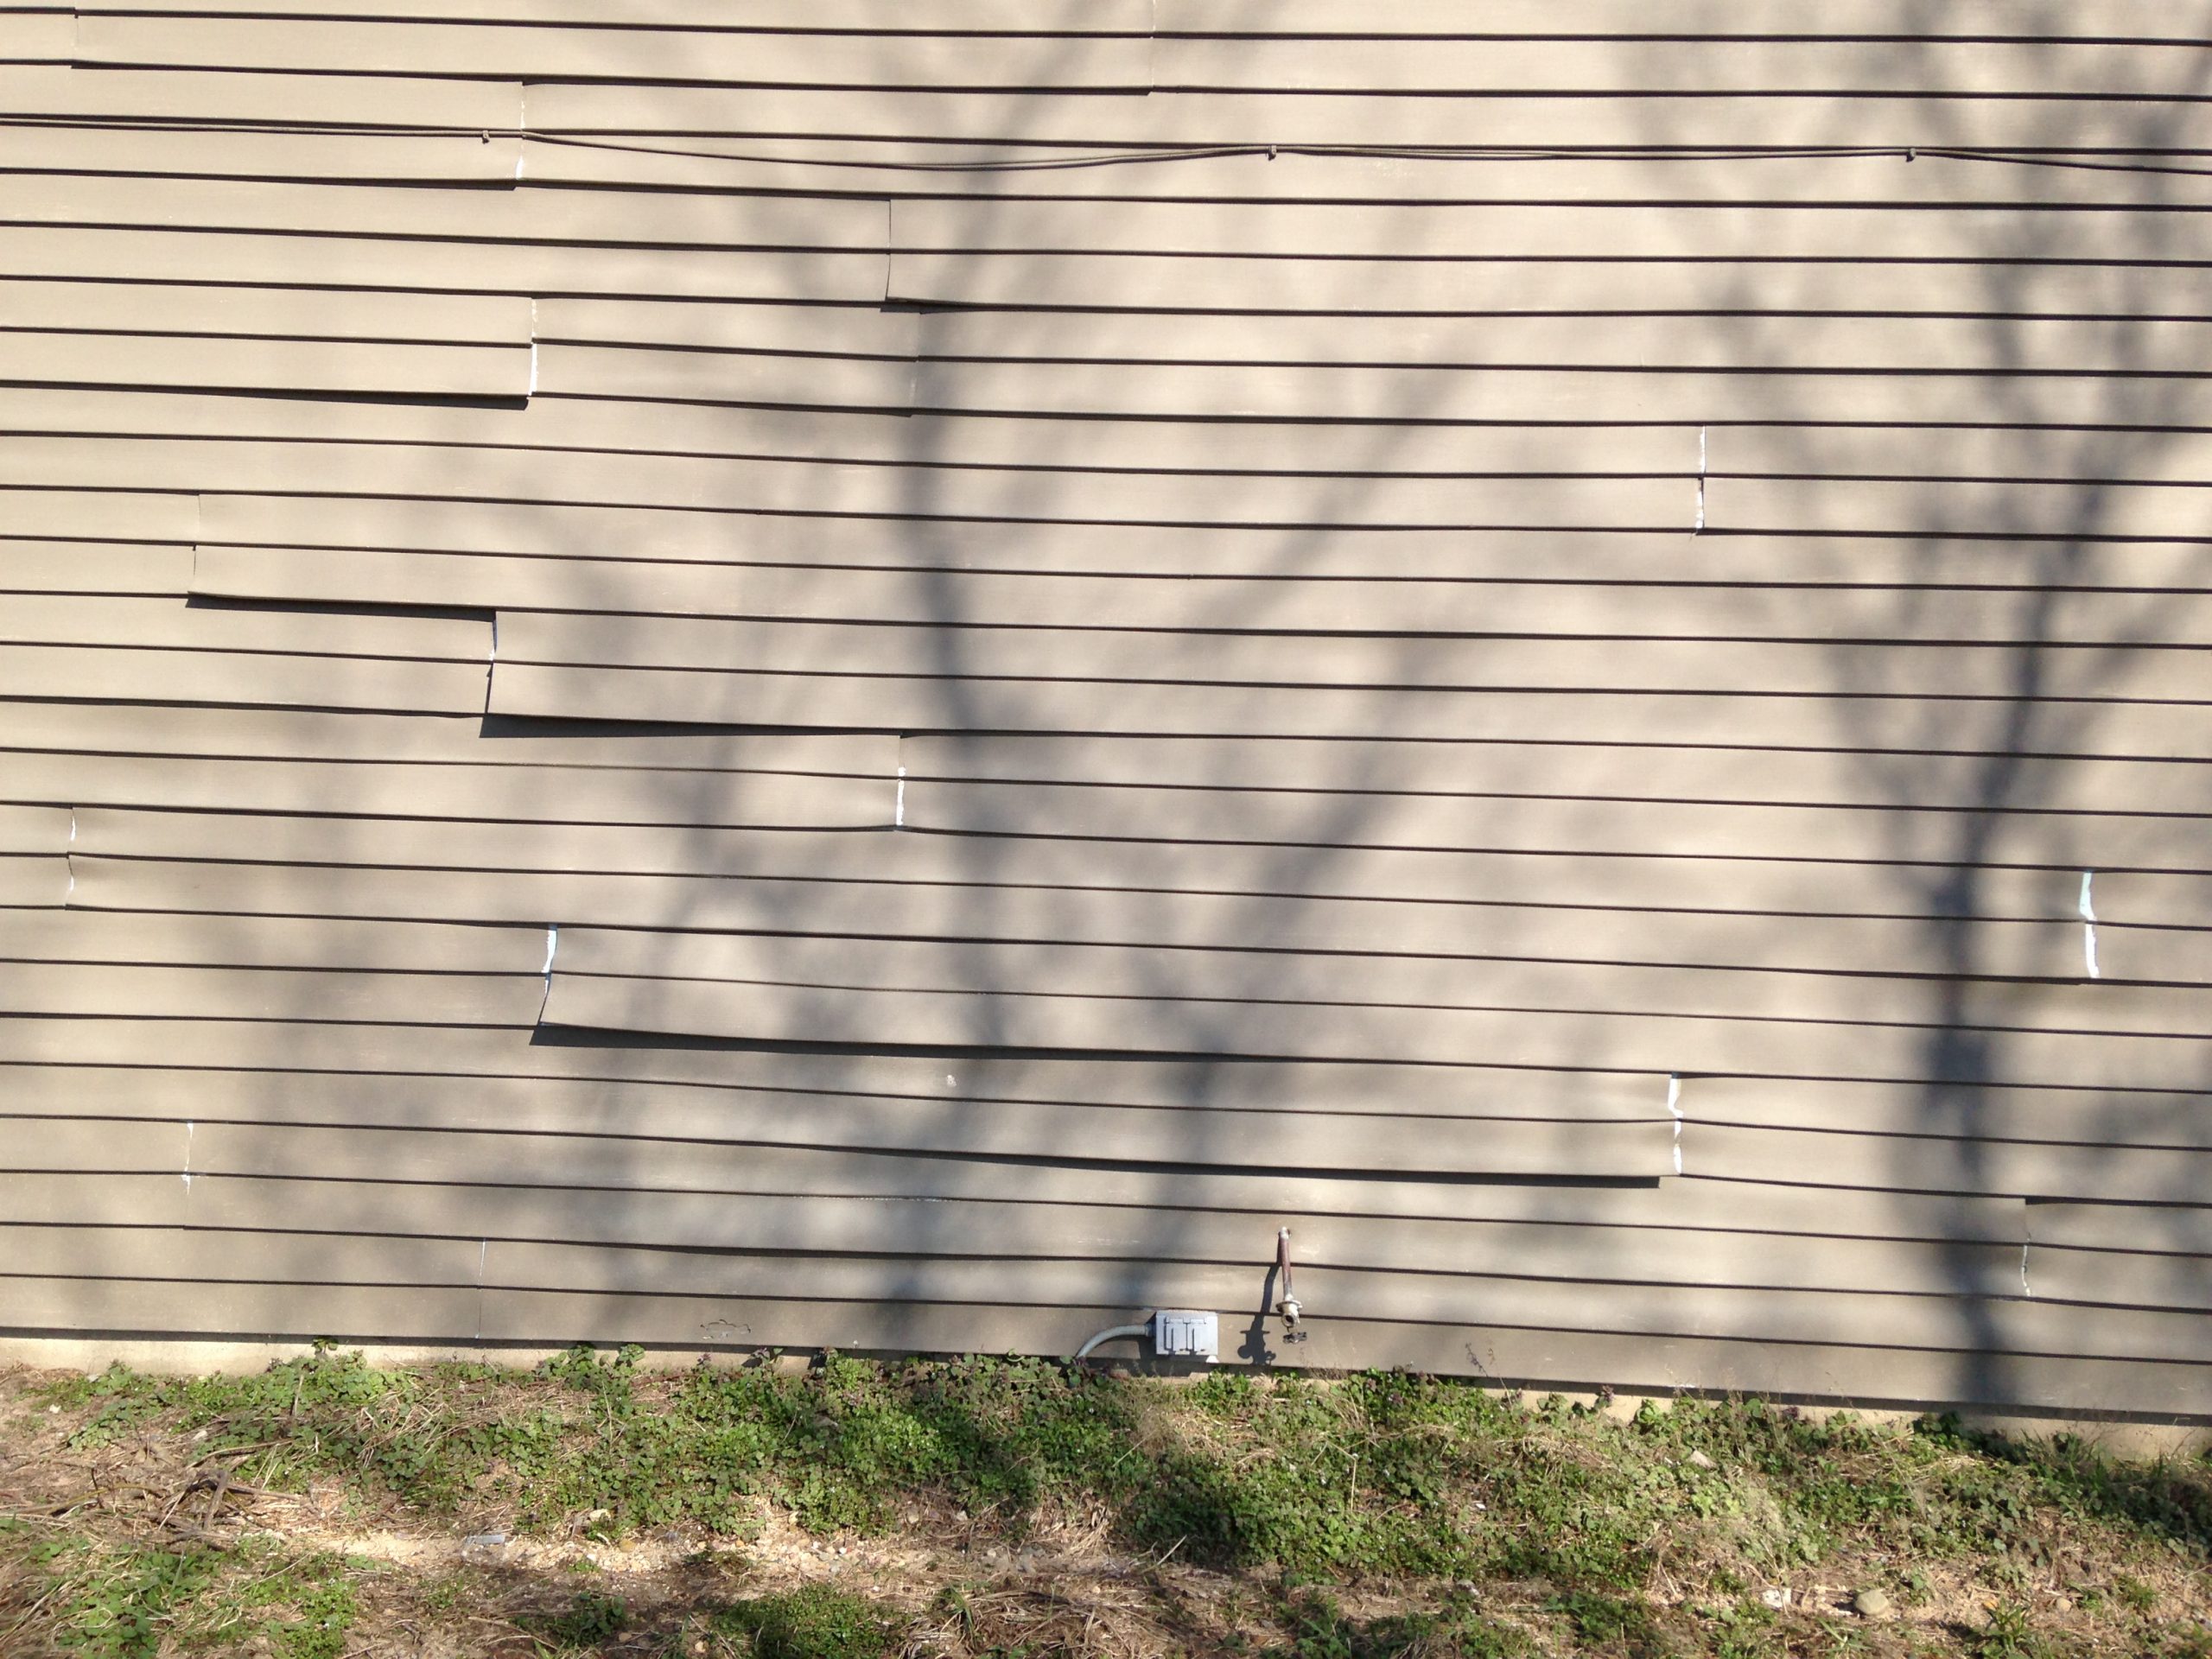
We ended this episode discussing the importance (and ease!) of simply doing a little cleanup around your house. Sure, this is pretty obvious, but we wanted to highlight a couple things that might make this easier for you. First off, as we mentioned above, when it comes to cleaning your vinyl siding, we recommend Jomax. It’s a concentrate you mix with water and it’s designed to help you easily remove tough dirt and stains. Mix it with a little bleach and it will kill mold and mildew fast! (Just watch out for your plants and landscaping . . . or you’ll be in big trouble. Remember: we warned you!)

A second note we wanted to convey is that RepcoLite, Port City Paints, and Snyder Paints all rent out power washers. So if you don’t own one or have a friend or neighbor with one, be sure to call your nearest store and reserve one! It speeds up the cleaning process dramatically and will help you get your house looking beautiful in no time!


Color Me Home Episode 3: Curb Appeal on a Budget, 1

This week, in honor of the beautiful weather we all experienced over Spring Break, Betsy and Dan discuss some simple exterior projects that will help you increase the curb appeal of your home without breaking the bank!

Episode Outline

  • Front Doors (1:55)
  • What If I’ve Got a Storm Door? (7:34)
  • Careful With Your Color, Though! (12:12)
  • Garage Doors (12:39)
  • Shutters (13:40)
  • Vinyl Safe Paint and Colors (15:20)
  • How to Paint Your Shutters (18:20)
  • A Quick Miracle Fix to Revive Faded Shutters (21:51)
  • Mailboxes (25:40)

Before and After Homes with Shutters!

As we mentioned in the podcast, adding shutters to a home can make a tremendous difference. And while I’d love to share a large gallery of photos making our case, I don’t have the rights! So, I’m doing the next best thing: Here’s a google image search that will allow you to see exactly what we’re talking about!

Check it out! And we’re betting that if you don’t already have shutters on your home, after seeing those photos, you’ll move that project to the top of your list.

Vinyl Safe Colors

Benjamin Moore’s Revive is available in a wide variety of vinyl safe colors. Check out the full palette!vinyl_safe_colors_revive4

Penetrol Fix for Shutters

We talked about this at the 21:51 mark on the podcast and if you didn’t hear it, you should listen in to know exactly what these notes refer to. At any rate, I was able to dig up the photos that I took when I applied Penetrol to my shutters early last Spring. The first photo shows the shutter before application–faded and chalky. The next two obviously show the shutter in process. The final photo of the house shows the shutter finished and the surrounding trim cleaned up.

It’s definitely a project to try if you’re looking for a quick and easy way to restore the color of the vinyl. Just be aware, it’s not a long-lasting fix. You’ll typically get anywhere from 6 months to a year out of it. A full paint job is going to last much longer!


Color Me Home Episode 2: Choosing Colors You’ll Love

Welcome to Color Me Home! This week Betsy and Dan discuss how you can make sure that the next colors you choose are colors you love! See, in our first episode we talked about ways to find inspiration for your next color scheme. That’s all well and good, but finding interesting, intriguing color schemes is one thing . . . finding colors you LOVE is a little different. Today, we’re going to discuss some concepts that you can use to make sure that the next gallon of paint you purchase looks perfect in your home.

Episode Outline

  • The Color Folder/Portfolio (0:50)
  • Online Tools  (7:00)
  • Schedule Yourself Time so You Don’t Have to Rush! (10:40)
  • Brush Out Some Larger Samples (16:24)
  • Don’t Forget About Your Lighting! (24:46)
  • The Danger (and Importance) of Asking for Opinions (35:30)

Some Great Blog Posts That Delve Into the Topics Discussed Today!

Start With a Color Folder
Paint Colors and Lighting
A Little Color Here...
The Eyebrow Incident


Color Me Home Episode 1: Finding Inspiration

Welcome to Color Me Home! As a quick introduction, Color Me Home is a podcast about painting, decorating, creative projects, and whatever else happens to come up in the conversation. It’s hosted by Betsy Thompson and Dan Hansen from RepcoLite Paints.

This week Betsy and Dan discuss how to find the inspiration for your next color scheme. It often seems overwhelming to pick colors when you find yourself standing in front of a color display that offers over 3,000 varying tones and shades! But the good news is that finding inspiration is much easier than you might think!

Episode Outline

  • Nature (1:24)
  • Our Expanded Neighborhoods (3:24)
  • Our Existing Decor and Furniture (12:20)
  • Our Closets (15:54)
  • Magazines (19:07)
  • Your Own Photos (21:43)
  • Online Tools and Sources of Inspiration (25:15)
  • The Unusual and Unexpected (35:30)

Links for Online Tools and Sources of Inspiration

We spoke about a number of sites that we recommend for finding inspiration. Here are the links for everything we mentioned!

  • Design Seeds (browse 1000’s of photos/color schemes)
  • Houzz (browse 100’s of 1000’s of photos for inspiration)
  • Pictaculous (upload your own photos to create color schemes)
  • Easy RGB (to convert web-specific colors into Benjamin Moore color numbers!)

And here’s one more site we strongly, strongly recommend:

Palette Generator.com

palettegenerator
This site completely replaces Pictaculous (mentioned above). If we’d known about this one before we recorded our podcast, we’d have included it and left out Pictaculous. And here’s why: it’s way easier, it provides much better information, and, best of all, you can mark off a section of the photo you uploaded and only draw colors from that location! It is easily one of the best online sources for finding inspiration you’ll ever use–especially when you use it in conjunction with the EasyRGB site mentioned above. Below are just a few examples of color schemes Betsy put together based on her own photos and the color recommendations from palettegenerator.com!

The colors above came together quickly! And it was fun to do. Sure, the colors recommended by PaletteGenerator.com needed to be adjusted and toned down somewhat, but it still gave us some direction to get started. In fact, we both agreed that using the website was much quicker than even taking the photo to the store and trying to find colors to match. It’s a powerful tool to help you go from 1000’s of options down to just a few in literally seconds!