

This week, Betsy and Dan talk about decorating kids’ rooms. These are great projects and can be a lot of fun: you’ll get to use colors you might not typically use and you really get to put your creativity on display! But how do you create something that the kids will love–with all their favorite colors–without having the whole thing turn into, quite literally, a circus? That’s what we talk about in this episode, so give it a listen!
View our Pinterest Board for Episode 6!
Episode Outline
- Involve Your Kids With the Decorating! (0:30)
- What Do We Do When the Kids Pick Crazy Colors? You Compromise! (4:32)
- My Son Embarrasses Me In Public (5:00)
- Pick a Lighter Version of the Color (8:02)
- Pick a Muted or Muddier Version of the Color (10:11)
- Paint an Accent Wall (13:43)
- Doors, Window Frames, Ceilings . . . (15:0o)
- Accessories (16:30)
- Choose the Right Paint and the Right Finish (17:30)
- The Right Paint (17:57)
- The Right Finish (21:46)
- Our First Email Question! (23:06)
Benjamin Moore Waterborne Ceiling Paint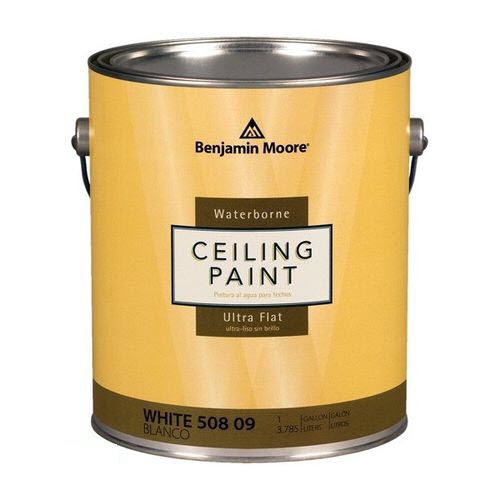
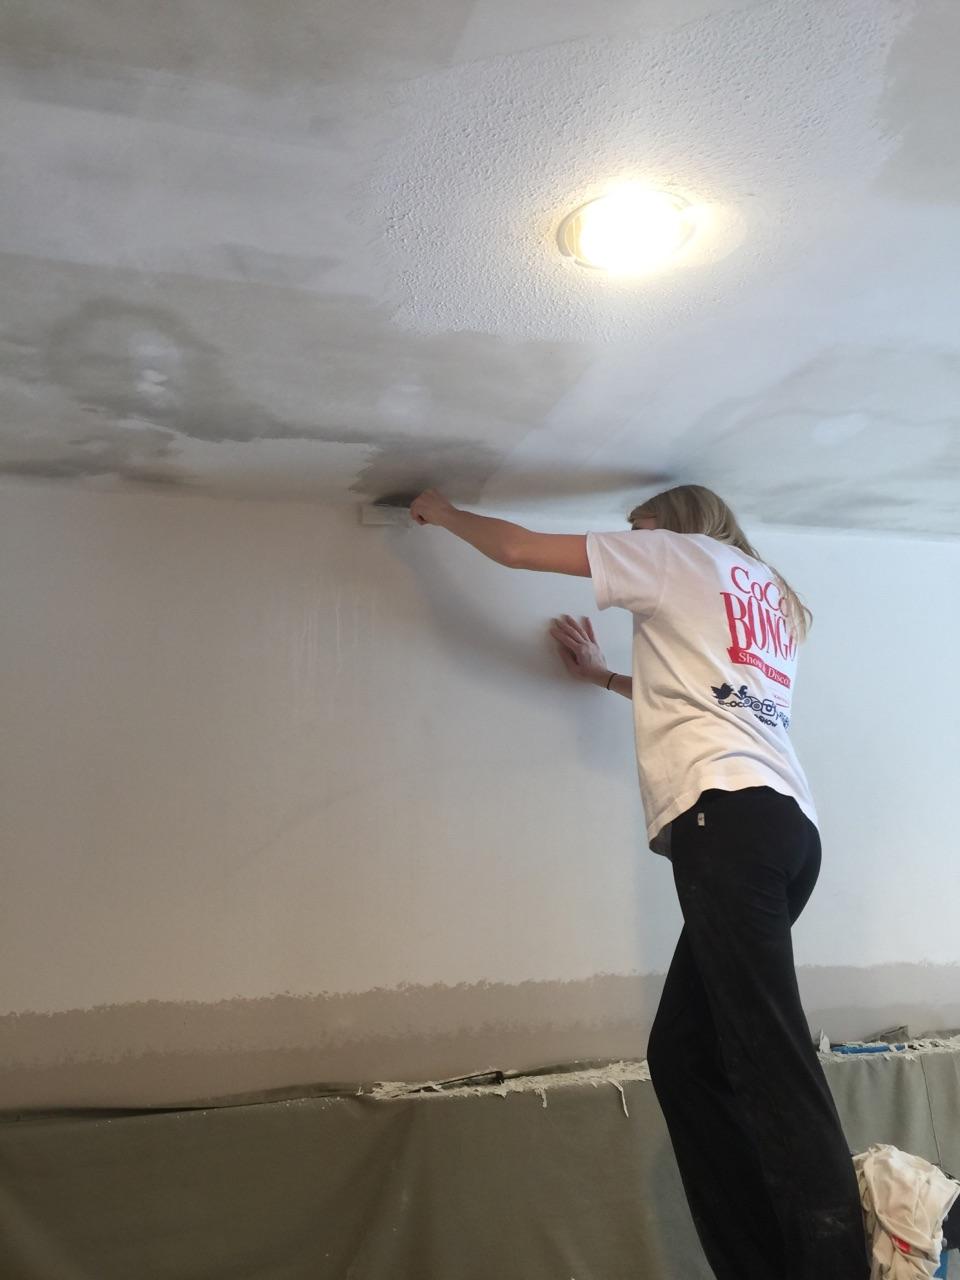
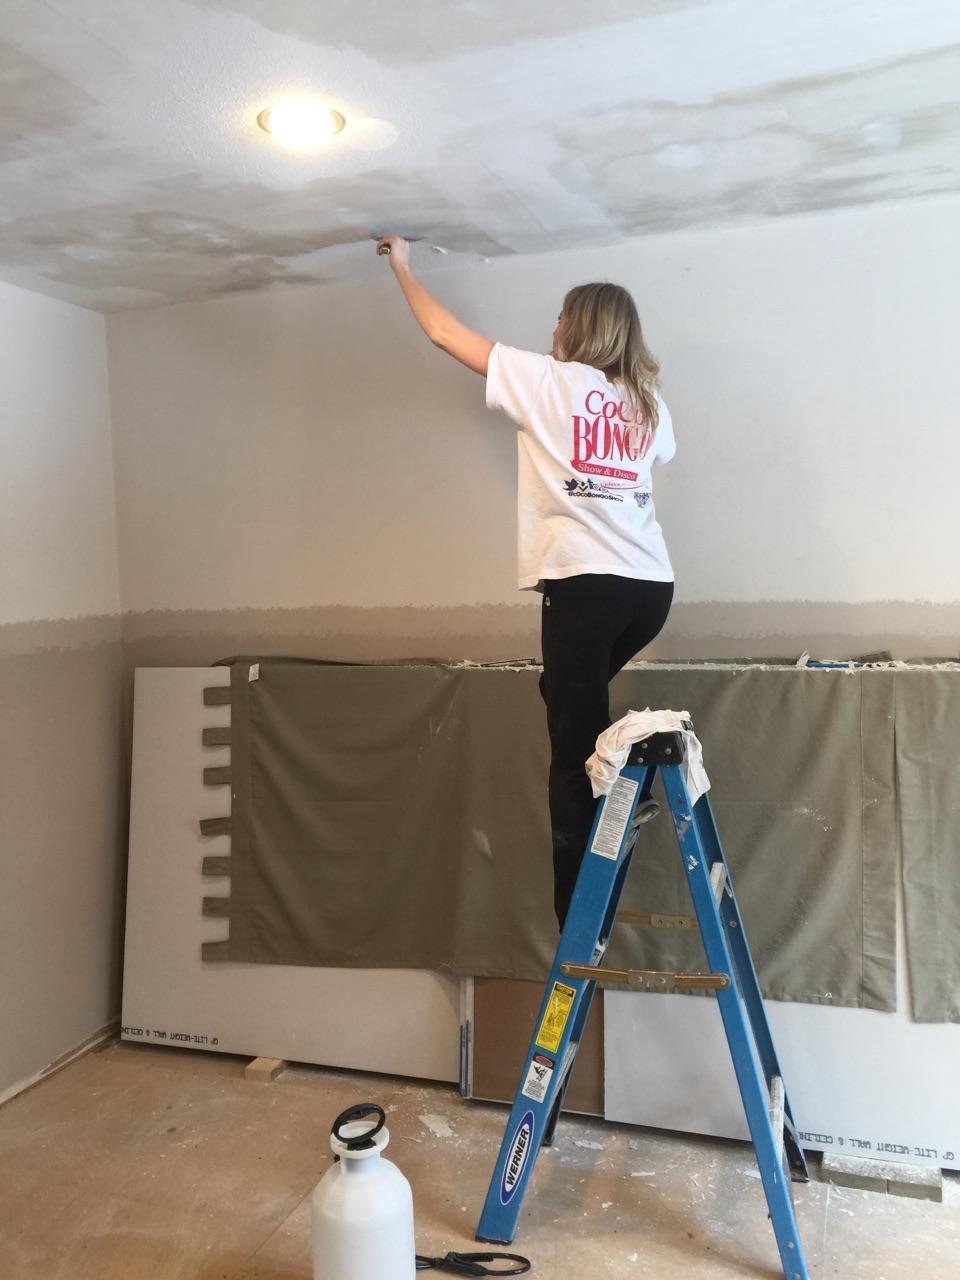
In the podcast, we mentioned ceilings as a potential area to bring in some color. If you’re going to give that a try (and you should, because it’s a very cool idea that’ll payoff with great results!) then you should definitely be using Benjamin Moore’s Waterborne Ceiling Paint. It’s specifically formulated for ceilings, and provides an ultra flat finish that easily hides common ceiling imperfections. It’s easy to work with, has minimal spatter and dries very quickly for fast recoats.
- Superior hide for a flawless finish
- Flattest finish offered by Benjamin Moore
- Conceals common surface imperfections
- Easy application with fantastic results
- Formulated for minimal spatter
Recommended Paints for Kids’ Rooms
We covered 4 different products that would be perfect. Here’s a quick summary in case you didn’t have a note pad to jot all the good ideas down while the podcast was playing:
Hallmark Ceramic Paint by RepcoLite
Hallmark is our Premium interior paint. It’s created with Ceramic microspheres and provides exceptional washability and durability even in our matte finish. Hallmark is available in a Matte, Eggshell, Satin Sheen, and Semi-Gloss.
Aura by Benjamin Moore
Aura delivers remarkable durability and offers the most advanced way to bring color to life. Using Benjamin Moore’s exclusive Color Lock® technology, Aura paint brings you discernibly richer, truer color. Aura is ideal for kids’ rooms whenever you’re using colors with poor coverage or if you’re covering over other bright and bold colors. The reason? Aura’s specifically formulated to cover and hide better than any other paint out there. If you don’t want to fuss with 3 or 4 coats, choose Aura!
Regal by Benjamin Moore
Regal paint stands up to today’s active lifestyles in colors and finishes that create the home you’ve always imagined. A premium quality coating featuring Advanced Particle Technology® which includes our proprietary 100% acrylic resin. This makes the finish itself more durable, providing for superior uniform coverage as well as easier touch-ups. Additional benefits include spatter resistance for easier clean-up, and superior coverage for a flawless finish in fewer coats.
Natura by Benjamin Moore
Natura Waterborne Interior Paint continues Benjamin Moore’s commitment to providing the most environmentally friendly paint. Natura goes beyond zero VOC* to offer zero emissions** and no harsh fumes***, making it a safer paint for your family and the environment, all without compromise to performance or color selection. Natura is truly “Green Without Compromise®.”
Carefree by RepcoLite
While we didn’t mention Carefree in the podcast, we certainly should have! Carefree is a tremendous product for walls, will give you great washability and durability, and will price out below all of the other products here! If you’re working on a budget, Carefree might be a great option to consider.
Recommended Finishes for Kids’ Rooms
When it came to finishes, we strongly recommend either Satin Sheen or Semi-Gloss for your trim, doors, and furniture. Semi-Gloss finishes hold up well and wash up readily.
For your walls, however, our favorite choice is an Eggshell Finish. It’s dull enough to hide wall imperfections (Betsy kept referring to the dings and dents made by someone bouncing a ball of the wall . . . perhaps something she was guilty of long ago) but it also has enough of a finish to be washable.
Further Reading
We drew from a lot of articles and posts when we gathered info for this podcast. Here are just a few of them if you’d like to read further!
- Let them Help: Decorating With Your Kids’ Input!
- 3 Ways To Compromise WIth Your Kids About Paint Colors
- 9 Designers Share Their Advice for Decorating With Children


 Has this ever happened to you: you walk into the paint store for paint and then spend the next three days or a week or more agonizing over the color chips you brought home? You hold them up to every piece of furniture in the room. You lay them on your carpet, on your end table. You try to picture them large scale–covering your walls. You debate between one shade and a slightly darker shade. And then, finally, after all the debate and analysis and agony, you pick the perfect colors.
 Most folks forget about their ceilings when it comes time to paint and as a result, most ceilings are forgettable.
 However, there’s something very interesting to realize here: many folks understand this concept and they figure that painting those ceilings white will really serve to open the room up. However, think about this: if you’ve got a medium toned color on your walls, no matter what shade, a white on the ceiling can often produce a very sharp distinction between the walls and the ceiling. This sharp distinction, this high contrast between walls and ceiling, can often lead people to conclude that their wall color doesn’t work–that it needs to be repainted.
 Imagine the same room with a white ceiling. In fact, you don’t have to imagine it, look at the picture below. That’s the same room with a standard white on the ceiling and the whole mood of the room changes. The stark white on the ceiling makes the green on the walls feel harsh. Many times, folks would paint a room like this, think they love that green, only to be back later for new paint because the color’s just too strong on the walls.