Is Primer Really Necessary? Not If You Like Problems!

OK. We all love saving time, right? Of course we do. My kids do as well. In fact, everytime I ask them to help with any household task, they instantly slide into “time-saving-mode”. Which really just means that they look for shortcuts and ways to cut steps out of projects.

For example, when it comes to doing dishes, they routinely cut out the “scrubbing” step. We don’t have a dishwasher and so we end up standing at the sink every night after dinner. And since this is so boring, the kids have found that they can skip the scrubbing step in order to cut a lot of time out of the job. They run their little fingers over the glasses and the forks in a half-hearted cleaning effort and then they rinse like champions.

And then, days later, we have a guest over and inevitably, the guest needs a glass of water or something. And I get a cup out of the cupboard and stifle a scream when I see a spaghetti noodle, crispy and razor sharp, draped across the cup like a worm on the sidewalk in the sun. I try to hide the glass and reach for another only to find a hunk of hamburger stuck to the next one. Quickly, I toss that one behind my back and reach for a third glass only to find that it’s lined with sticky, leftover Mountain Dew.

I wish I were exaggerating, but I’m not. It’s really embarrassing. And it proves the point that saving time by skipping steps isn’t always the best plan.

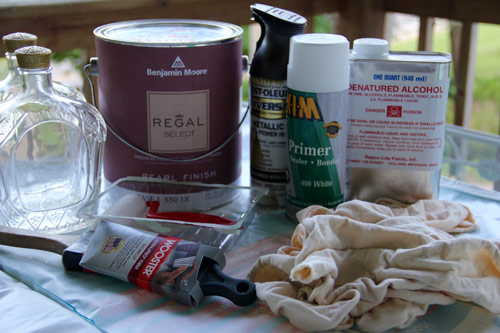
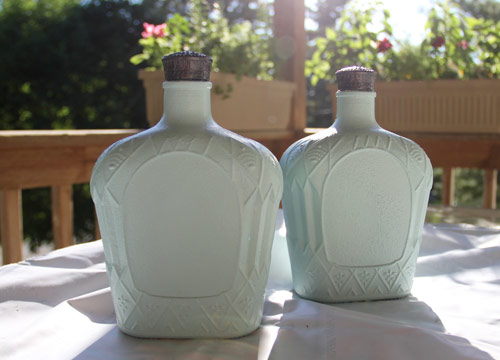
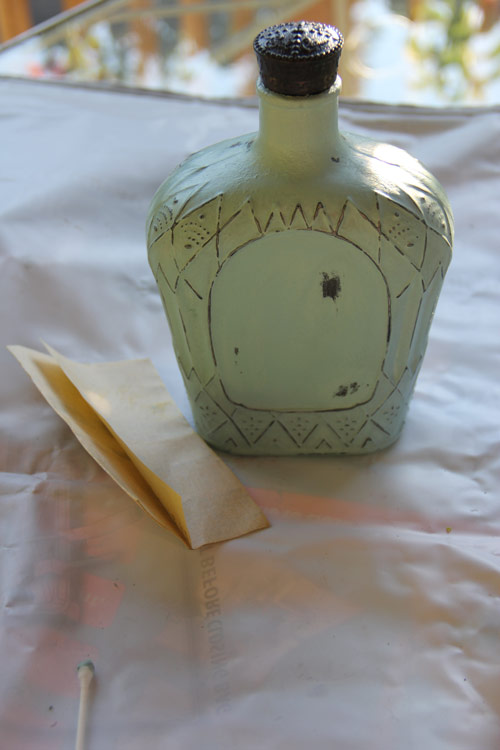
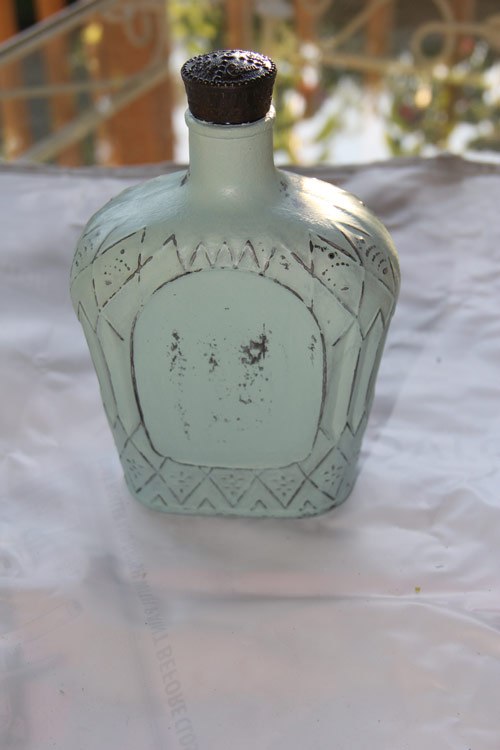
And that’s brings me to the paint point: Many of us want to save time on a paint project and one of the easiest ways to do that is to cut out the primer step. After all, it’s just a time-consuming, boring, and labor-intensive step that serves no real purpose, right? Why put 1 coat of primer and 2 coats of finish when we could just do 2 coats of finish? Can’t we save time by just skipping the primer and going straight to paint?

It’s a great question and we’re going to answer it in chunks. First, let’s start by pointing out that paint and primer are fundamentally different products which serve fundamentally different purposes. Yes, they look similar in the can and they’re applied the same, but a lot of the similarities end there. Paint is designed to take tint and lock that color in a paint film that offers you a sheen (should you want one), scrub resistance, durability, and protection from the elements. Paint is designed to look beautiful and provide you with the durability you need on any given surface.

Primer, on the other hand is made to seal, to adhere, to block a stain, to resist rust, and for a wide variety of other specific situations:

So, using a finish paint on bare drywall, for example, is going to cause problems. Yes, you’re skipping the primer step, but in that instance, you’ll find that your more expensive finish paint is soaking into the surface unevenly. If you used a finish with a sheen (anything other than flat), you will notice that the wall has dull areas (where the paint soaked in) and shiny areas (where it didn’t). Subsequent coats will not completely even this out and you have the potential to produce a wall that has shiny spots that are visible no matter how many coats you apply. A specific drywall primer like RepcoLite’s Quick Seal would resolve this problem for less money!

Using a finish paint over a ceramic tile backsplash is only going to result in sorrow when you find your paint peels off whenever you bump the wall. Again, a bonding primer like Stix from Insul-X, would take care of the problem!

The bottom line is this: skipping the primer may save you some time, but it will likely cause a larger number of problems that are much more complicated and expensive to deal with. If you’re unsure if the project you’re tackling requires a primer, let us help! Just ask at any RepcoLite or Port City Paints location and we’ll let you know the best way to proceed.

Now, of course, the next issue that comes up revolves around the paint and coating industry’s newest innovation: Paint and Primer All-In-One products! All this talk about primers goes out the window when you’re using one of these miracle all-in-one products, right? Well . . . not so fast. We’ll deal with that in the next post!


Color Me Home Episode 13: 3 Surefire Decorating Fails

In this episode, Betsy and Dan discuss 3 Surefire Decorating Fails (and, of course, how to avoid them!). In every decorating project there are certain things that can trip us up, wreak havoc with our plans, or just complicate everything we’re trying to accomplish. These are common pitfalls. But the good news is that they’re remarkably easy to avoid!

Check out all the projects we discussed on this episode!

Episode Outline

  • Mistake 1: Choose Your Paint First! (0:50)
  • Mistake 2: Go All “Matchy-Matchy” With Your Colors (6:06)
  • Mistake 3: Keep Something That Doesn’t Fit With Your Style! (13:40)
    • Fix 1: Paint It! (16:03)
    • Fix 2: Strip It! (19:54)
      • Tip: Use a Heat Gun (23:33)
      • Tip: Strip Painted Hardware in a Crock Pot! (23:58)
    • Fix 3: Repurpose It! (27:16)

Choose Your Paint Last!

We were pretty clear about the importance of choosing your paint last. Still, we have a number of resources on our blog that speak to this point. And here they are for your reading pleasure!

The Crockpot Solution!

At one point, Betsy referenced a Crockpot solution for removing paint from painted hardware. And, of course, there was a bit of a discussion as to the right methods to use: is it plain water brought to a boil? Or do you add vinegar. Dan thought vinegar made sense. Betsy thought just water. Turns out, Betsy was more right (which, by contract, Dan is forced to admit).

Anyway, the process is simple:

  • Get an OLD Crockpot that you intend NEVER to use again for food!!!
  • Put water and a little liquid laundry detergent in along with the hardware and set the Crockpot to medium.
  • Let it “cook” overnight.
  • In the morning, you should be able to peel the layers of paint off with your fingers.


Color Me Home Episode 12: The Keys to a Happier Laundry Room

Did you know that on average, a mom can spend up to 5 months of her life doing laundry per child! On today’s episode, Betsy and Dan talk about how the right color–used in the right spots–can help you make your laundry room a better–possibly even happier–place to be.

Check out all the laundry room ideas we discussed on the episode!


  • The Thrilling (Depressing) News Article about Laundry! (0:48)
  • The Importance of Color in Decorating (4:00)
  • A Brief Overview of the Psychology of Color (4:24)
  • Choose Color Based on Your Goals for the Room: (6:17)
  • Great Colors for Laundry Rooms (6:50)
  • How To Bring Color Into Your Room
    • Put the Color on the Walls (7:30)
      • Tips for Working With Yellow in Your Decorating: (9:32)
    • Put the Color on the Cabinets (12:11)
    • Bring in Unexpected “Pops” of Color (16:22)

Betsy’s Color Recommendations

As we mentioned in the episode, Betsy pulled some Benjamin Moore colors that she thinks would be perfect in a laundry room. We’ve included each color with a combination of other colors recommended by Benjamin Moore. Use these for inspiration for your laundry room. And be sure, as Betsy mentioned in the episode, to come and see the colors in person–the actual chip will probably look quite a bit different from the color you see on the screen!

Color Me Home Episode 11: Brighten Your Basement Walls!

On today’s episode, Betsy and Dan discuss a question that comes up at RepcoLite Paints all the time: how do I paint my basement walls? Basement walls often present homeowners with a number of unusual obstacles when it comes time to paint them. In this episode, you’ll discover everything you need to know to confidently brighten up what can often be one of the darkest, dreariest places in your home!

Episode Outline

  • Check for Moisture and Determine the Cause! (2:28)
  • What is Efflorescence? (6:50)
  • Fixing Moisture Issues Inside! (8:27)
  • Fixing Moisture Issues Outside! (12:16)
  • Getting the Walls Ready for Paint (16:17)
    • Dealing With Efflorescence (16:40)
    • Remove Flaking Paint (18:36)
    • Remove Dirt and Grease (19:48)
    • Kill Mold and/or Mildew (21:30)
    • Dry the Walls (22:22)
  • Painting a Bare Wall with No Moisture (23:03)
    • Betsy’s Easy Test for Moisture (23:45)
  • Painting Bare Walls that Have Moisture Issues (26:58)
    • WaterBlock (27:10)
    • Applying WaterBlock (30:24)
  • Painting Previously Painted Walls (33:16)

WaterBlock by Insul-X

As we mentioned in the episode, WaterBlock is a masonry waterproofer that needs to be applied over bare concrete in order to be effective. In the episode, we debated whether or not it was tintable. Turns out, it is! You’ll be limited to lighter colors, but it definitely can be tinted. If you’d like more information, check out the podcast. Or, you can click the button below and download the Technical Data Sheet!

Download WaterBlock Info

How to Paint and Distress Crown Royal Bottles

So, what does The Purple Stiletto do with things that most people would throw away? Get creative, of course!

I was presented with some clear glass bottles, the contents having long since been enjoyed. The texture was exactly what I was looking for! This made things interesting and, in some way, made my job easier.

I started by gathering the supplies that I would need for a day of creativity….and waiting for paint to dry.

  • Empty bottles … check!
  • X-I-M primer (because it sticks to glass) … check!
  • Metallic spray (bronze because I’m currently on a dark metallic kick) … check!
  • Latex paint for topcoat (way more than I needed but it was a mistint gallon I changed to suit my mood) … check!
  • Denatured alcohol & rags for distressing … also check!

IMG_6523_web

With my supplies gathered together, I was ready to prime my glass. Now, I should mention that all adhesive residue and grease had been cleaned from the bottles before I started this project. Also, I realized that the lids may not screw back on correctly if the threads had been painted over, so I decided to tape the opening of the bottles to be on the safe side.

IMG_6528_web

While I waited for the primer on the glass to dry, I painted the caps with a very small artist brush and practiced walking around in my stilettos.

IMG_6526_web
After letting the primer COMPLETELY dry on both the bottles and lids (and with aching feet!), I sprayed a couple basecoats of the bronze metallic according to the can instructions. This one specifically said to spray multiple light coats in a one hour window. And, being that it was quite humid when I did this project, it took all of my patience to let the paint dry all the way before moving on to the topcoat.

IMG_6539_web

After some lunch and a short walk with the dog (not in stilettos), my paint was FINALLY dry! I decided to try rolling the latex topcoat. I have done other projects that I brushed out and was not really happy with the brush strokes. This is nothing but a game of trial and error. As I found out, I did not like the rolling any better. Next time, I think I will try spraying.

IMG_6541_web

Two coats of latex (and more waiting) later, it was finally time to see what I could create!

Now, I will say I was going to just use a rag to wipe on the denatured alcohol but too much dry time gives one plenty of time to think of other ways to distress.

In the end, I began with a gray scuff pad lightly dipped in the alcohol. I did not want to put too much on, for fear it would eat away more paint in certain areas than I would like. I alternated between the scuff pad and rags, taking off paint only on the raised areas.

When I was happy with the raised areas, I moved on to the center of the bottle. For this, I tried a couple different techniques. The one I liked the best was cutting through certain areas with a piece of sandpaper. Just as I was getting to the metallic layer, I switched to denatured alcohol and a rag. From there, I was able to “buff out” the rough edges made by the sandpaper and reveal just the right amount of bronze. I could plan the “wear spots.”

IMG_6543_web

The other technique I tried was just continuously wiping the whole center section with alcohol until the bronze wore through. I did not like this as well because I felt it looked a little splotchy when it was done. I much prefer the “planned aging” look!

IMG_6544_web
I left one bottle center plain. I think it could be used for a monogram or initial. The jury is still out on what to use the blank space for. Perhaps the Purple Stiletto symbol (which I have yet to create)? These are the two completed bottles. Just another day’s work. The Purple Stiletto crafts again!

IMG_6545_web