 Another post from our Super-Hero Decorator guest writer, The Purple Stiletto!
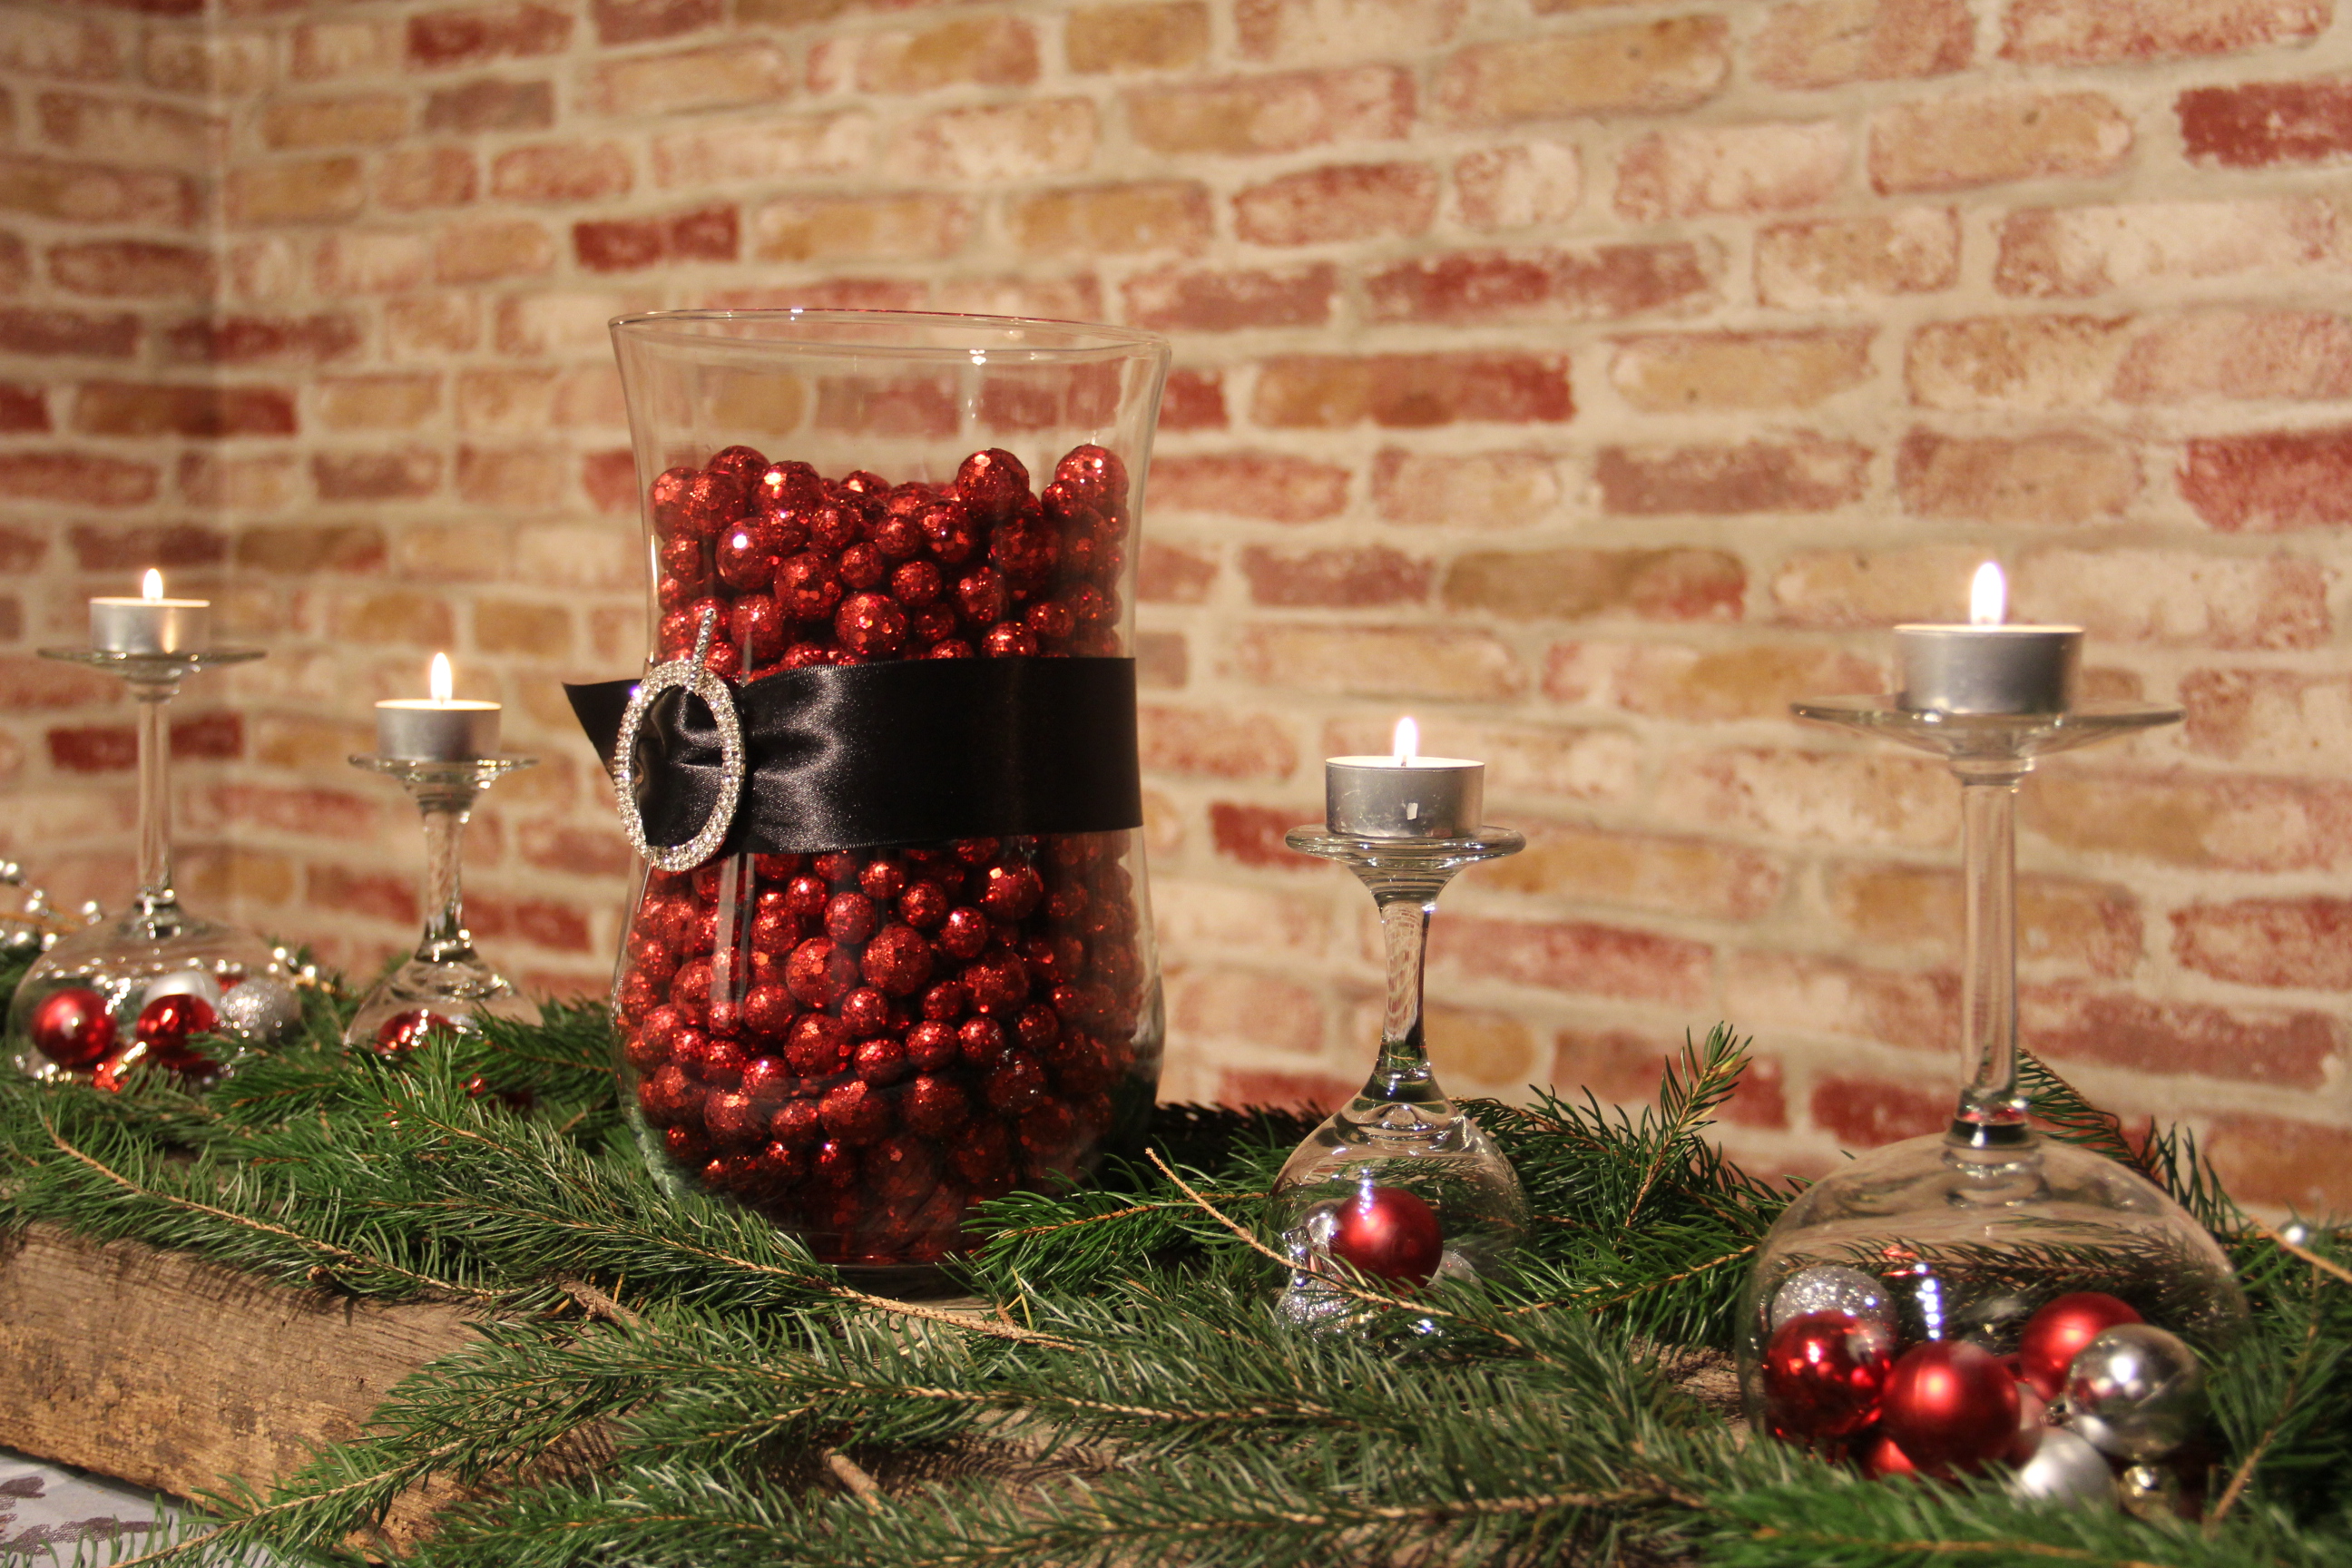
Now, the most obvious basic item was the leftover branches from the bottom of my Christmas tree. They were going to add color and texture to the top of the mantel. I also collected together tea lights, small red and silver Christmas bulbs, unused wine glasses, an empty vase, ribbon, a rhinestone buckle and some sparkly red balls.
I started by laying the branches from my Christmas tree on the mantel. I let them drape over the edge just slightly. Next, I filled the vase with red balls, wrapped black ribbon around the middle and secured with a rhinestone buckle. I placed the vase in the center of the greens, then grabbed the wine glasses. I filled the glasses with red and silver Christmas bulbs and then turned upside down. I arranged the glasses among the branches on either side of the vase. I set tea lights on the bases of the wine glasses and stepped back to admire my handiwork. Fabulous! Now THAT was a mantel worthy of my new stocking!
OK, so I know most people would have stopped there, but I still had ideas that were begging to be used. The Purple Stiletto dreams in glitter and color all the time! So what to do with the remaining mantel idea…
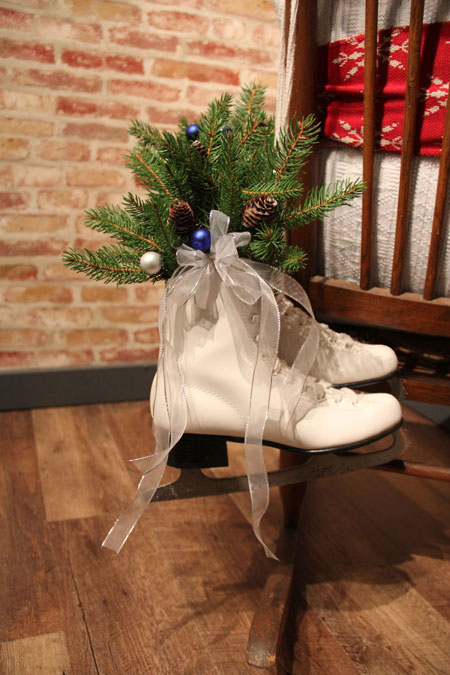
I know! The Red Ranger needs a little holiday cheer! Yes, he has a tree (an artificial one with a pine scented car freshener to make it “smell real”) and lights and some Christmas tidbits here and there but he could really use an amazing mantel too!
I loaded some supplies in my car and dashed through the thickening snow. Under the cover of night, while Red Ranger slept with visions of sugar plums and glitter dancing in his head, I snuck in and worked my magic on his exceptionally dull fireplace.
I, again, began with branches from my Christmas tree. I put a beautiful pillar tree candle in the middle of the branches and began working my way along the mantel. I added large wine glasses with pale blue and silver ornaments, flipped them over on either side of the center candle and added tea lights to the base of the glasses. I followed this with medium, white pillar candles along the length of the mantel, alternated with small glass votives. I scattered the remaining blue and silver ornaments among the greens and candles for a little sparkle. I lit the candles and the effect was breathtaking! It was beautiful! Now, the Red Ranger’s house was dressed for the holidays.
I snuck out, grinning to myself and wondering what the Red Ranger was going to think when he woke up…
As the Purple Stiletto settled into her armchair next to the fire with a glass of wine (in a Christmas glass, of course!), she reflected on how amazing it was that such simple objects could completely transform a mantel. The same items could also be used down the center of a table or buffet, but that was for another day. It was time for the Purple Stiletto to kick off her shoes, put her feet up and relax as the scents and scenes of the season washed over her. How was she ever going to make it better next year…


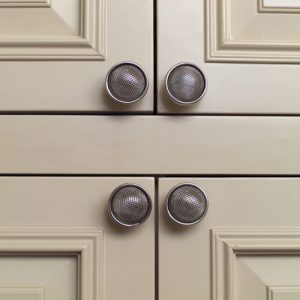 Did you know that the average cost of remodeling your kitchen is right around $20,000? Yes, $20,000. That’s a significant amount of money. So significant, in fact, that it means I won’t be doing any kitchen remodeling anytime soon. Sure, I’d like new cabinets or a new backsplash or a new floor, but we’re just too attached to having things like groceries and running water. And I don’t think we’re alone. A lot of people like groceries and running water. And yet, many of those same people also wish they had a better kitchen.


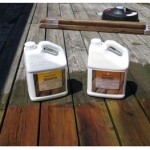
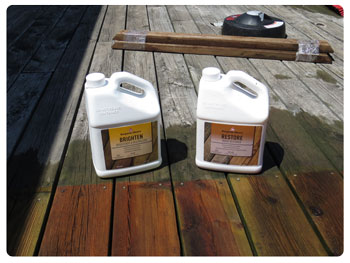
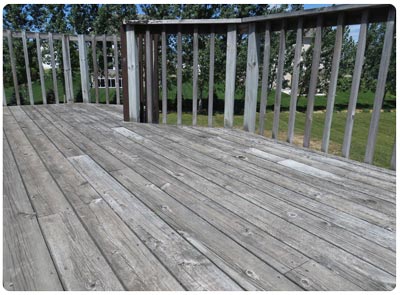 “We just bought a new house and the deck looks terrible! It’s gray and faded. How do we get it ready for a new coat of stain?”