
Now, the last post may have left you wondering whether our chemical stripping had ACTUALLY led to success. Were the very sweaty hands in heavy rubber gloves really worth it? Was it really worth the extra expense of buying a stripper?
The undeniable answer is ABSOLUTELY YES!!
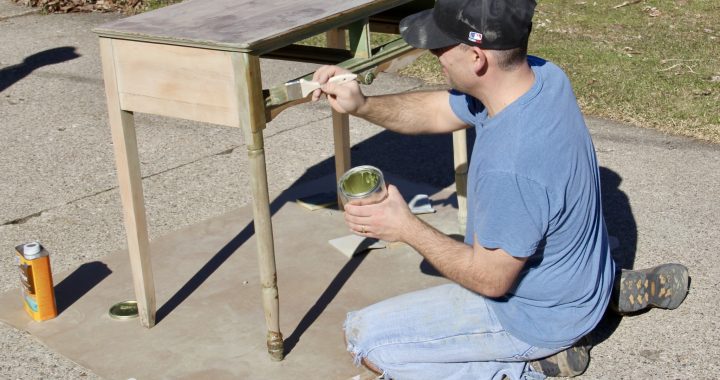
As we slowly scraped away the chemical stripper with a plastic putty knife (yes, that is important because we didn’t want to risk scraping the wood) we saw that the paint on the top wasn’t hiding problems but amazing potential.
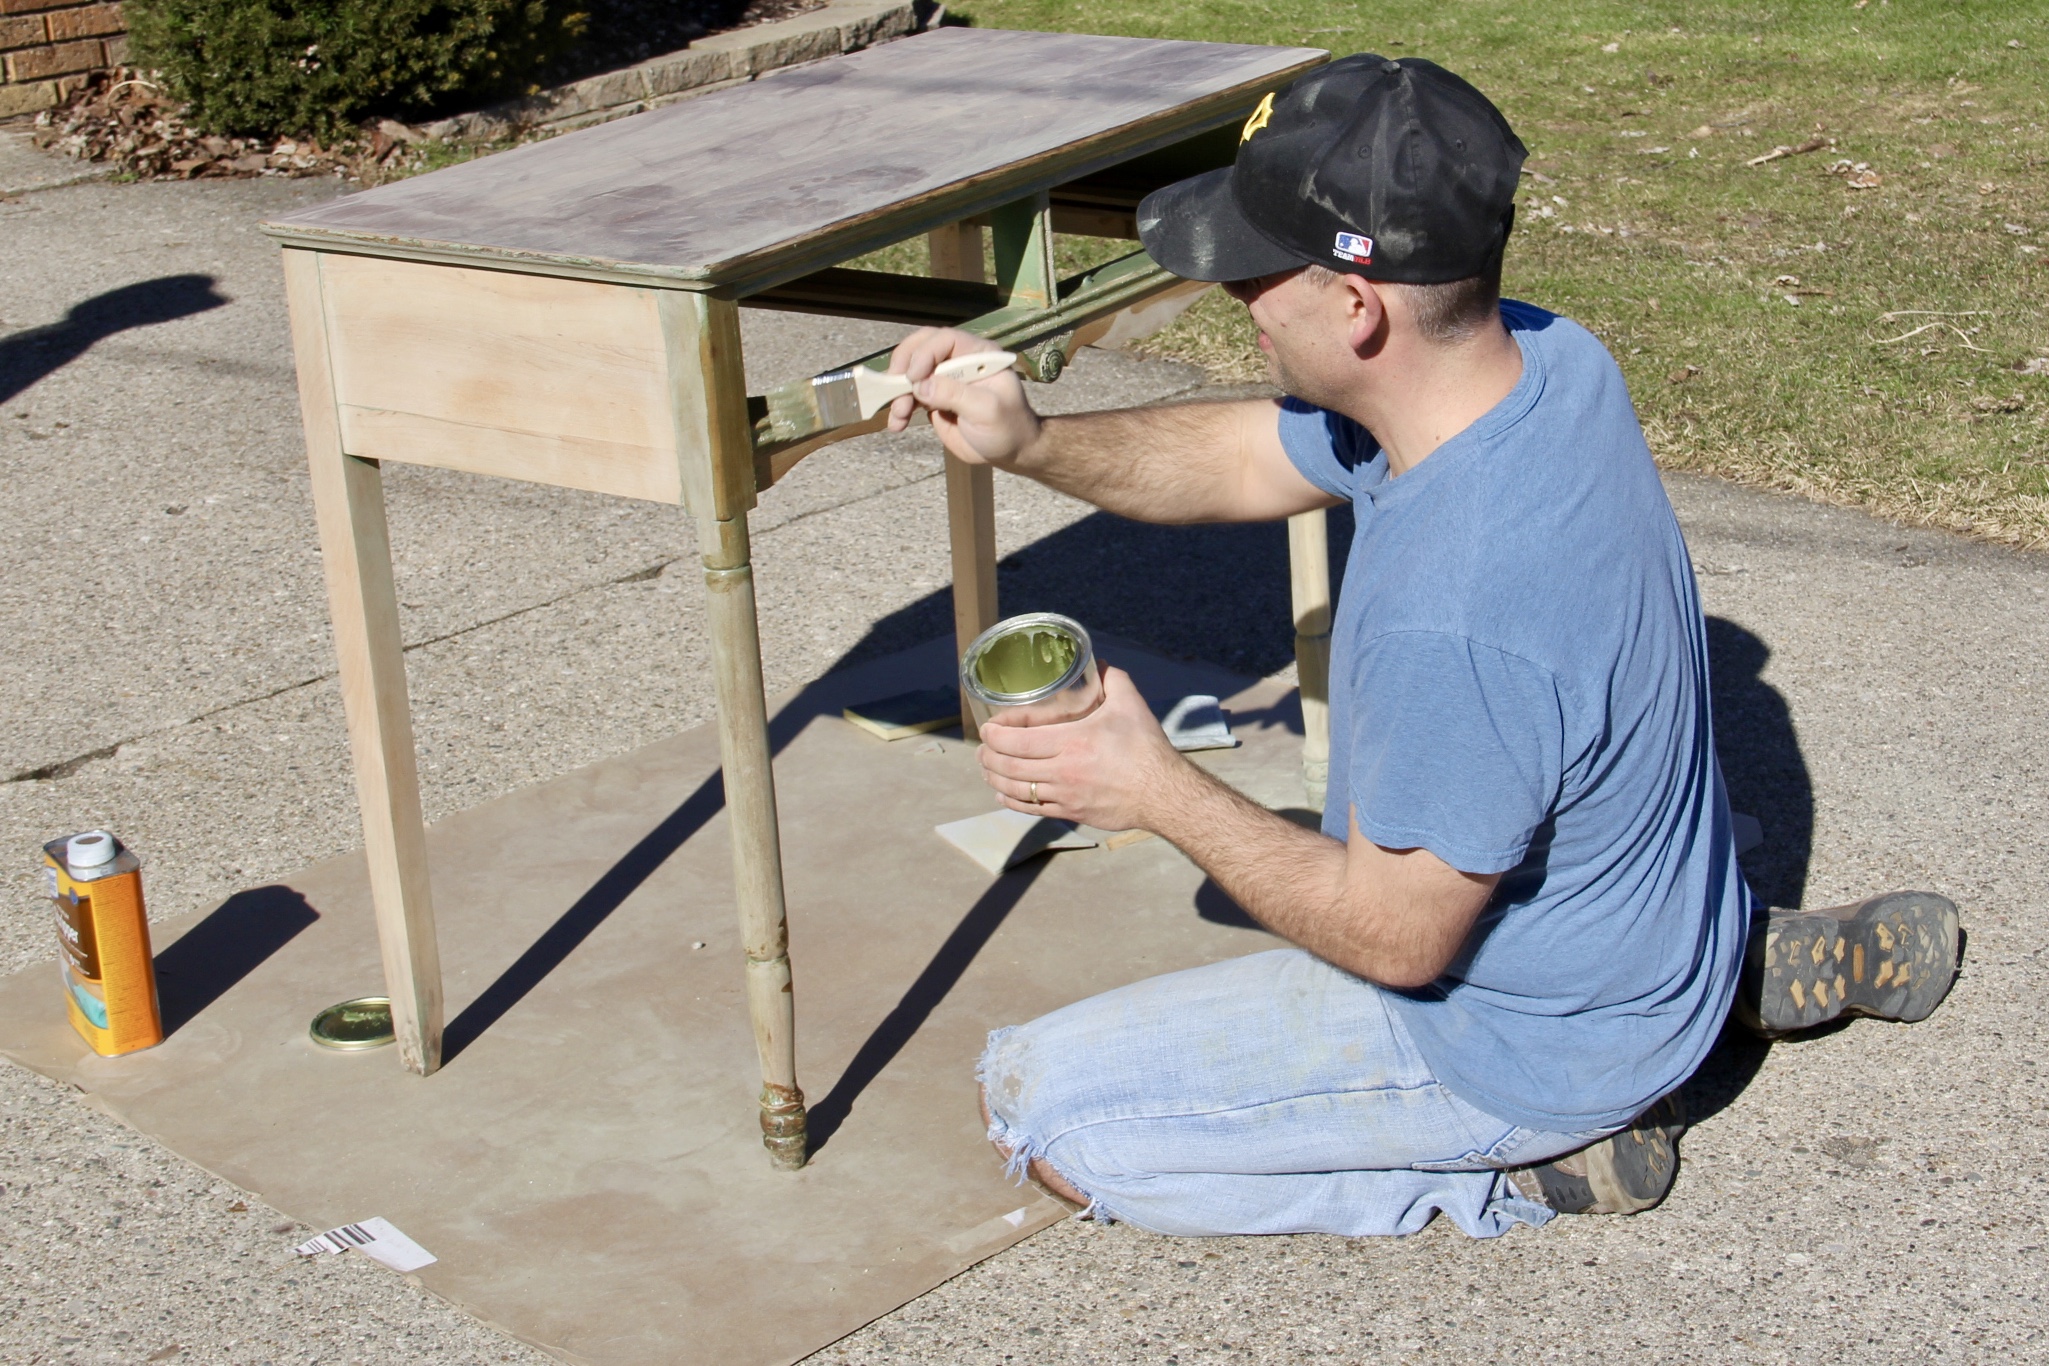
The legs and some of the decorative work needed a few extra coats of chemical stripper to get all the old paint off–mostly because it refused to give up its seat in all the little nooks and crannies–but eventually we saw our little desk for all that it was. And we were thrilled!
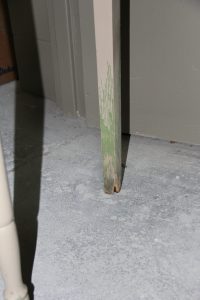
Well, except for those back legs that were missing chunks because of rot…. And the drawers that were so broken that the slightest tug left you holding the front of the drawer while the rest of it fell to the ground in a clatter of old wood!
So, we’d discovered beauty beneath all the old paint. But we were also left with a number of problems that made us pause and consider our options. As we mentioned in the last post: furniture refinishing is ALL about rolling with the punches. It’s about being flexible. We had wanted to stain the entire desk, bringing out the beautiful wood we just “knew” was there. Turns out with the broken and rotted legs, staining was out of the question. We’d stain the top of the desk, but paint the rest. But that still left us with some problems: broken, crumbling drawers and the rotted legs.
Lesson Three: There’s Usually a Fix!
And that’s the next lesson: There’s usually a fix. Never forget that! And don’t zip by it tooquickly. Understand that even if you don’t know the answer to a problem, that doesn’t mean there isn’t an answer. At RepcoLite, we work with these types of projects all the time. We’ve helped with so many different situations, there’s a good chance we’ve seen what you’re working on. Also, there are many tools and products on the market of which homeowners are completely unaware.
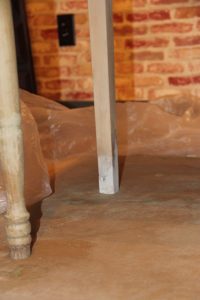
So to go back to the desk example: those rotting legs needed repair. To help with that, we pulled a container of Min-Wax Epoxy Wood Filler from our shelves and mixed up a batch. It’s an incredibly tough wood filler that hardens chemically and, therefore, very quickly.
We mixed it up according to the directions and then built a sleeve out of cardboard to go around the legs that needed help. The sleeve helped us form the putty into the shape necessary and it held it long enough for it to harden and hold that particular form. Then we removed the cardboard and started sanding. It didn’t take long before the legs were once again solid and smooth. And best of all, the epoxy wood filler we used was durable and tough! These legs were basically better than new!
Then it was on to the drawers! And this was an easy fix. The dovetail joints holding the drawers together were already weakening. So all we did was carefully pull them apart the rest of the way, clean off any glue residue that remained, and then cut a new drawer bottom out of 1/4″ MDF. After that, it was just a quick matter of putting everything back together and regluing those joints! The end result, again, was better than new!
And that’s the big point here: you may tackle a project and run into a complication that leaves you frustrated or ready to give up. The rotted legs and the broken drawers didn’t do much for our attitudes regarding our desk, after all! But, before you call it quits on a particular project remember that there is usually a fix! You may need to ask some questions. You may need to learn about some new products. You may need to pick up a new repair skill. But the answers and the fixes are out there! Stop out at any RepcoLite or Port City Paints and ask. We’ll get you moving in the right direction.