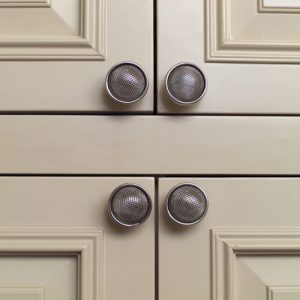
 Did you know that the average cost of remodeling your kitchen is right around $20,000? Yes, $20,000. That’s a significant amount of money. So significant, in fact, that it means I won’t be doing any kitchen remodeling anytime soon. Sure, I’d like new cabinets or a new backsplash or a new floor, but we’re just too attached to having things like groceries and running water. And I don’t think we’re alone. A lot of people like groceries and running water. And yet, many of those same people also wish they had a better kitchen.
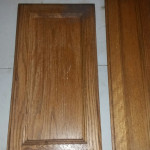
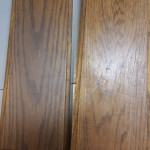
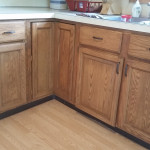
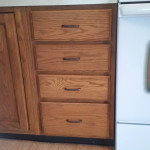
And that brings me to the good news: there are many things you can do that will help you update your kitchen without forcing you to give up those little luxuries we all like to have. Like food in the refrigerator. And one of those projects is painting your kitchen cupboards. If the doors and drawers are structurally sound, why rip them out and replace them? With a little elbow grease, some time, and the right products (I’m looking at you RepcoLite and Benjamin Moore), you can brighten them up and, in so doing, completely change the look and feel of your kitchen. And all for very little money!
If you think this project could be perfect for your kitchen, here’s what you need to do:
STEP ONE: Remove the hardware and hinges and label the doors with their location. Removing the hardware and taking the doors down requires no explanation. However, let me stress the importance of labeling the pieces. You definitely want to make sure you do this! Find a system that will work for you and make sure to mark each door and drawer as well as the place they go in the cabinet. Safe-release (Delicate Surface) painter’s tape works well. Just make 2 tags with a “1” and put one on the back of the door, and the other on the frame of the cabinet where the door goes. It’s a simple step, but will help you when it comes time to put things back together!
STEP TWO: Closely examine the surface of the cabinets and drawers and be sure to remove any peeling paint by sanding and scraping. Whatever paint remains on the surface of your cabinets must be sound! New paint brushed over a peeling surface won’t make that old layer stick. The old layer will continue to fail and will take the new one with it. So make sure that whatever paint you leave on the doors is adhering well. Also, if you have to scrape or sand off some of the paint, make sure that you spend some time feathering the bare spots into the spots where the paint remains.
STEP THREE: Clean the surfaces thoroughly. After taking care of loose, flaking, or peeling paint, you need to clean the surfaces with a mixture of 1 part TSP to 4 parts water. Kitchens are sources of many different surface contaminants and you need to make sure that the surface you’re painting is clean and free of grease, dirt, and so on. Use a Scotchbrite (“scrubby”) pad with the TSP to thoroughly clean the surfaces. And if you have some really stubborn dirt or grease, use the degreaser Spray Nine.
STEP FOUR: Scuff-sand the surfaces you’re going to paint. You can use an orbital sander for this, or you can do the sanding by hand. Either way, use either 180 – 220 grit sandpaper. The goal isn’t to sand through the current finish, it’s just to lightly scuff it. And when you’re done, remove all the dust from the cabinets. You can blow them off with an air compressor, vacuum the dust off, or wipe it off with a solvent like Denatured Alcohol or Xylene. However you remove the dust make sure that it’s all removed before moving on to the priming step!
STEP FIVE: Prime the cabinets with a good bonding primer. We recommend STIX Waterborne Primer. It will bond to the previous coating on your cabinets and will provide an excellent base for your topcoat! Let the primer completely dry and then assess the cabinets for any bleed-through of stain or tannins. This can happen if you’ve cut through the original coating while scuff sanding. If you do see some bleed through, spot prime those areas with an oil based primer or a white pigmented shellac like BIN.
STEP SIX: Topcoat with a good finish paint in either a satin sheen or a semi-gloss (for washability). If you’re brushing, we recommend giving Benjamin Moore’s Advance a try. It’s a waterborne alkyd which means you’ll get the performance of an oil-based product without the drawbacks. It will flow out remarkably well, providing you with a smooth finish even when you brush or roll the paint on. And, best of all, it cleans up with soap and water and doesn’t have the smell of an oil. Another great option is RepcoLite’s own Hallmark Ceramic. It rolls and brushes well and or can be sprayed. There are also a few other options we may recommend in the store, depending on your situation.
And that’s basically what you need to know. Yes, there is some work involved. Yes, it will take some time. You’ll have to do the sanding and the cleaning, the priming and the painting. But, when you’re done, you’ll be amazed at the difference in your home. And all for as little as $200 – $300 (or less!)
If you’re interested in this project, please email us with your questions or type your questions in the comment boxes on this post!


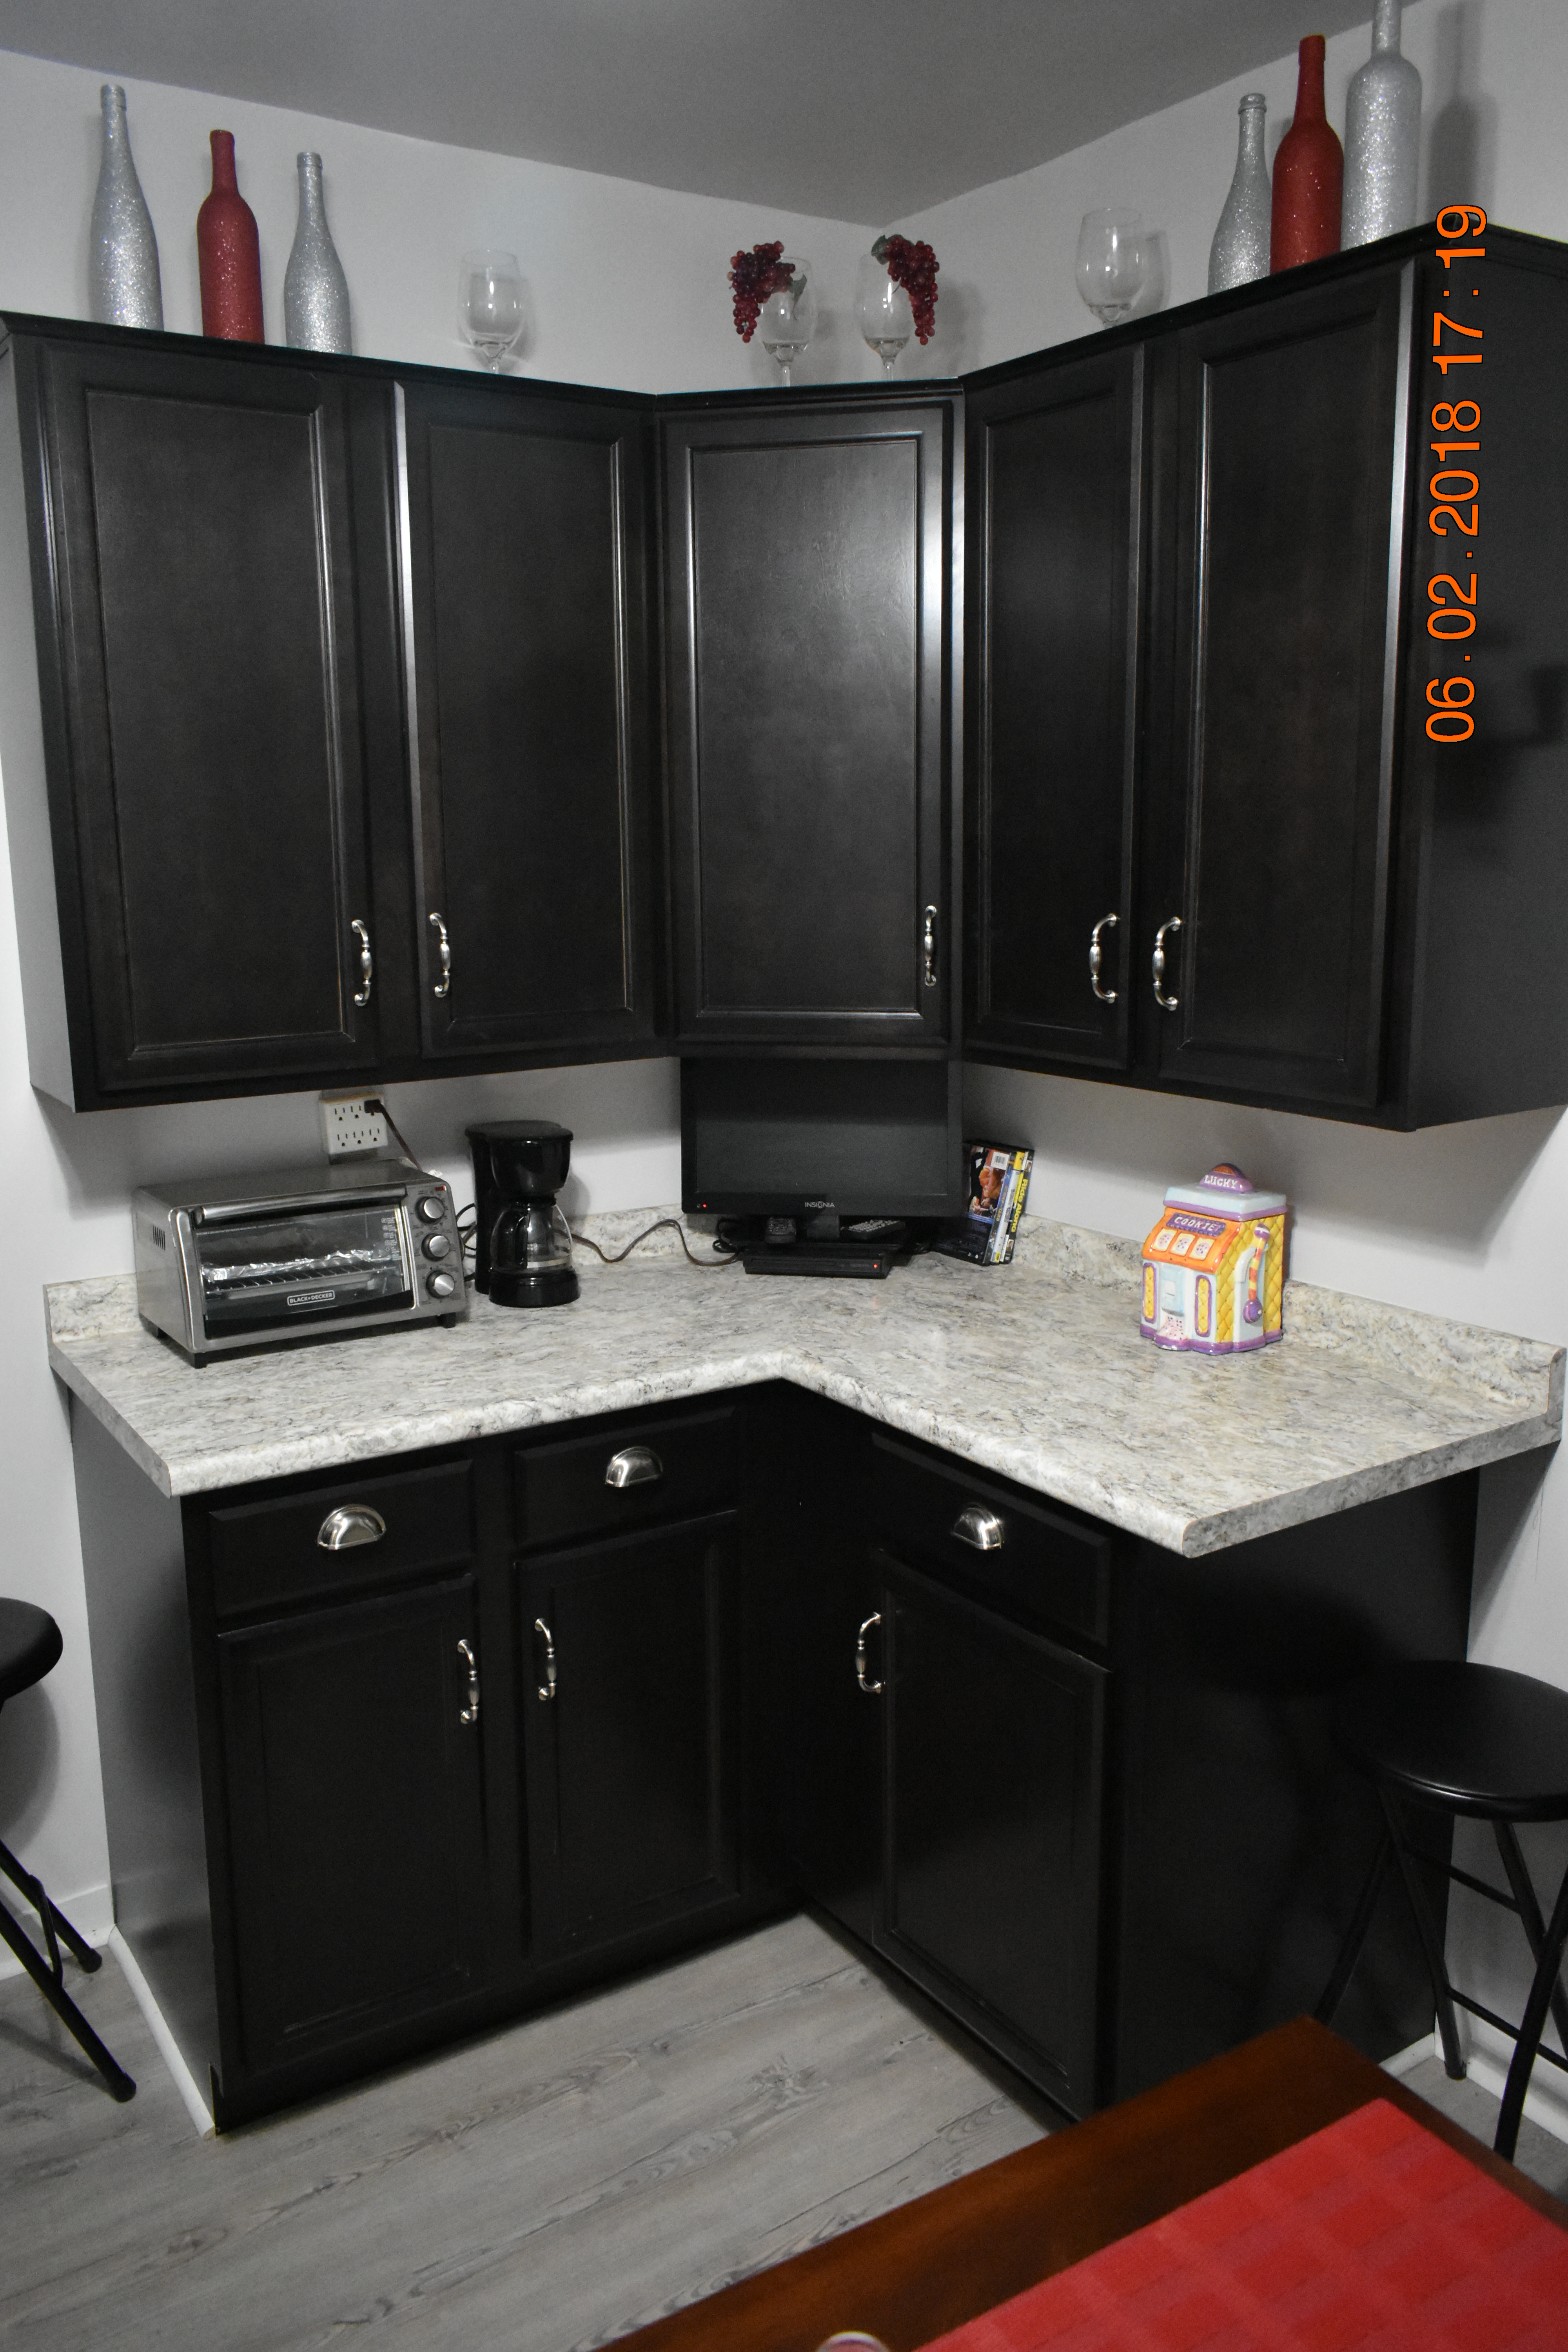
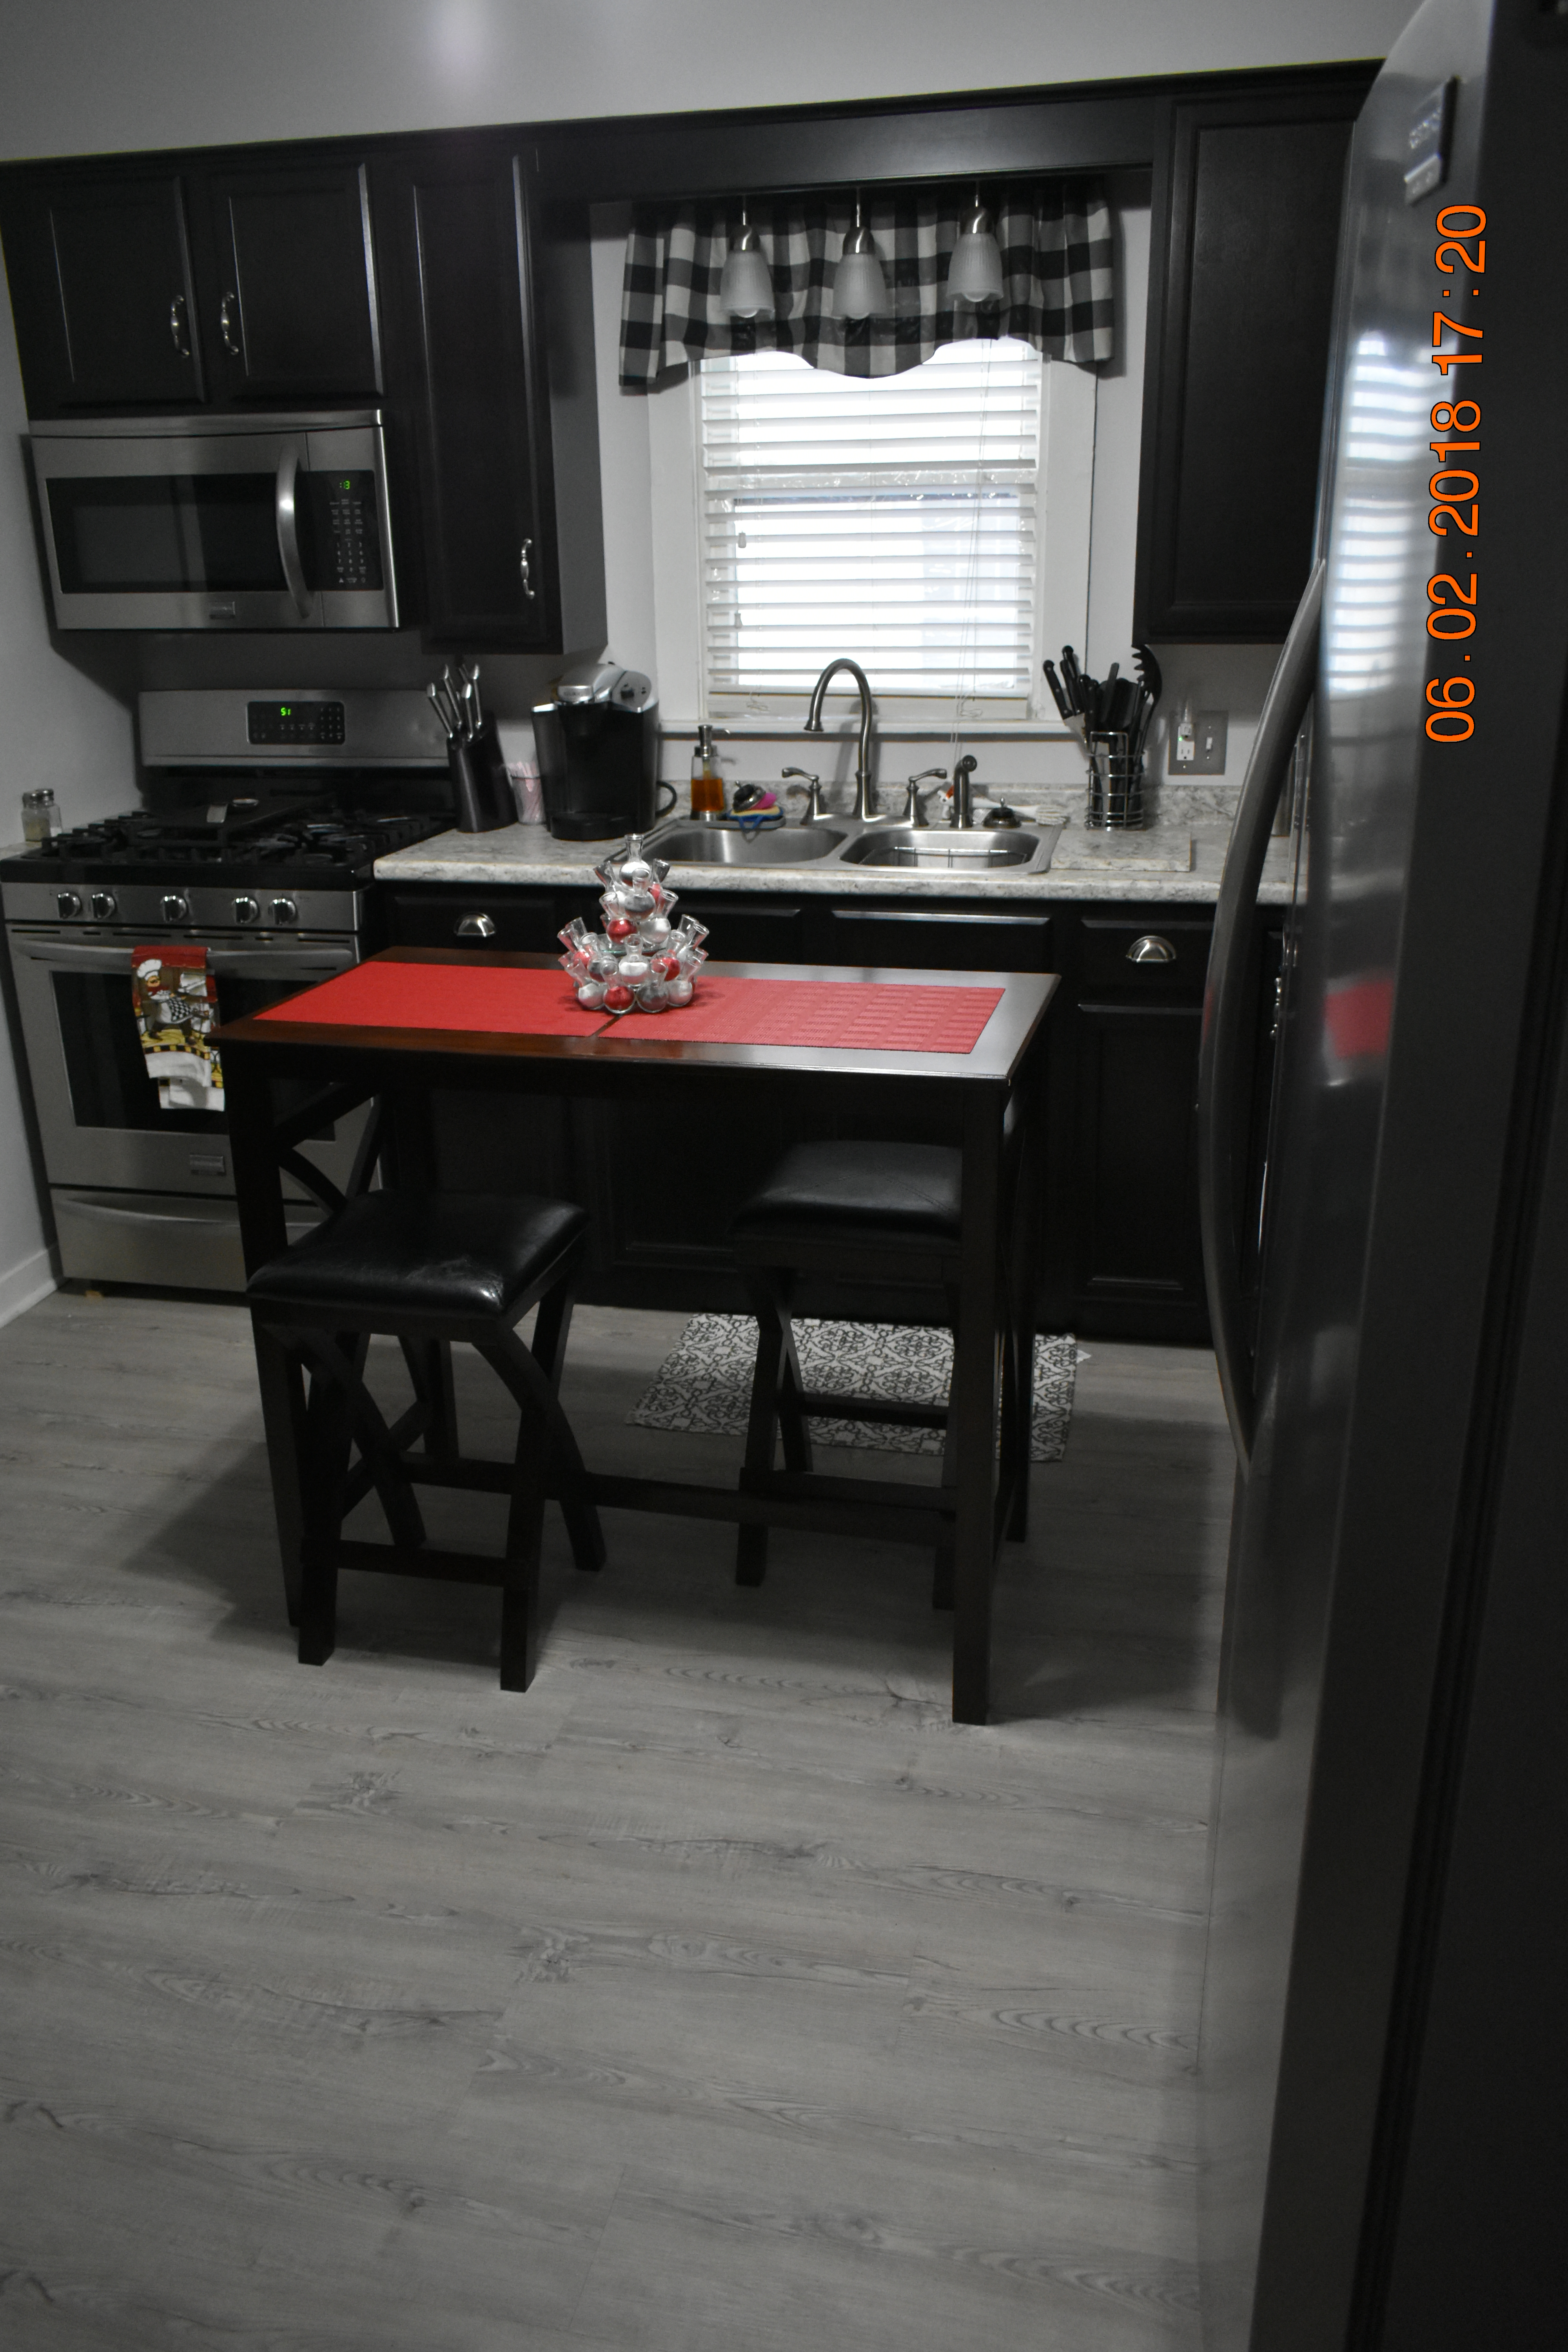


 Did you know that the average cost of remodeling your kitchen is right around $20,000? Yes, $20,000. That’s a significant amount of money. So significant, in fact, that it means I won’t be doing any kitchen remodeling anytime soon. Sure, I’d like new cabinets or a new backsplash or a new floor, but we’re just too attached to having things like groceries and running water. And I don’t think we’re alone. A lot of people like groceries and running water. And yet, many of those same people also wish they had a better kitchen.