
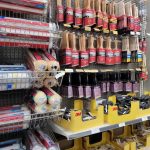
When you look at paint brushes in the store, it’s honestly crazy: there are so many options! Largely, they look the same, but when you look closely, you begin to notice small differences. Why is this brush angled while this one isn’t? Why is this handle long and thin while this one’s short and stubby? And most importantly, which brush is right for my project? Here’s a quick overview to cover the basics, answer those questions, and help you navigate the brush aisle like a pro!
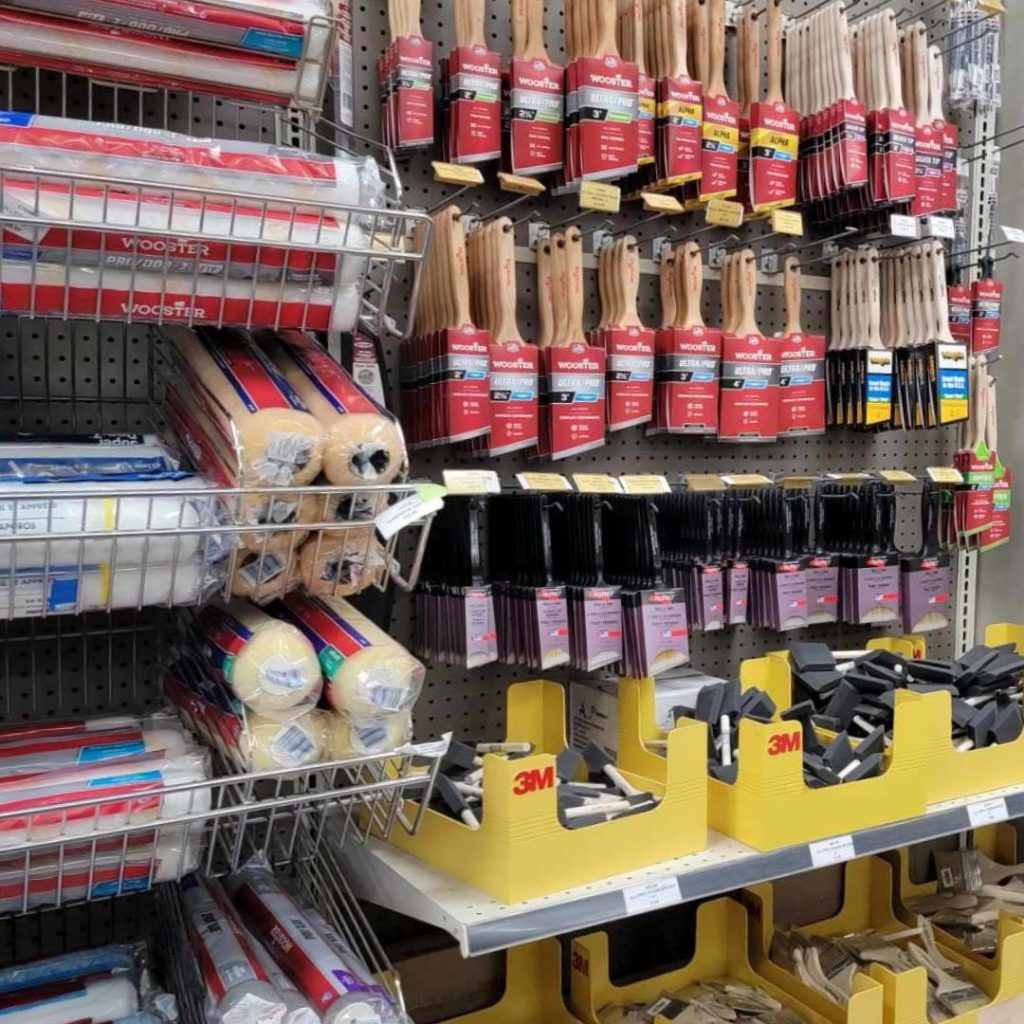
CATEGORIES OF BRUSHES
Brushes generally fall into two main categories—natural and synthetic bristles. Natural bristles, (often called china bristle brushes), are made from animal hair like hog or ox hair . . . badger. Horse. Yak?
These brushes are best suited for oil-based paints and varnishes and they apply those products beautifully. With that said, you shouldn’t use a natural bristle brush with water-based paints or coatings. Water causes the natural bristles to swell, lose their shape, and can ultimately ruin both the brush and the paint job.
For water-based paints, synthetic bristles are the way to go. The main synthetic materials you’ll typically see are polyester, nylon, and Chinex.
BRISTLE TYPES
Let’s look at those different filaments more closely:
CHINEX: Chinex bristles are incredibly durable. They keep their stiffness even in humid or hot conditions and are designed specifically to handle the challenges of low-VOC paints. Chinex bristles release paint easily, which gives you smoother application—and as a bonus—they clean up faster, too!
NYLON: Nylon bristles are also durable, but they’re much softer than chinex or polyester. That can be great for achieving a smooth finish, but keep in mind that nylon softens even more in hot weather or with extended use in latex paint. If you’re doing detail work, this softening will likely make things tricky.
POLYESTER: Polyester filaments are the stiffest of the bunch. They’ll hold their shape and maintain control in hot conditions, but they don’t hold as much paint. This means you’ll find yourself dipping into the can more often and smooth, even cut-in lines will be tougher to achieve. Generally, 100% polyester brushes aren’t recommended—you’re better off finding brushes that blend polyester with nylon or Chinex for better performance.
COMBINATIONS: It’s very common for manufacturers to combine two or more of these materials to achieve different brush characteristics (greater firmness or softness, for example).
STIFFNESS OR FIRMNESS—Why Does It Matter?
When it comes to finding the right stiffness or softness of a given brush, it all depends on what you’re painting and what product you’re applying.
For shinier finishes or smooth, flat surfaces like doors or trim, a softer brush will help minimize visible brush strokes, giving you a cleaner look.
On the flip side, if you’re cutting in around windows, doors, or trim, a stiffer brush gives you more control for crisp, clean lines.
Many brushes on the market offer a medium stiffness, which strikes a good balance for most projects.
ANGLED OR FLAT?
Now, let’s move on to the shape of the brush: is it angled or flat? And what’s the reason for the difference?
An angled brush has the potential to give you more precision when doing cut-in work, as when you’re painting the edges where walls meet the ceiling. It’s also possible that the angle allows you see what you’re doing a bit better, while making it easier to get into corners with more control.
With that said, many experienced painters still rely on flat brushes for cut-in work. At the end of the day, it’s all about your technique and what you’re comfortable with. Some contractors prefer to use angled brushes for the detail work and then switch to flat brushes for larger areas, like panel doors or trim. Others use the flat brushes for all their brush work. For DIYers, though, it’s generally best to use the angled brushes for all your cut-ins.
WHAT ABOUT THE HANDLES?
Finally, let’s touch on brush handles. There are many different types, and mostly, it’s all about comfort. Here are a few common ones:
- Rattail handles are long and thin, held almost like a pencil.
- Beavertail handles are rounded and fit comfortably in your palm.
- Fluted handles are more square but with rounded edges, making them easy to grip.
- Short handles are ideal for working in tight spaces where longer handles might get in the way.
As mentioned earlier, the main reason (though not the only reason) for the different handles is comfort. So find a brush handle that feels comfortable in your hand. The more comfortable you are, the more productive you’ll be. It’s that simple! So be sure to “try out” the brushes when you’re making your purchase. See how each one feels in your hand and choose the one that just seems best!
That’s a lot of info, but it should help you navigate the brush aisle like a pro!

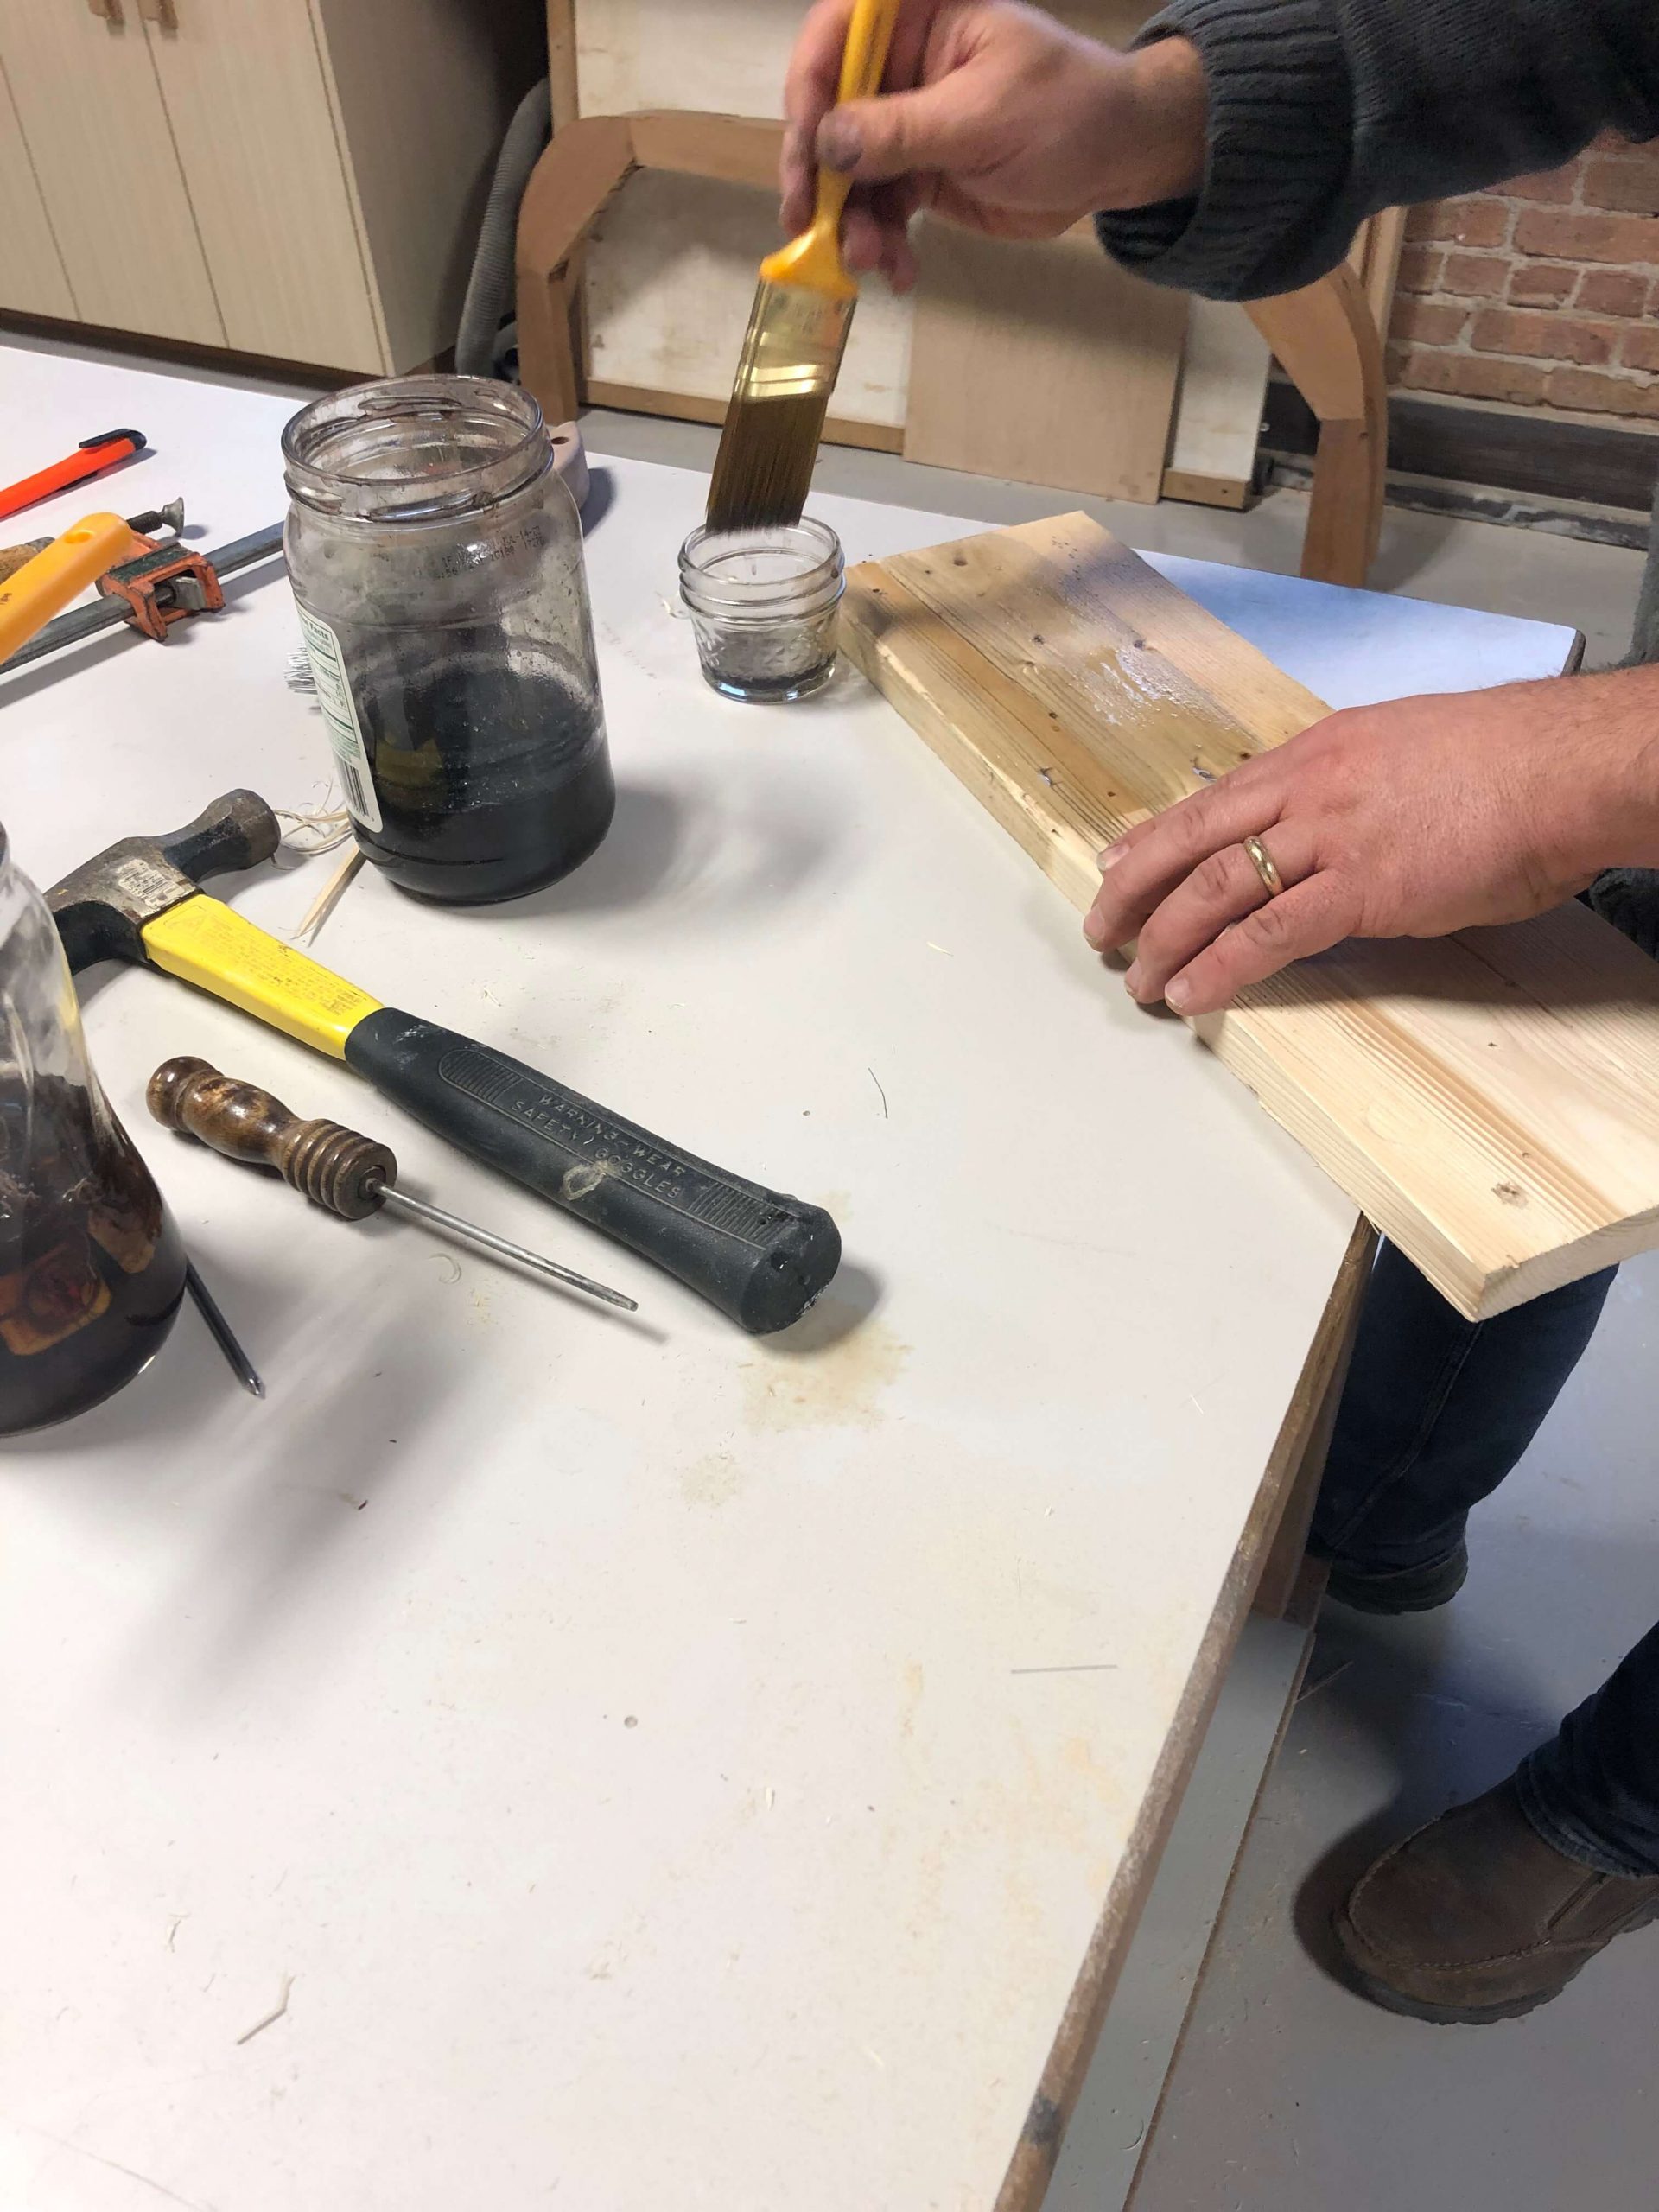


 You just moved into a new house. The walls are in pretty good shape, but there are a few spots you’d like to touch-up. So, with that as your mission, you head to the basement to look through all the cans the previous owner left. One of them HAS to be the paint you are looking for, right? I mean, it looks like the entire paint store is sitting on the shelf in your basement! But, of course, the color you need seems to be the only color that isn’t on the shelf. How does that happen?! And more importantly, what do you do now?!
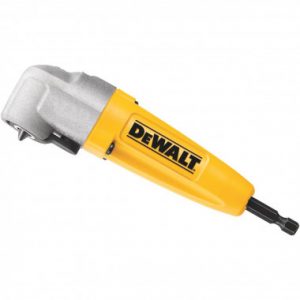 The first thing we tested was a right angle attachment. It's great for tight spots where you would normally have to angle the drill and still not have a straight shot at drilling a hole or tightening a screw. It's made for an impact driver, but can be used with a regular drill.
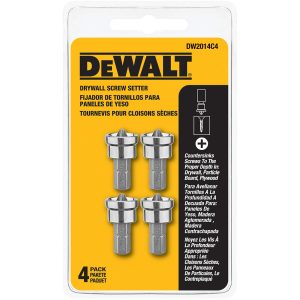 These drywall screw setters are great for setting drywall screws to just the perfect depth. You don't have to worry about a giant crater in the drywall or going through the paper. They help you achieve professional looking results every time.
 This drill and driver combo is a huge time saver! Many people alternate between a drilling holes and driving screws. They take one tool out, set it aside, and replace it with a new one. This often leads to missing tools. This eliminates that. Basically, it’s a bit that has a drill bit on one end and a driver bit on the other that you flip , depending on your task. It saves a lot of time searching for missing drill bit!
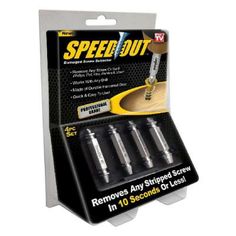 These are Betsy's favorite drill accessory! No tool box should be without a set of easy outs. They make fast work of removing screws the have stripped heads. Betsy tried the "rubber band trick" and it didn't work, so she has been a fan of these every since.
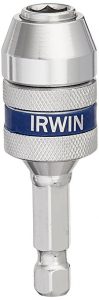 We are aware that keyless chucks have made accessory changing a lot faster than keyed chucks. But we have found the even faster way. This quick change adapter will have you changing out tools in a flash.
And finally, we tried out the new Hyde Stir Whip. It made quick work of mixing paint, and the fact that it can mix grout and concrete as well, makes it a must have accessory in our book!
Watch the Hyde Stir Whip in action!
We are aware that keyless chucks have made accessory changing a lot faster than keyed chucks. But we have found the even faster way. This quick change adapter will have you changing out tools in a flash.
And finally, we tried out the new Hyde Stir Whip. It made quick work of mixing paint, and the fact that it can mix grout and concrete as well, makes it a must have accessory in our book!
Watch the Hyde Stir Whip in action!
