If you spend any time at all on Pinterest, you’ve definitely seen any number of home projects involving reclaimed wood. We see old barn wood boards being used as accent walls and headboards, backsplashes and even light fixtures. It’s everywhere. And there’s good reason! It’s a beautiful look that works in almost any setting. Even a sleek, modern kitchen can benefit from the gray, natural tones and textures of a barn wood light fixture.
Unfortunately, finding old, weathered wood (at a decent price) isn’t always easy. But the good news is you can make your own! And it’s an incredibly fun project!
Not Just Color!
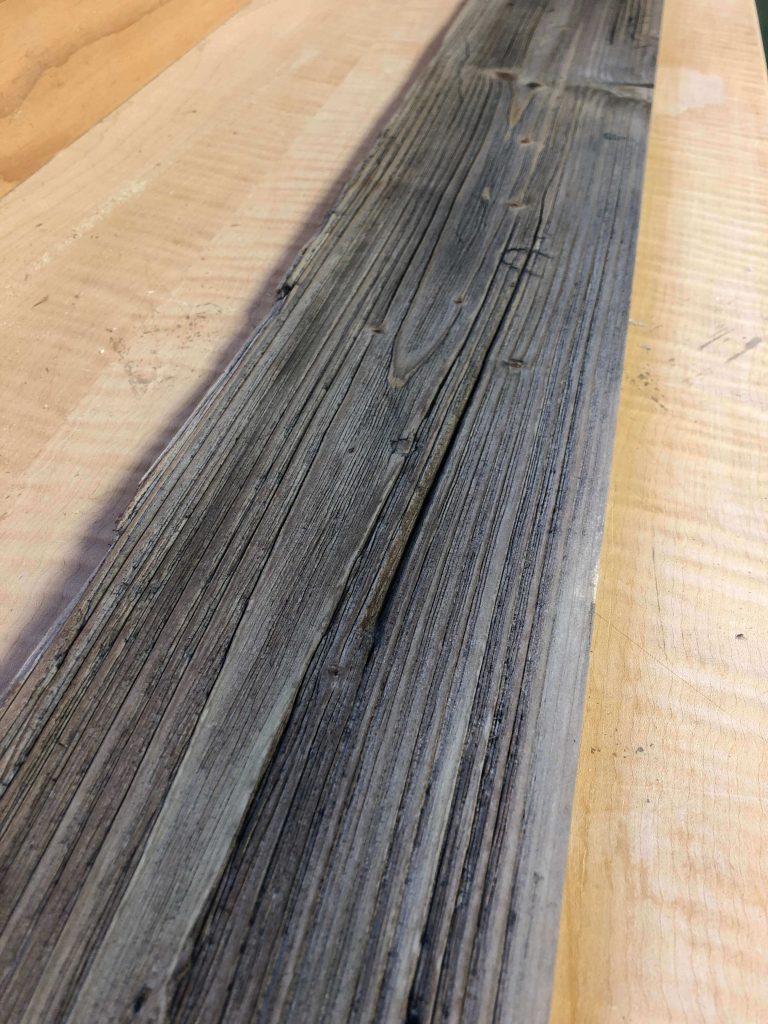
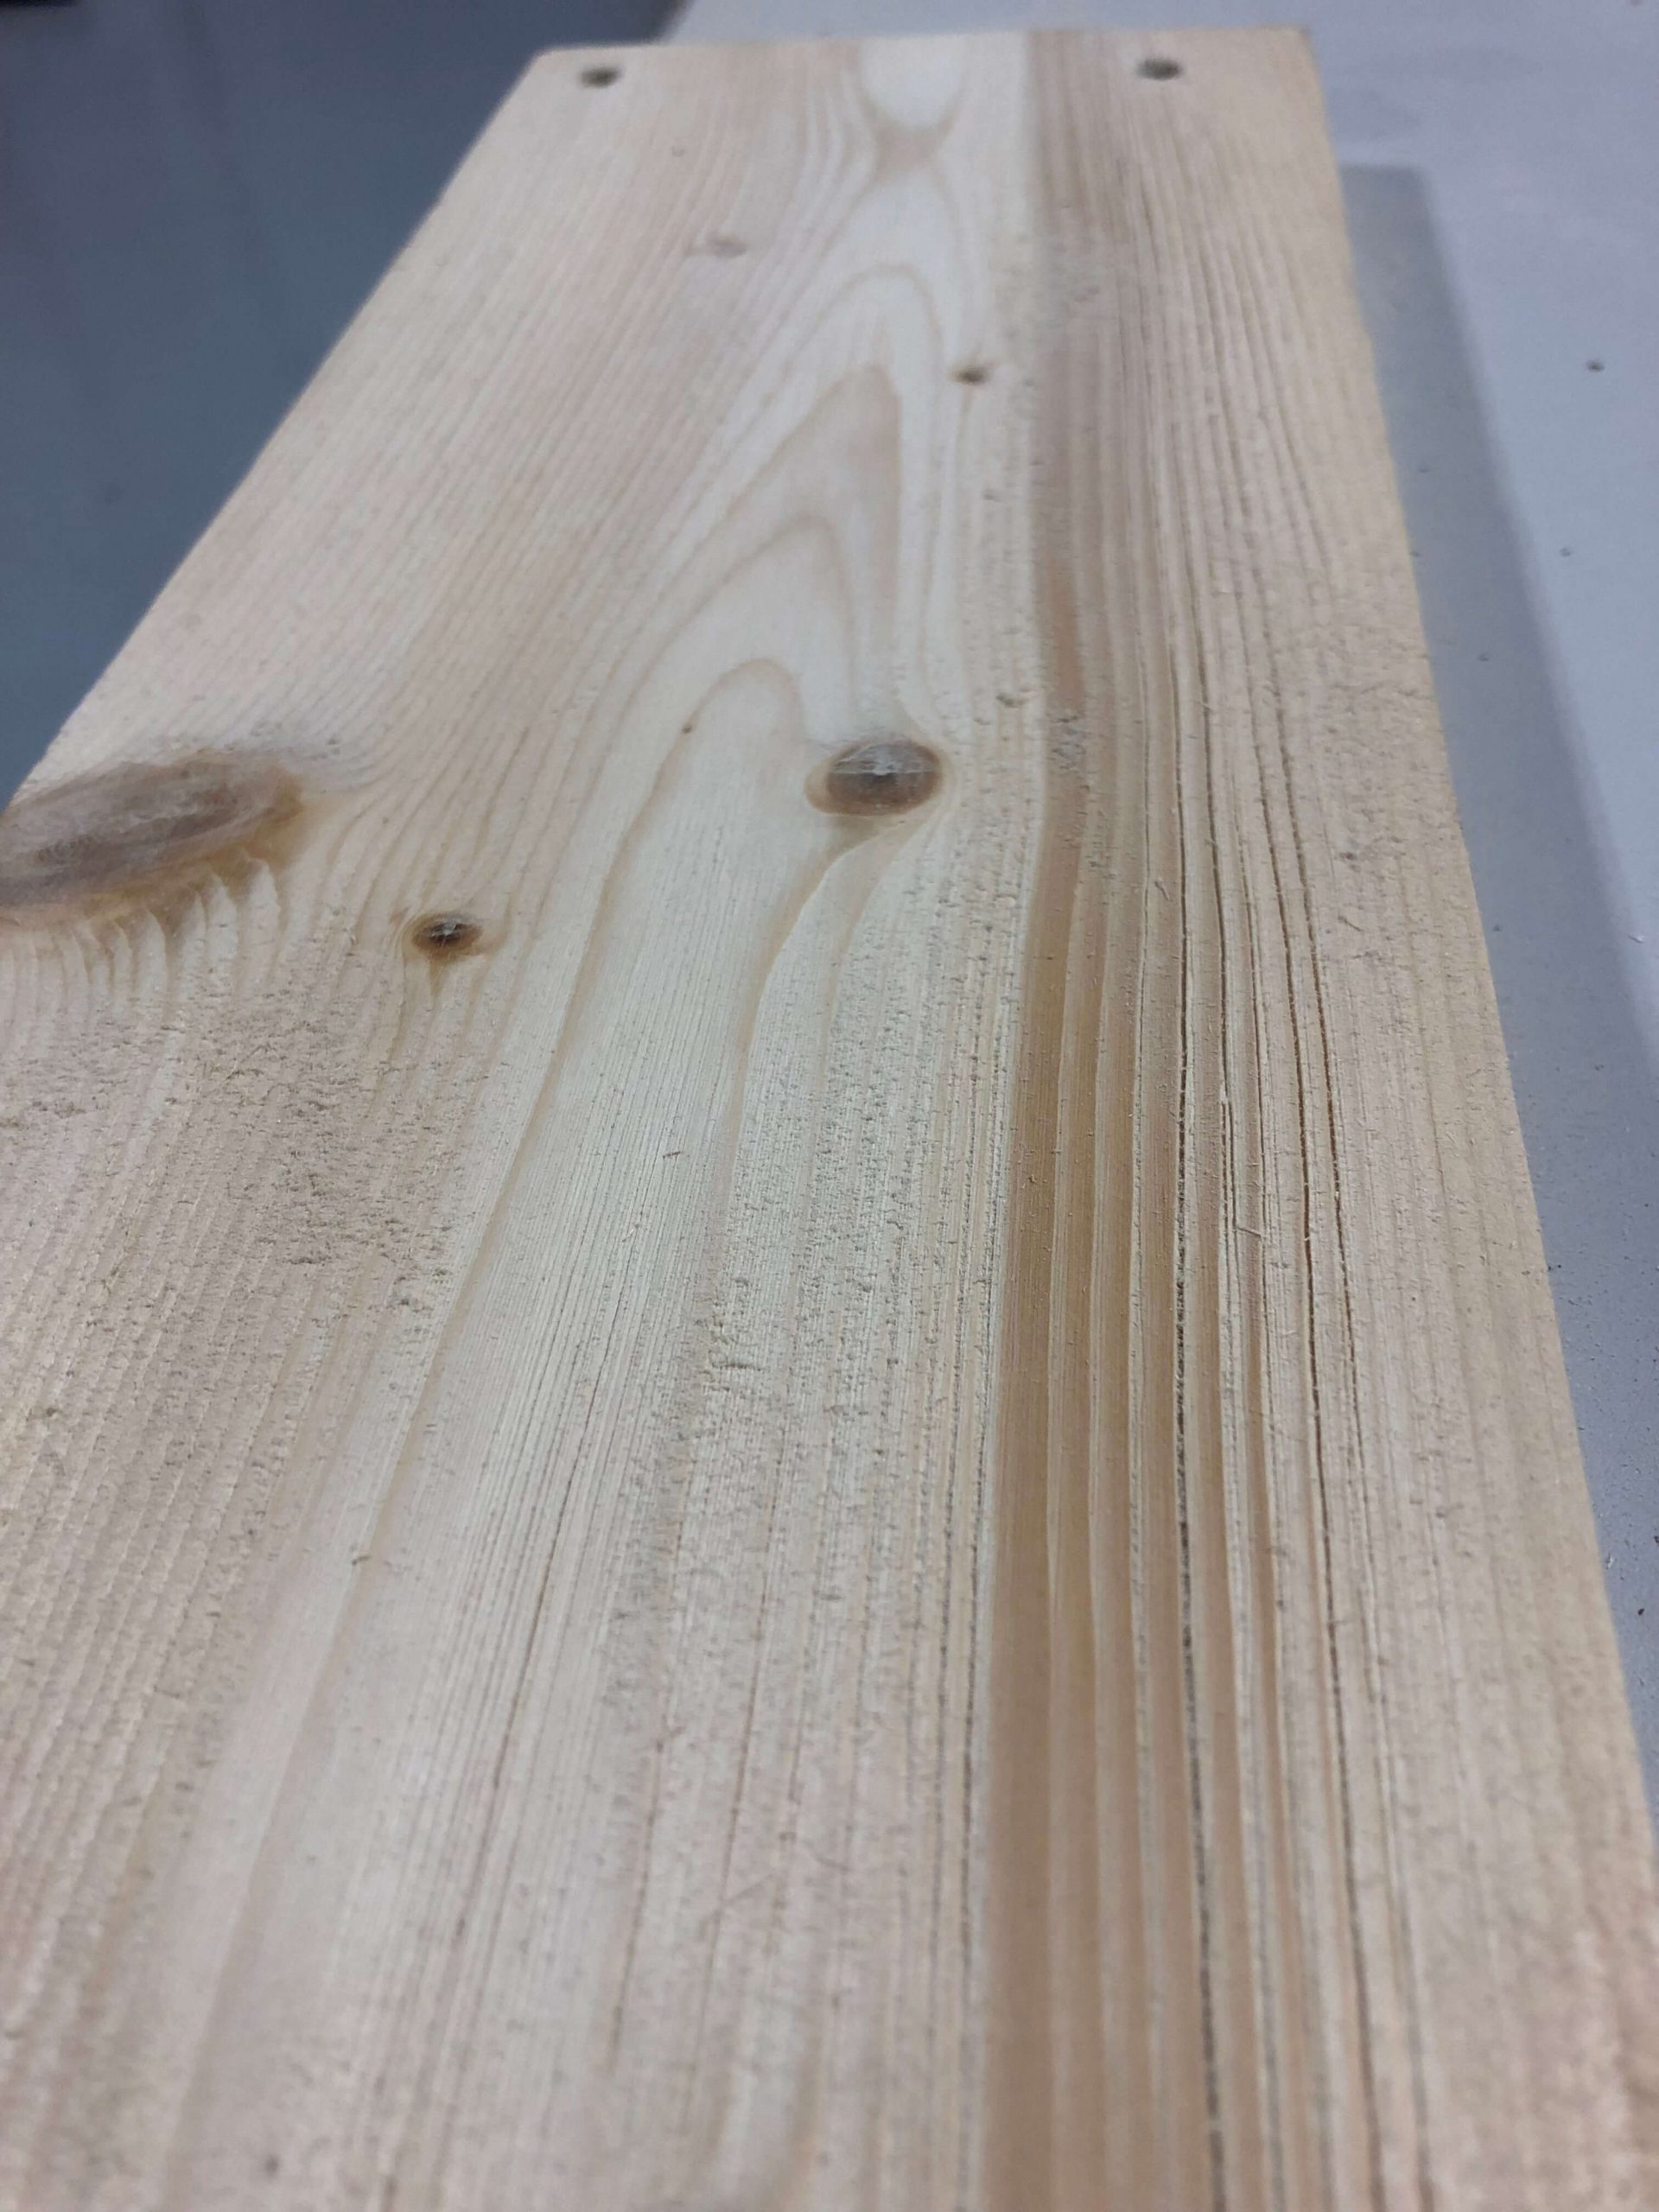
If you look at a piece of authentic barn wood that’s naturally aged outside, you’ll notice a couple of things: the wood usually has a gray, weathered color and the wood has a weathered texture. When aging wood–if you truly want an authentic barn wood look–this physical texture is integral. You can certainly gray or “age” any piece of smooth, pristine wood. But generally, it just ends up looking like a new board that’s been stained. It’s the physical distressing of the wood that gives it character.
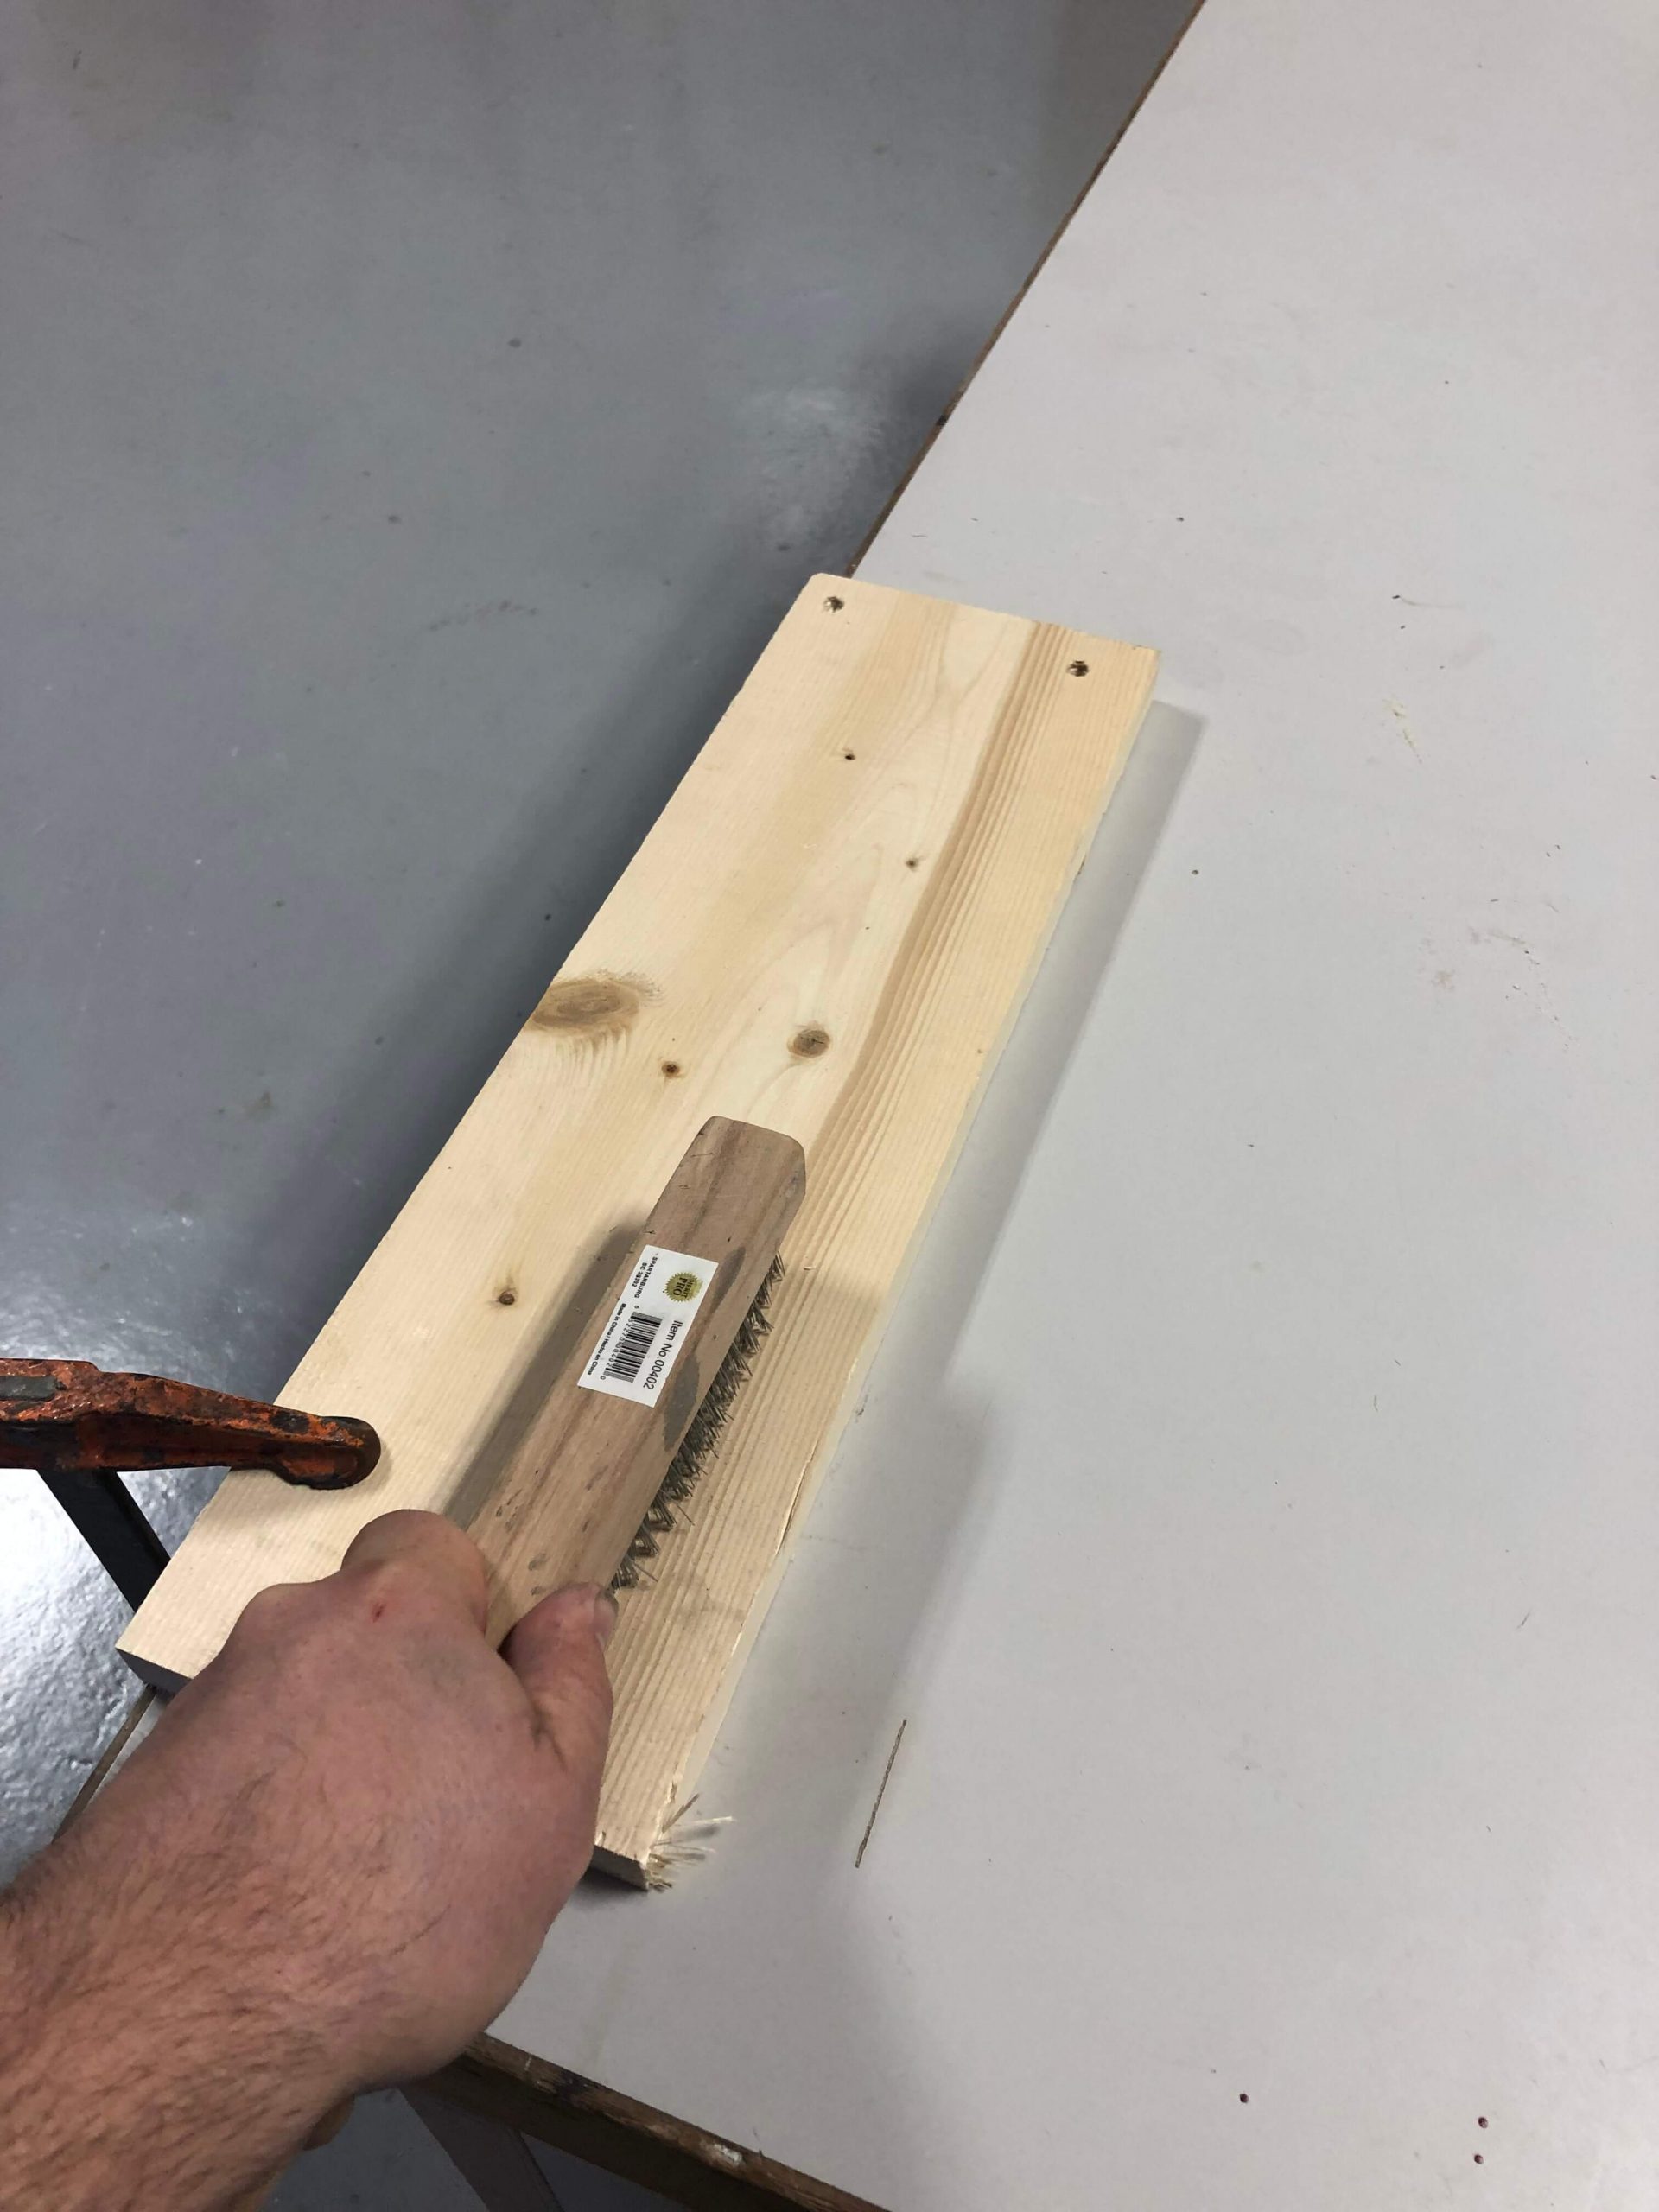
So we recommend starting with a quick distressing of the wood. It’s not a labor intensive process and it can be a lot of fun. You can do everything from putting a wire wheel on a drill or grinder to simply sticking with hand tools. It’s up to you. We found that for our tastes, a simple stiff-bristled wire brush was ideal. We worked on pine planks and found that by running the wire brush over the wood in the direction of the grain, we very quickly were able to produce a worn and weathered look.
A SIMPLE TIP:
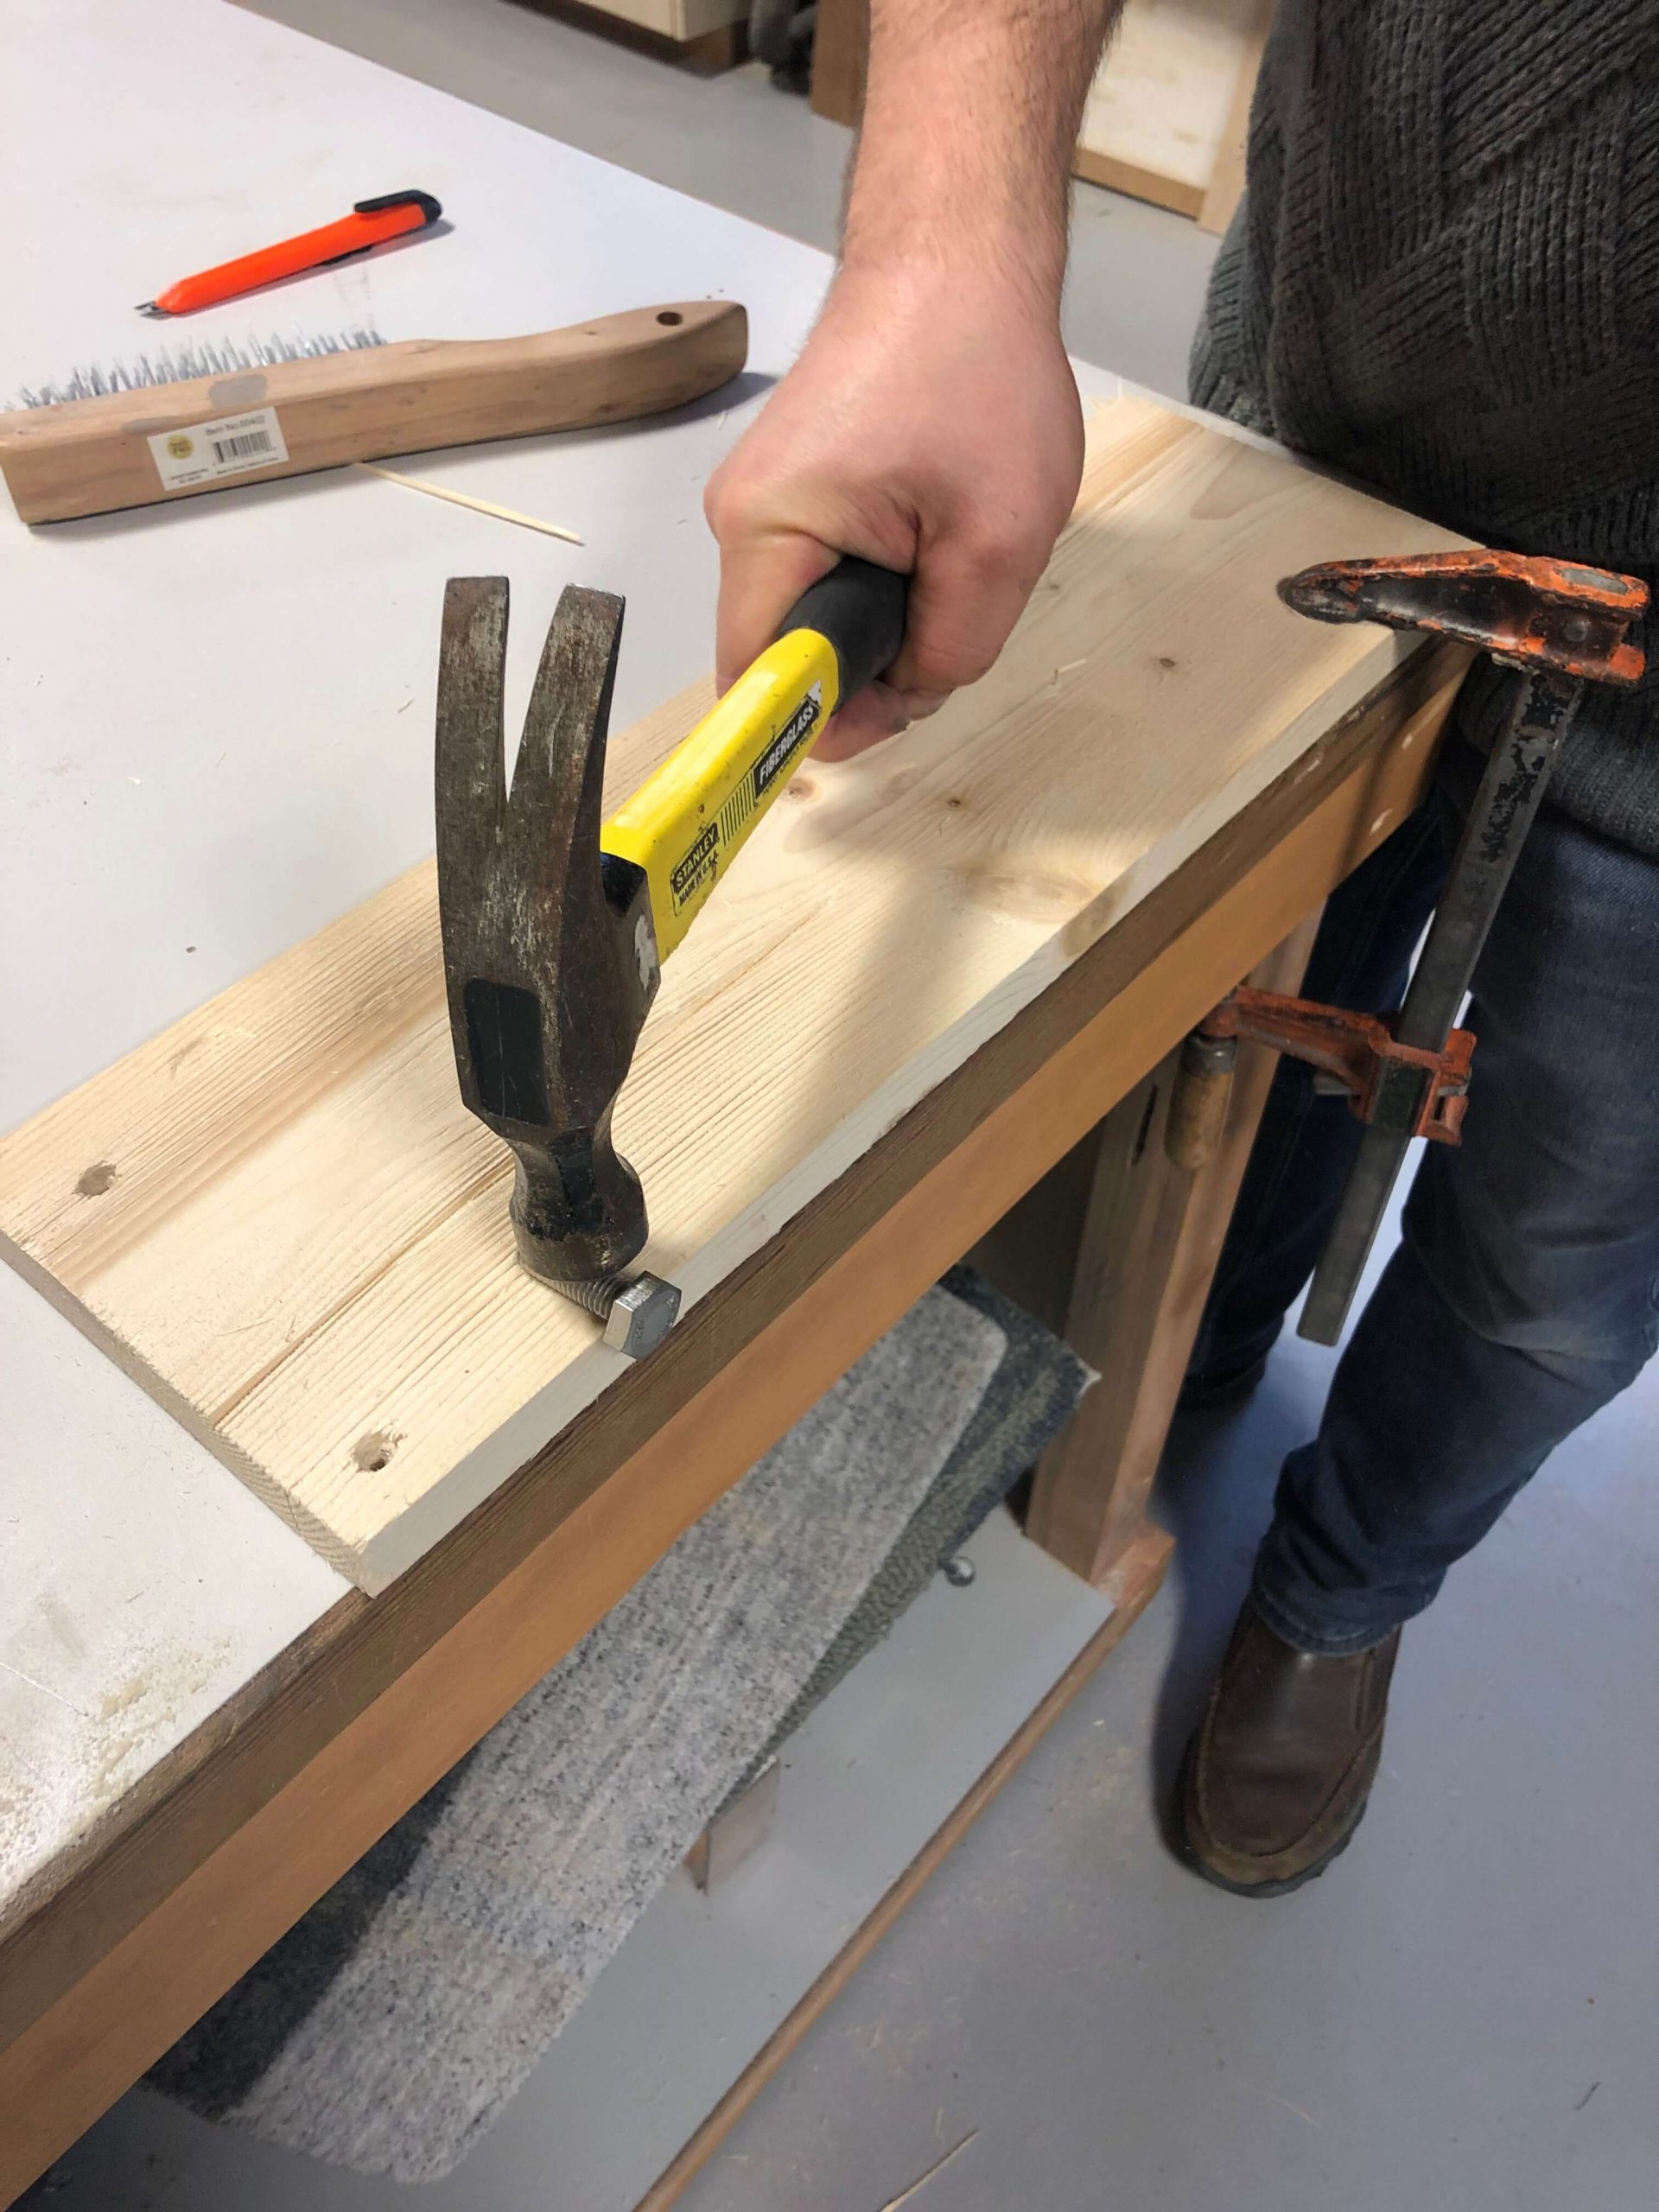
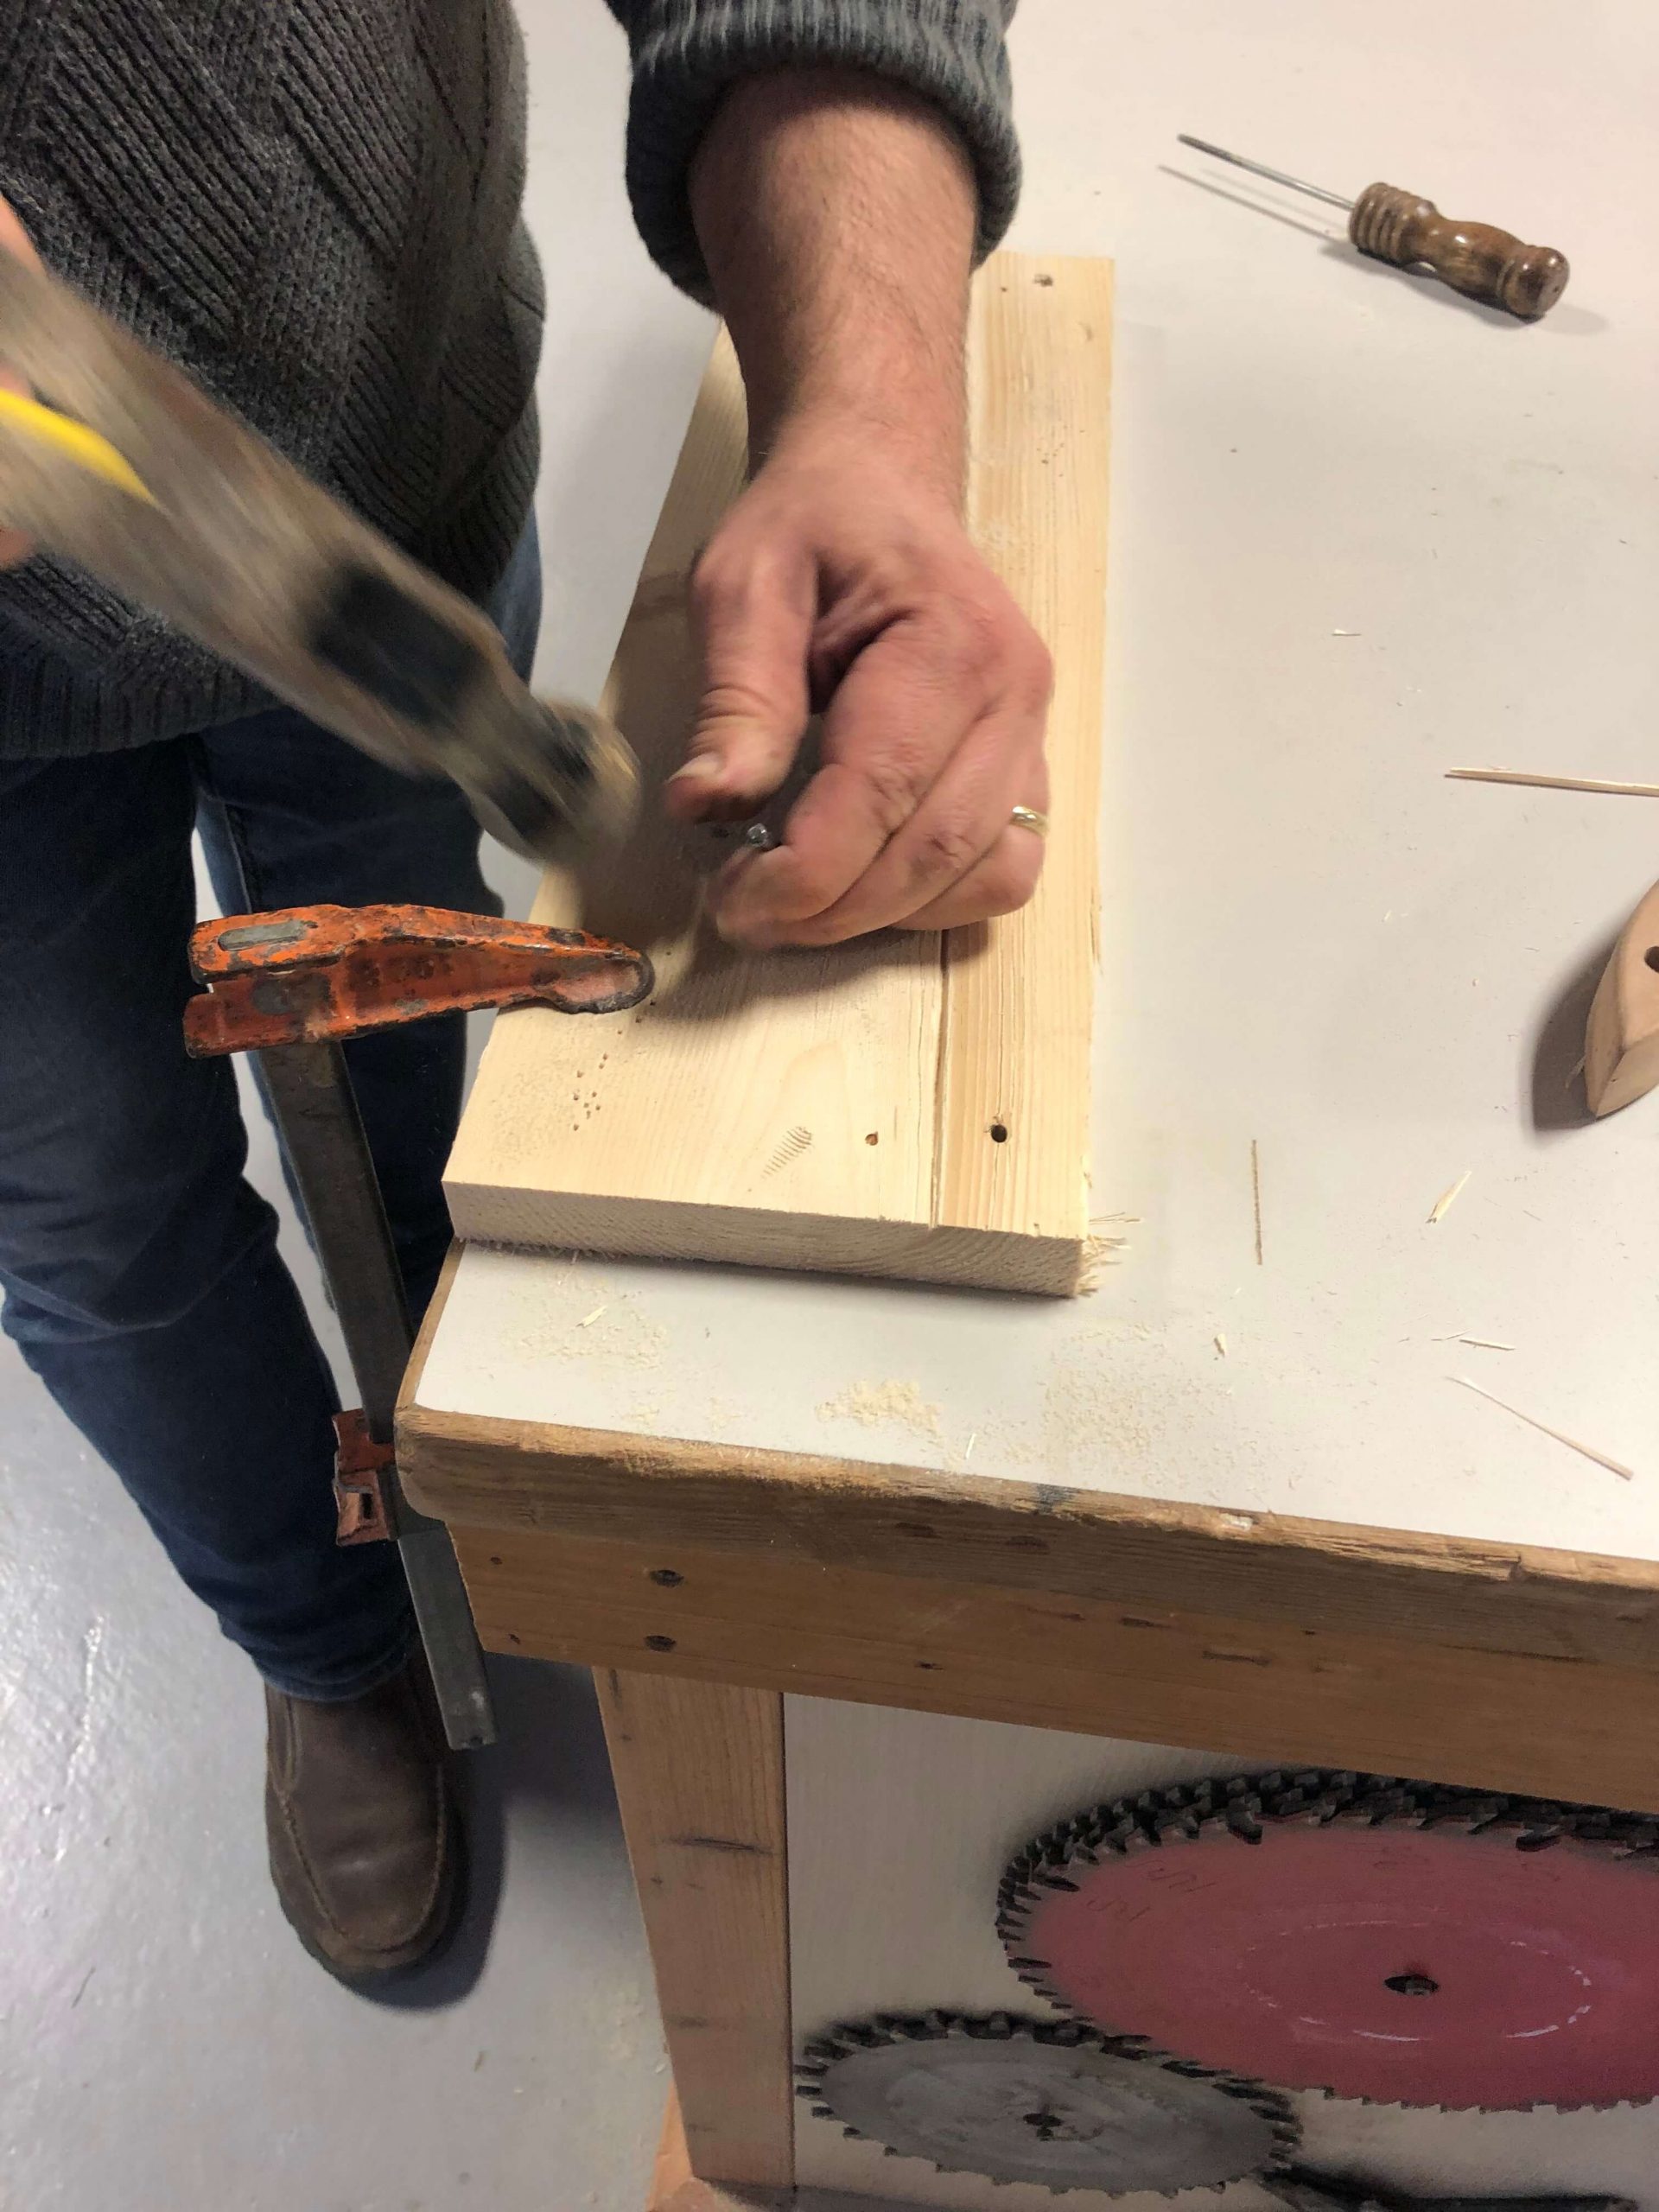
- Use a clamp to secure the board to your work bench. Then you can put both hands on the brush and get a little more leverage. And, even if the clamp leaves a dent in the wood, it’s no big deal! You’re distressing it anyway.
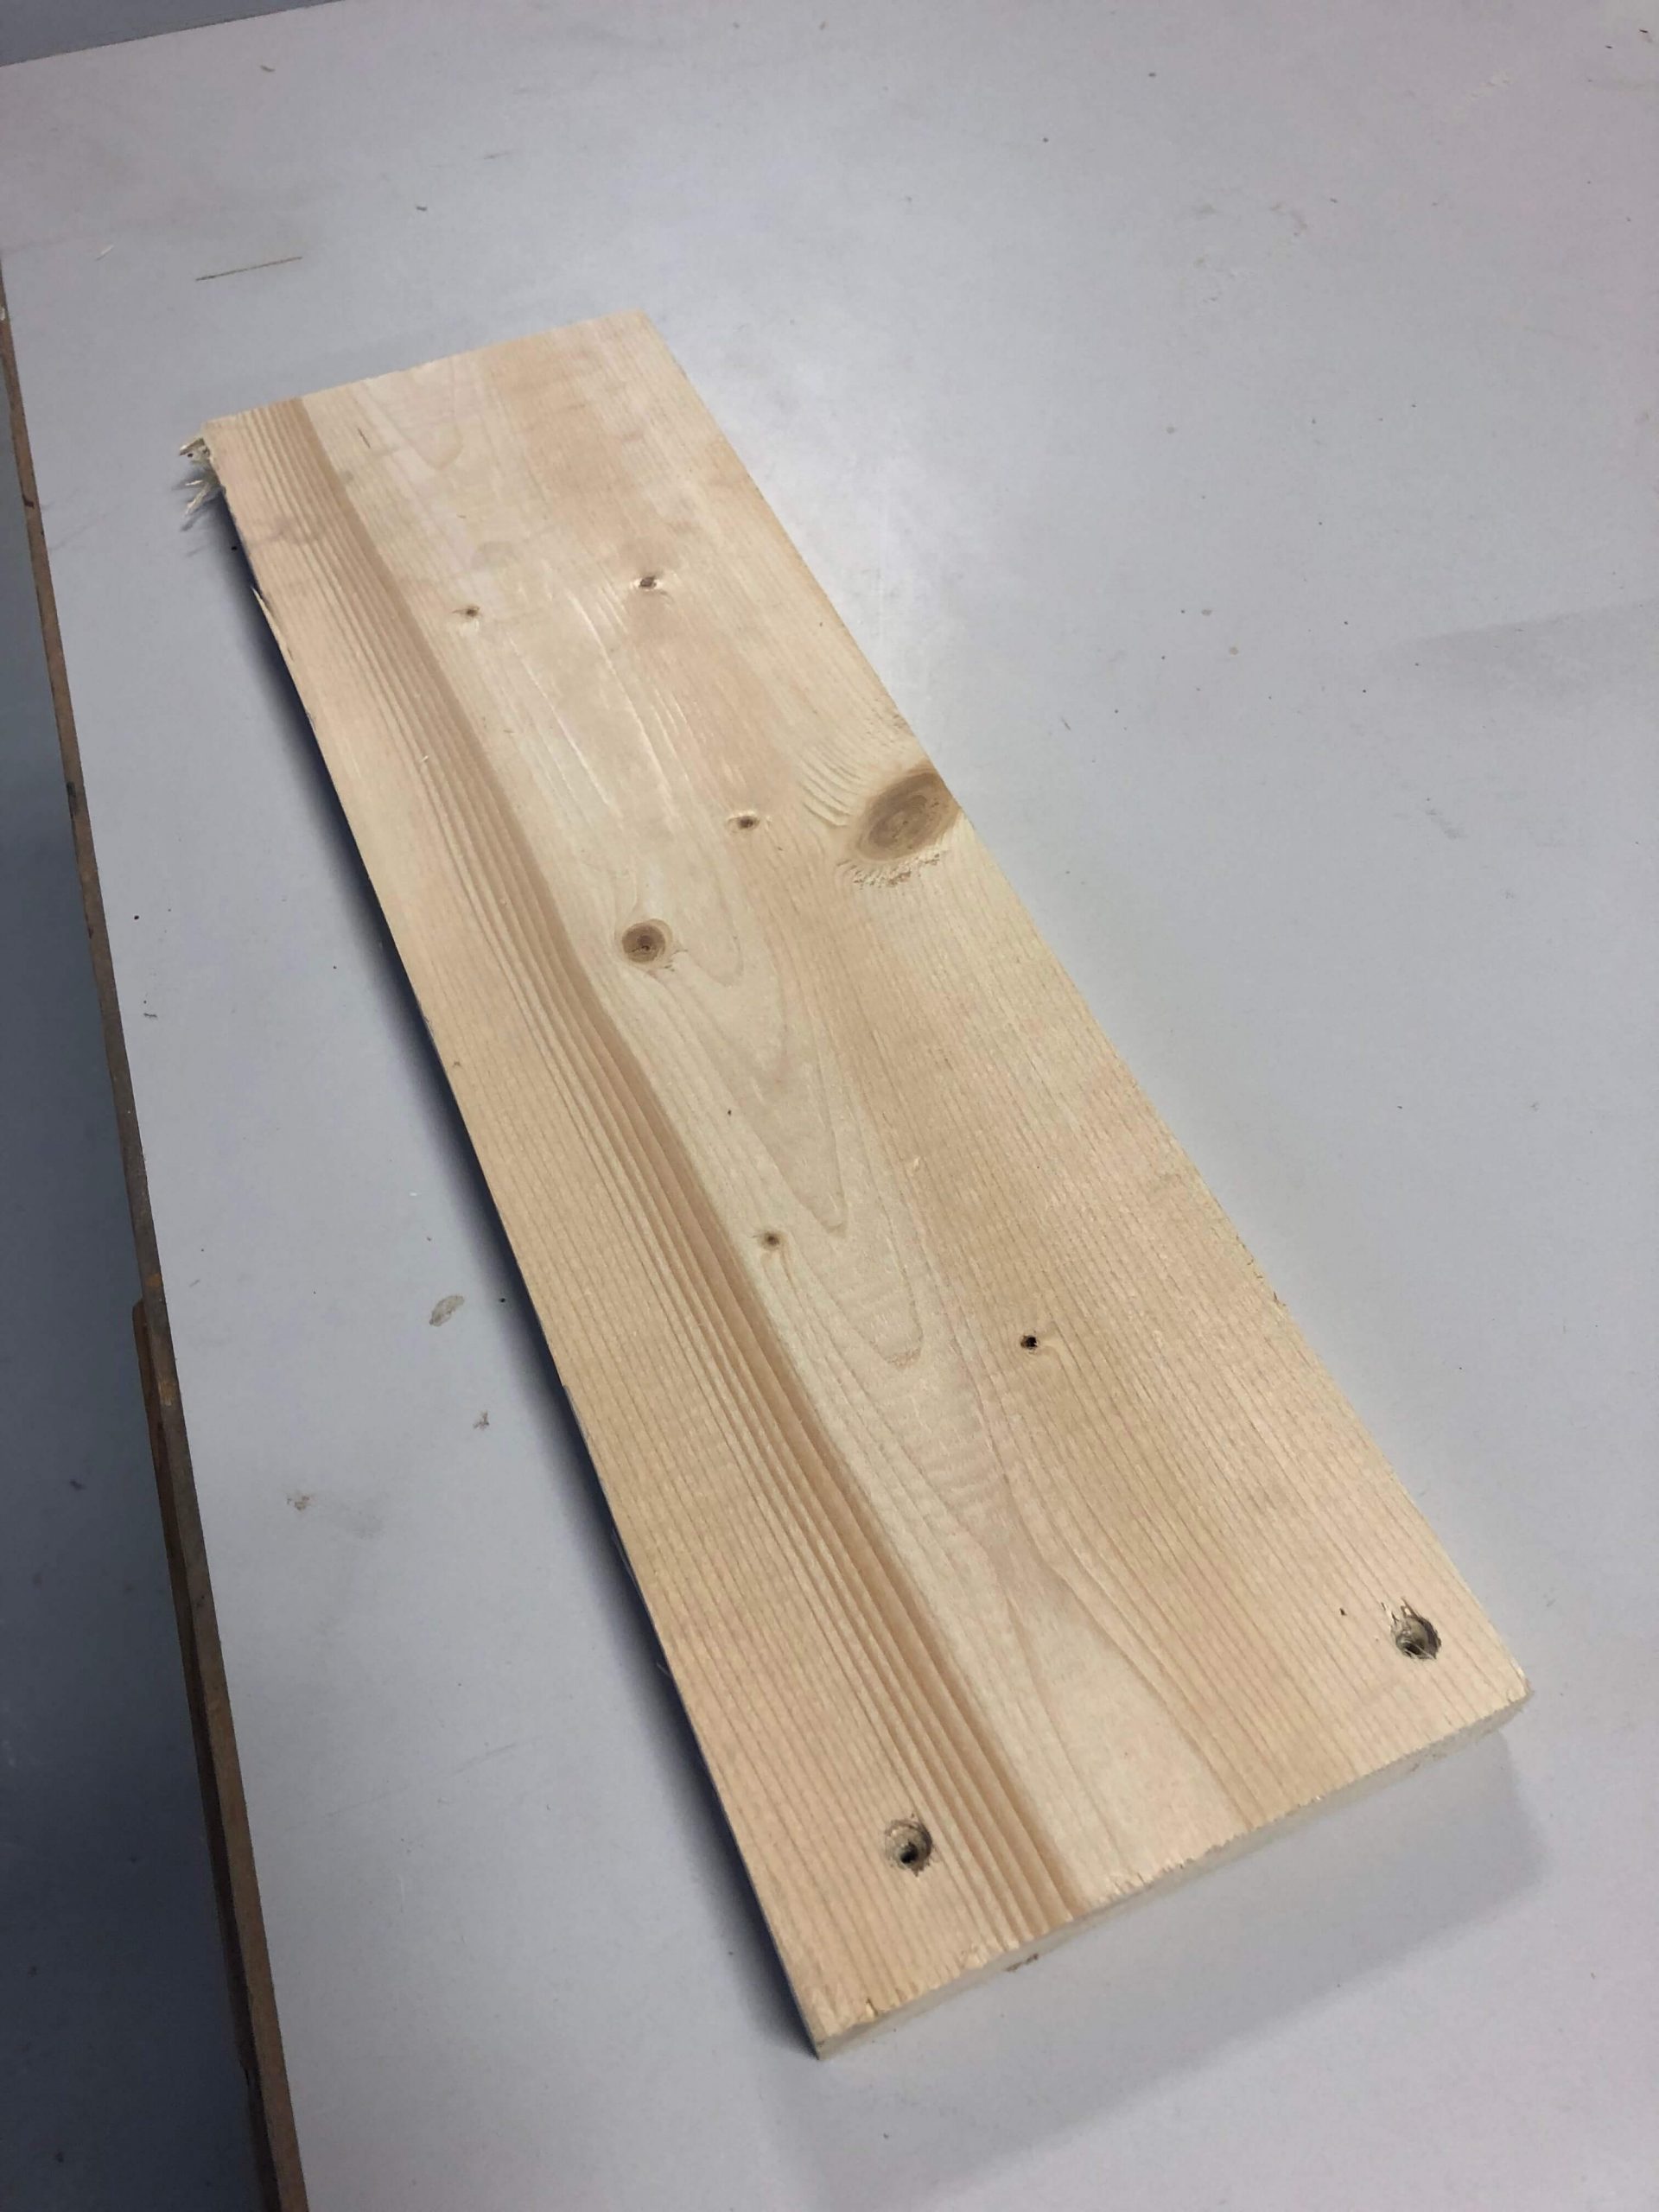
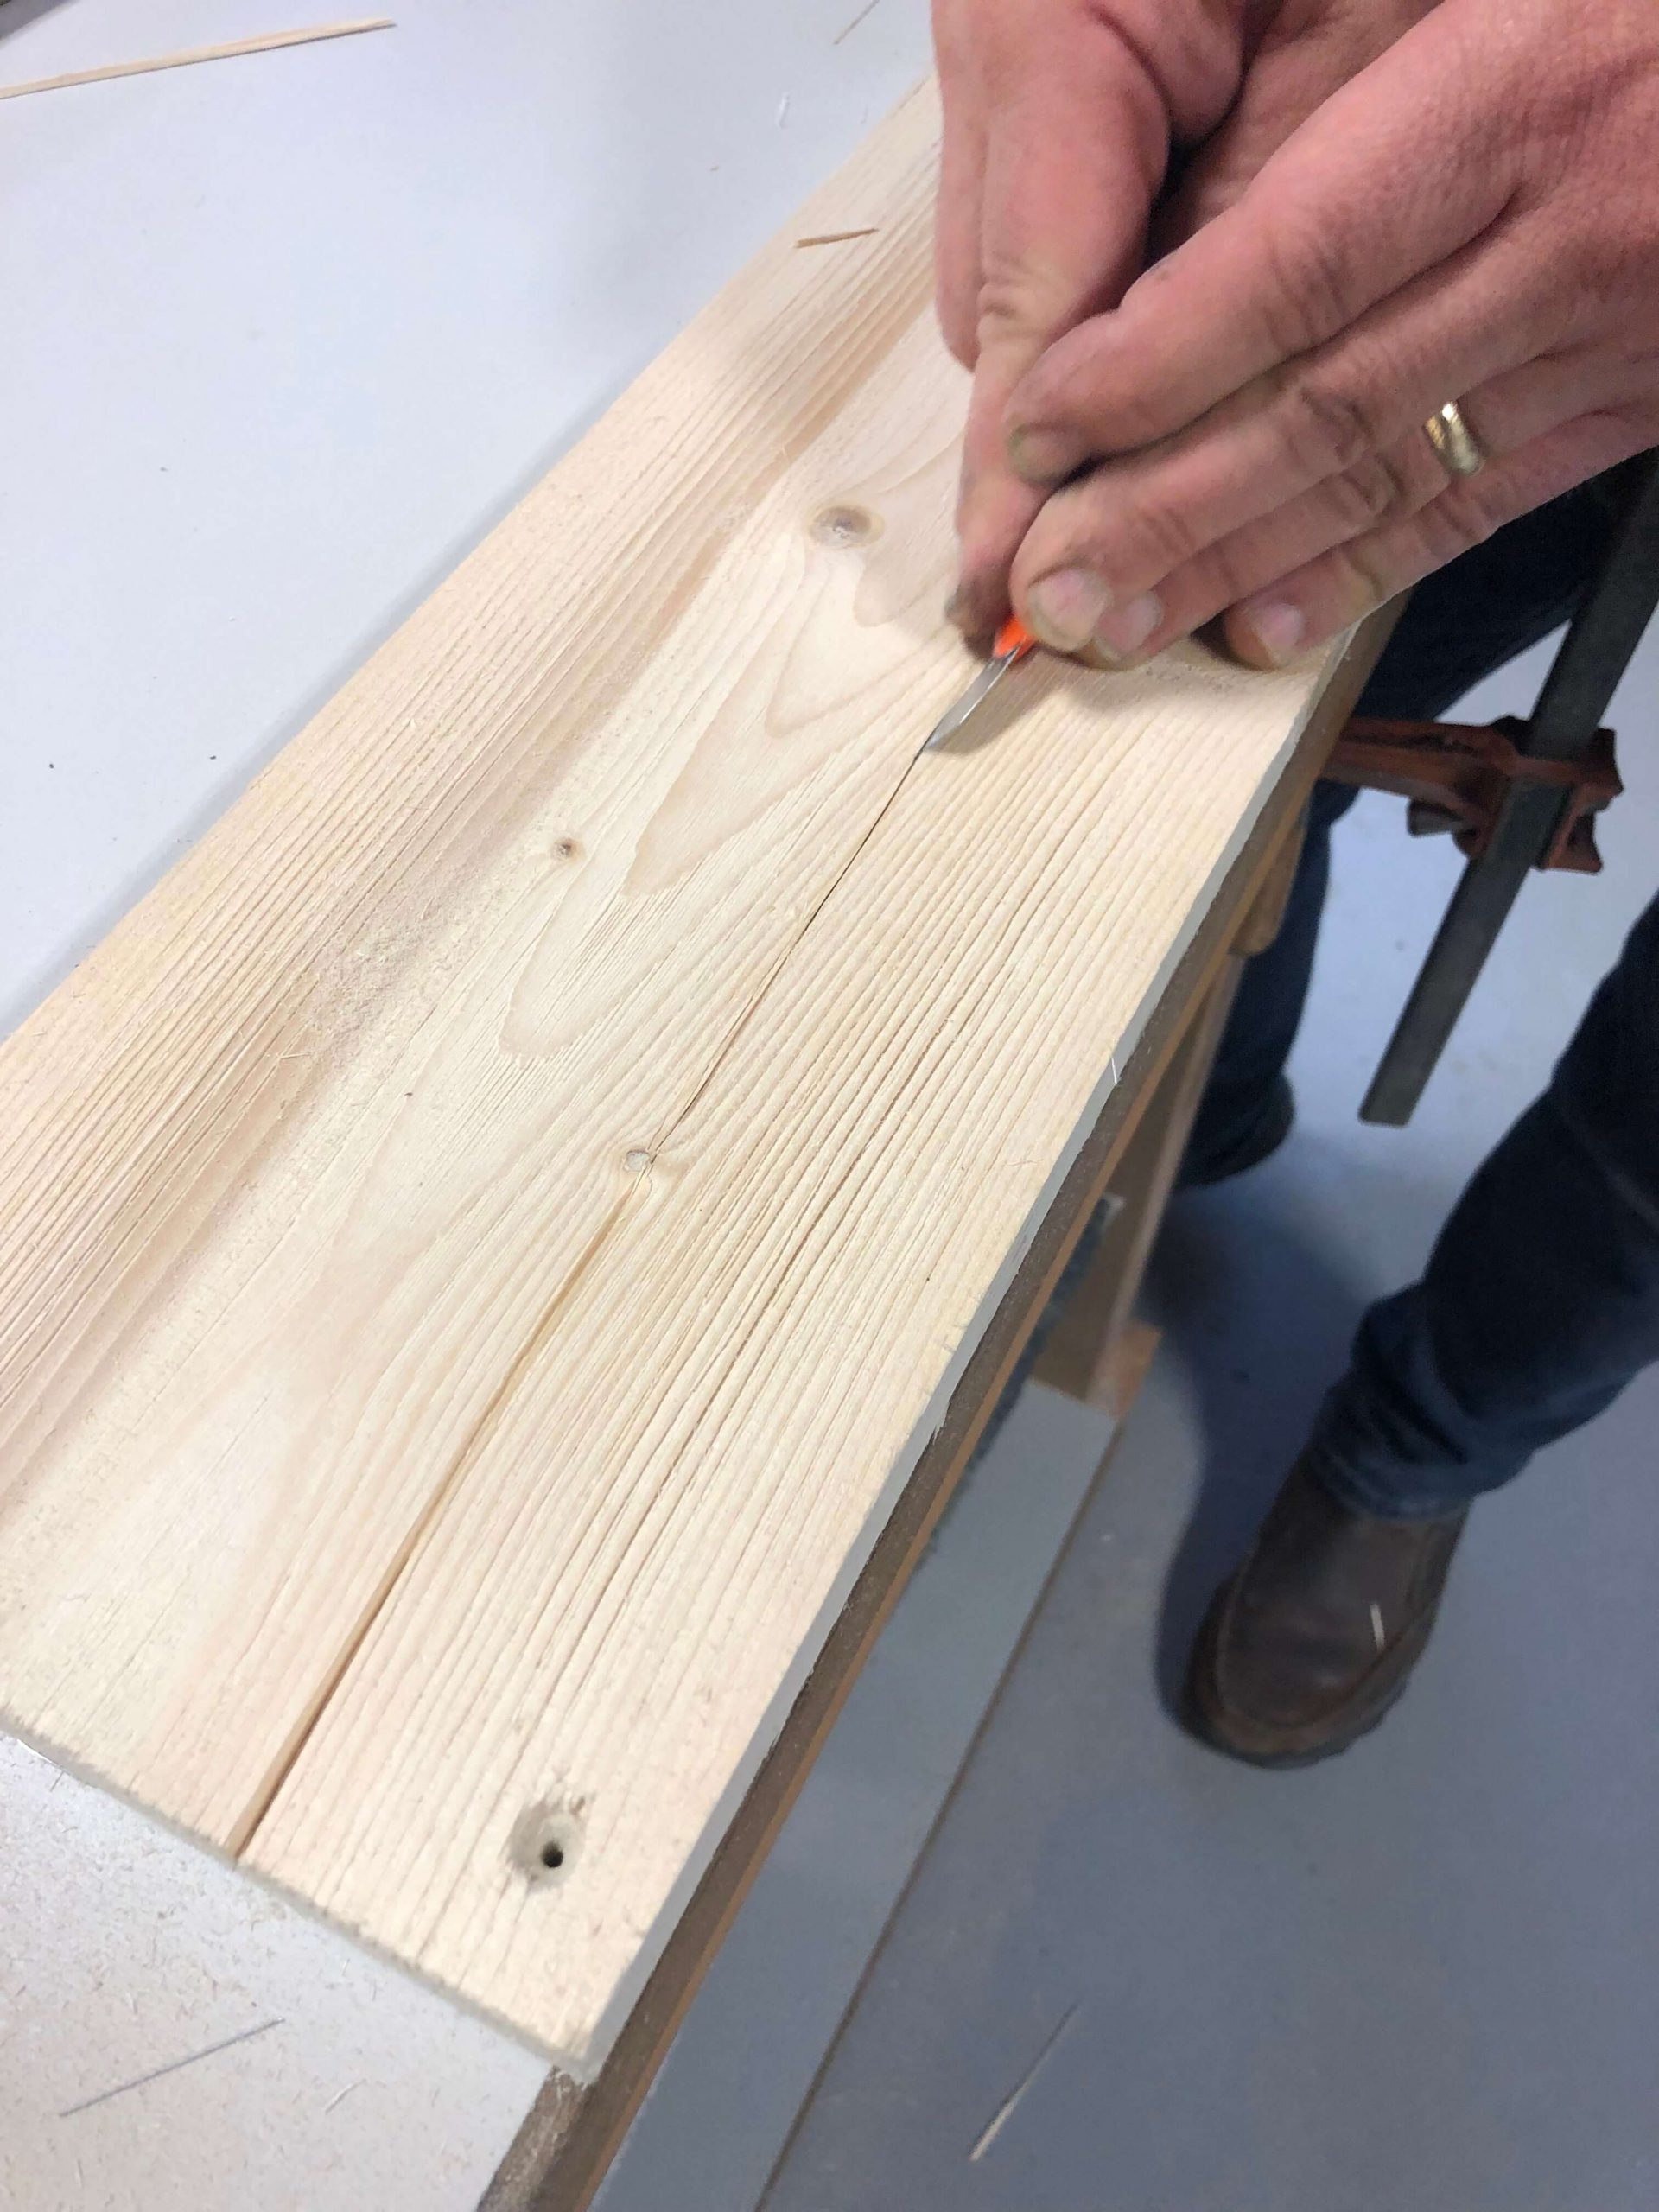
Once we wire brushed the wood, we dinged it up in a number of different ways. Hit it with a hammer, pounded the threads of a bolt into the grain, drove a few nails and pulled them out, and finally poked a few holes to look like worm holes.
Get creative. There are no rules here! Well. That’s not true. There is one rule: Know When To Quit! This is so important. When the wood looks good, quit. Sometimes we keep going thinking that we will make it look older and older with all our different distressing methods. However, what actually happens is that the piece begins to look fake! So quit when you’re ahead.
Aging Solution 1: Stain
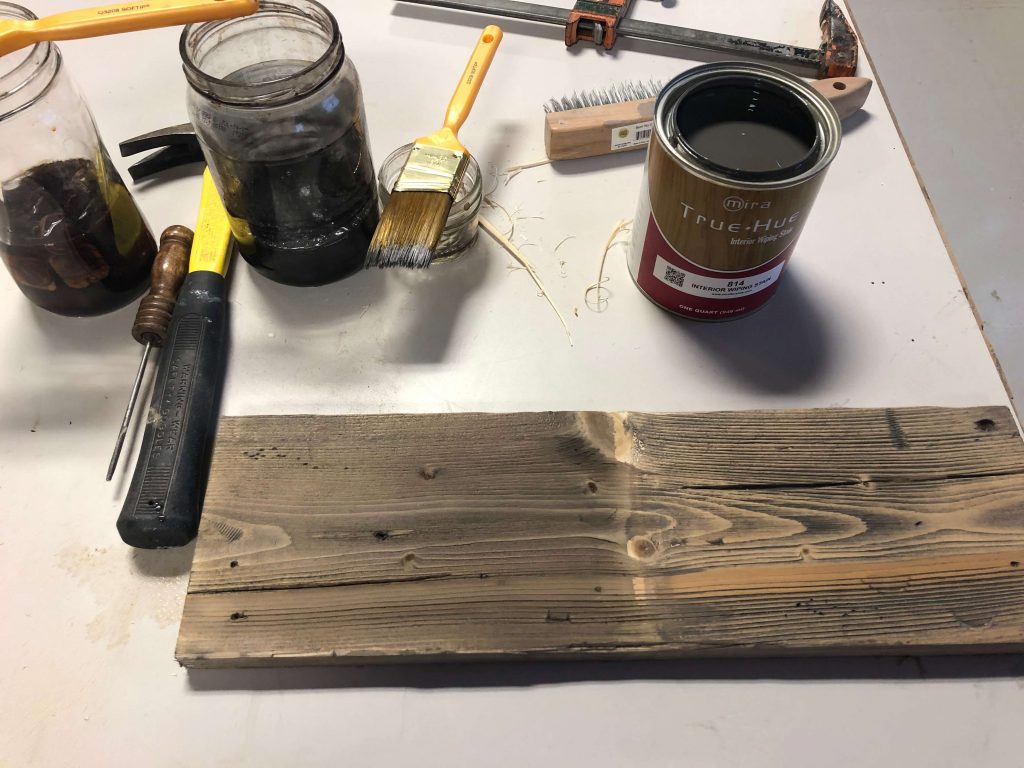
Once you’ve got the wood distressed, it’s time to add color and give it that “I’ve-been-out-in-the-weather-for-50-years” look! And there are a number of different ways to do this. The first we’ll look at is to use regular wood stain. We’ve got a formula for a darker and a lighter “weathered gray”. It’s something that looked good on the pine we were staining and it gave the wood a bit of that gray, washed out look. It’s simply a typical wood stain that you brush or rag onto the wood and then rag off, depending on the color you want to achieve.
It’s definitely a bit of a trial and error process, so use some scrap pieces of wood and sample away! If you are coming to a RepcoLite for the stain, bring some samples of the wood you’ll be working on and we can mix up your quart, sample the wood, and adjust the color if necessary! And always remember to sample the stain if you’re going to switch to another type of wood. A stain that looks one way on one species of wood can look entirely different on another!
When you’re all done and the wood has dried (unless you’re going to add paint or other effects), we recommend top coating with a polyurethane. The number of coats and the finish you choose depends on the overall look you want to achieve.
BENEFITS OF THIS METHOD:
- A generally even color on all planks
- Consistent color on planks even if one is stained 4 days before another
- No waiting! You get your color instantly and you don’t have to wait several days until your solution (see below) is ready.
DOWNSIDE TO USING THIS METHOD:
- A generally even color on all planks (some of the natural variations of weathered wood isn’t present)
- The harder grain in the wood resists the stain to some extent and you get more contrast in the finished product.
Aging Solution 2: Vinegar and Steel Wool
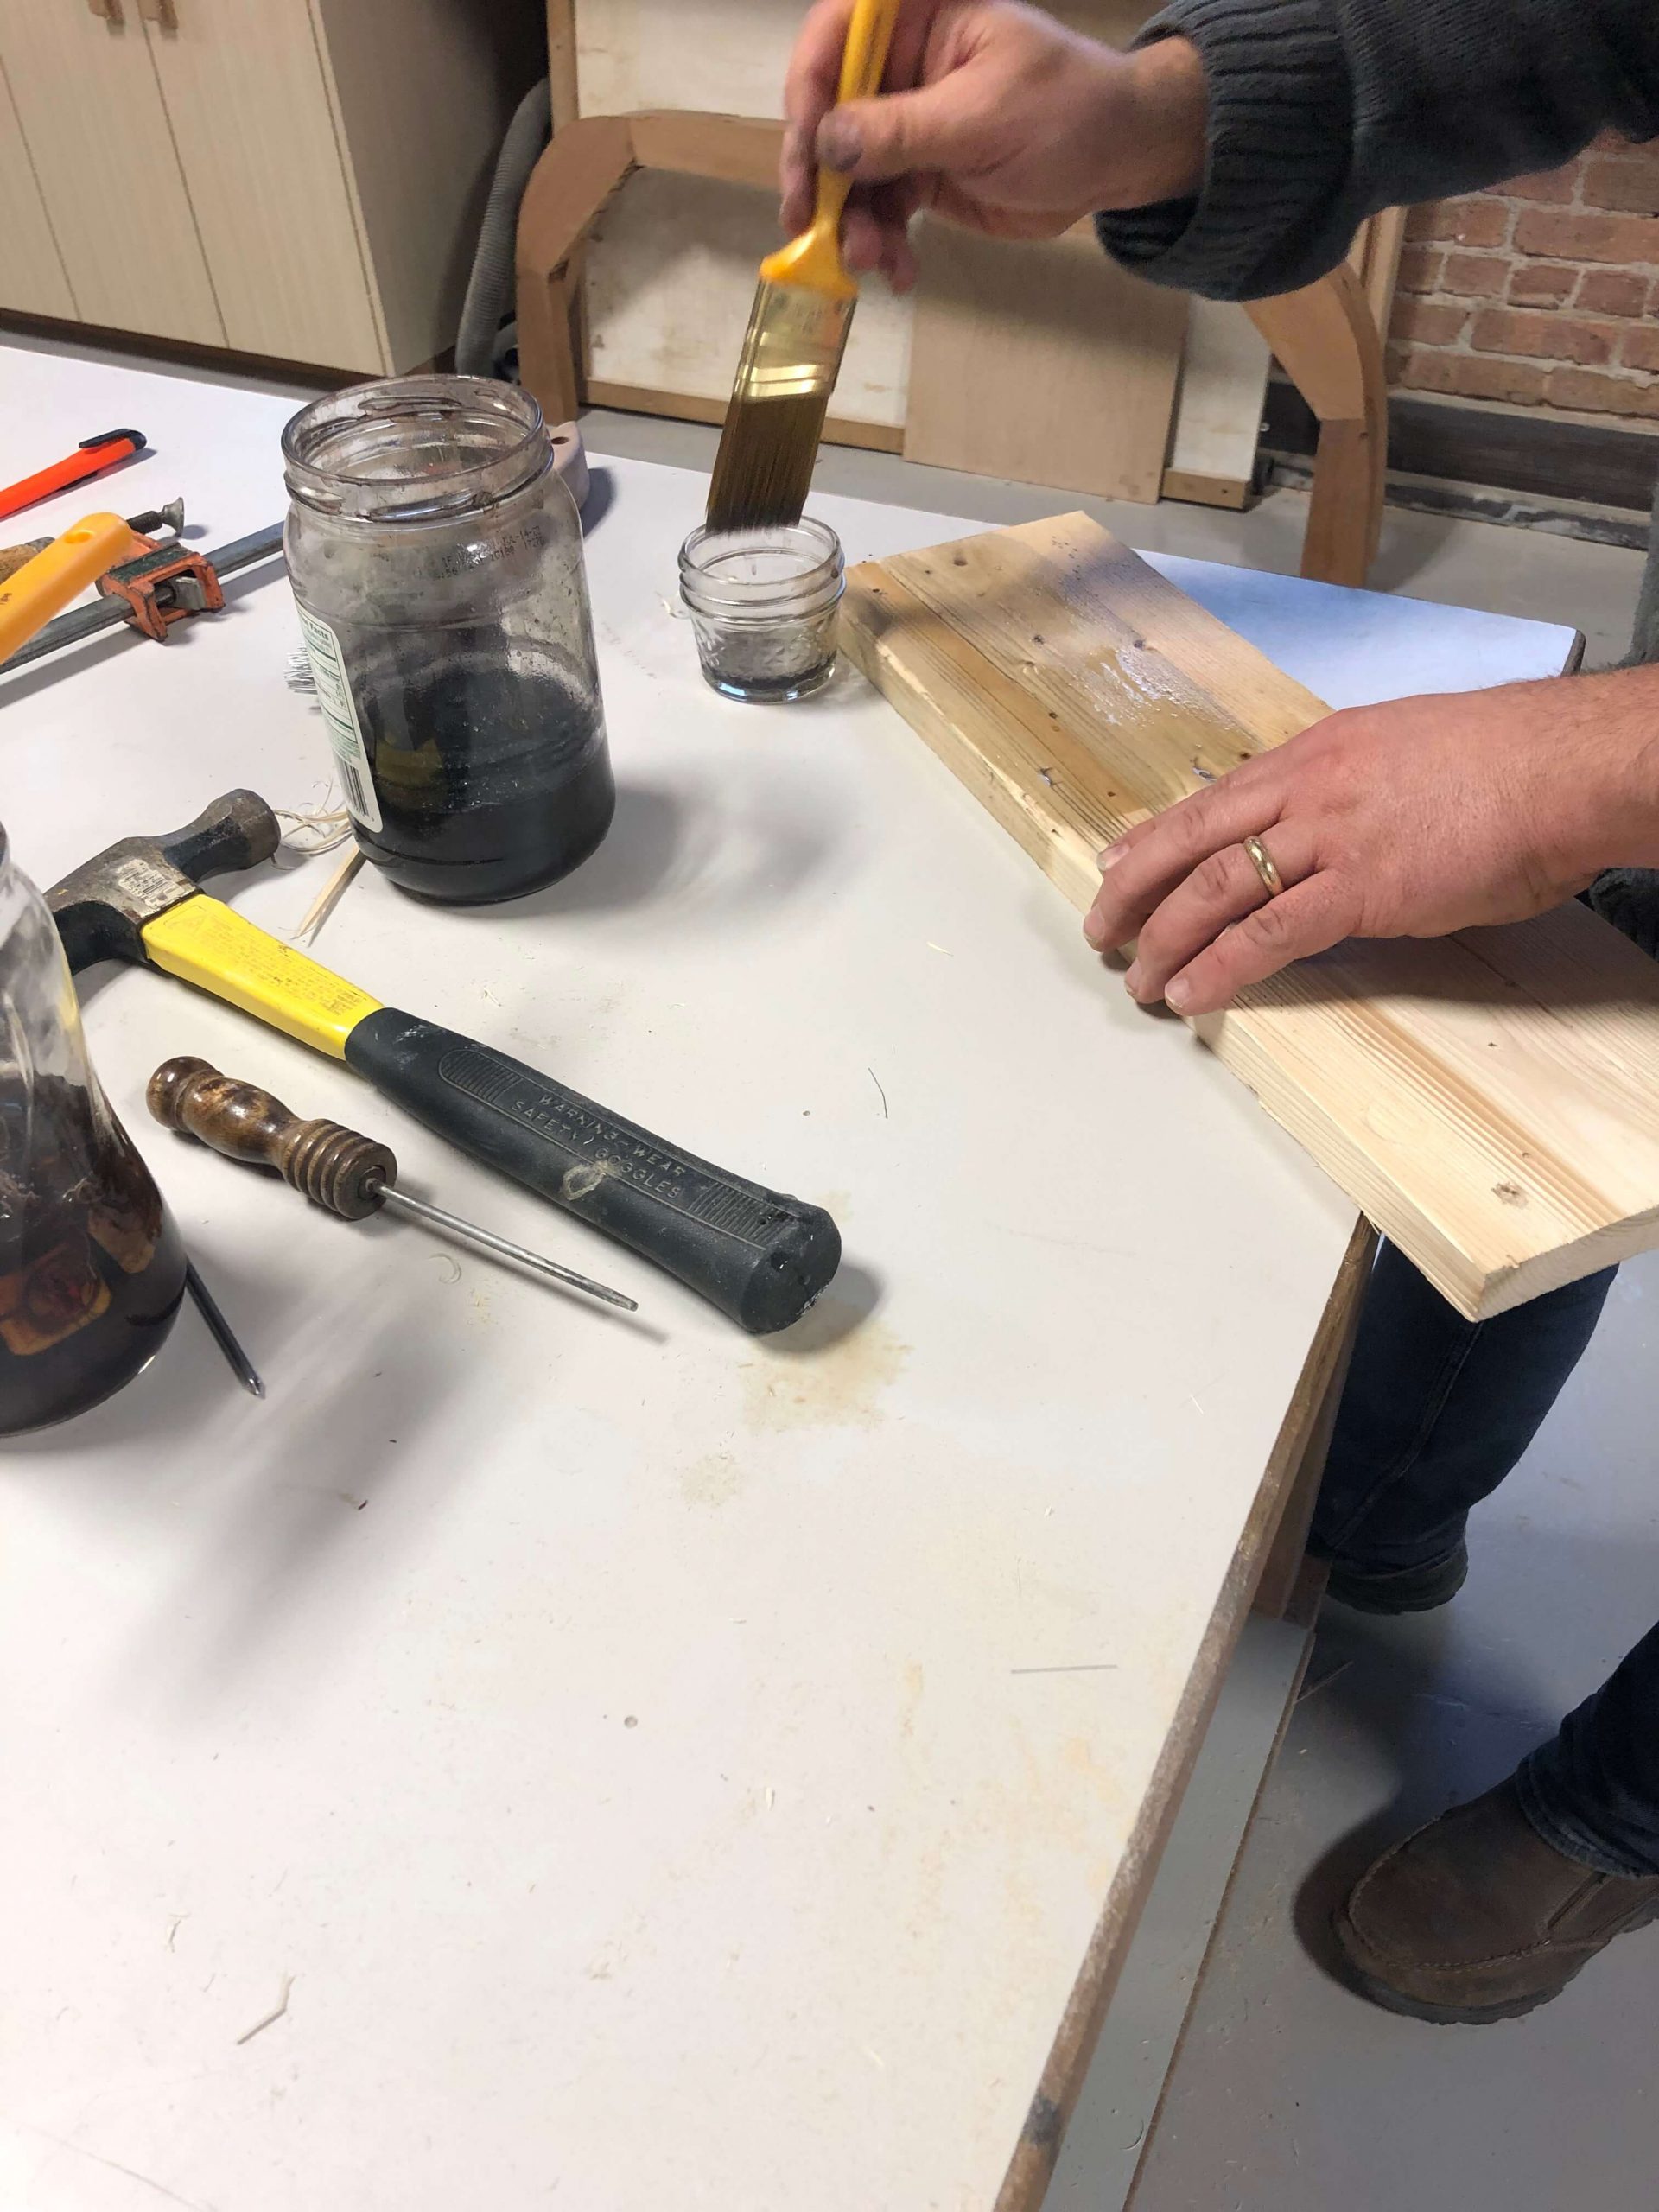
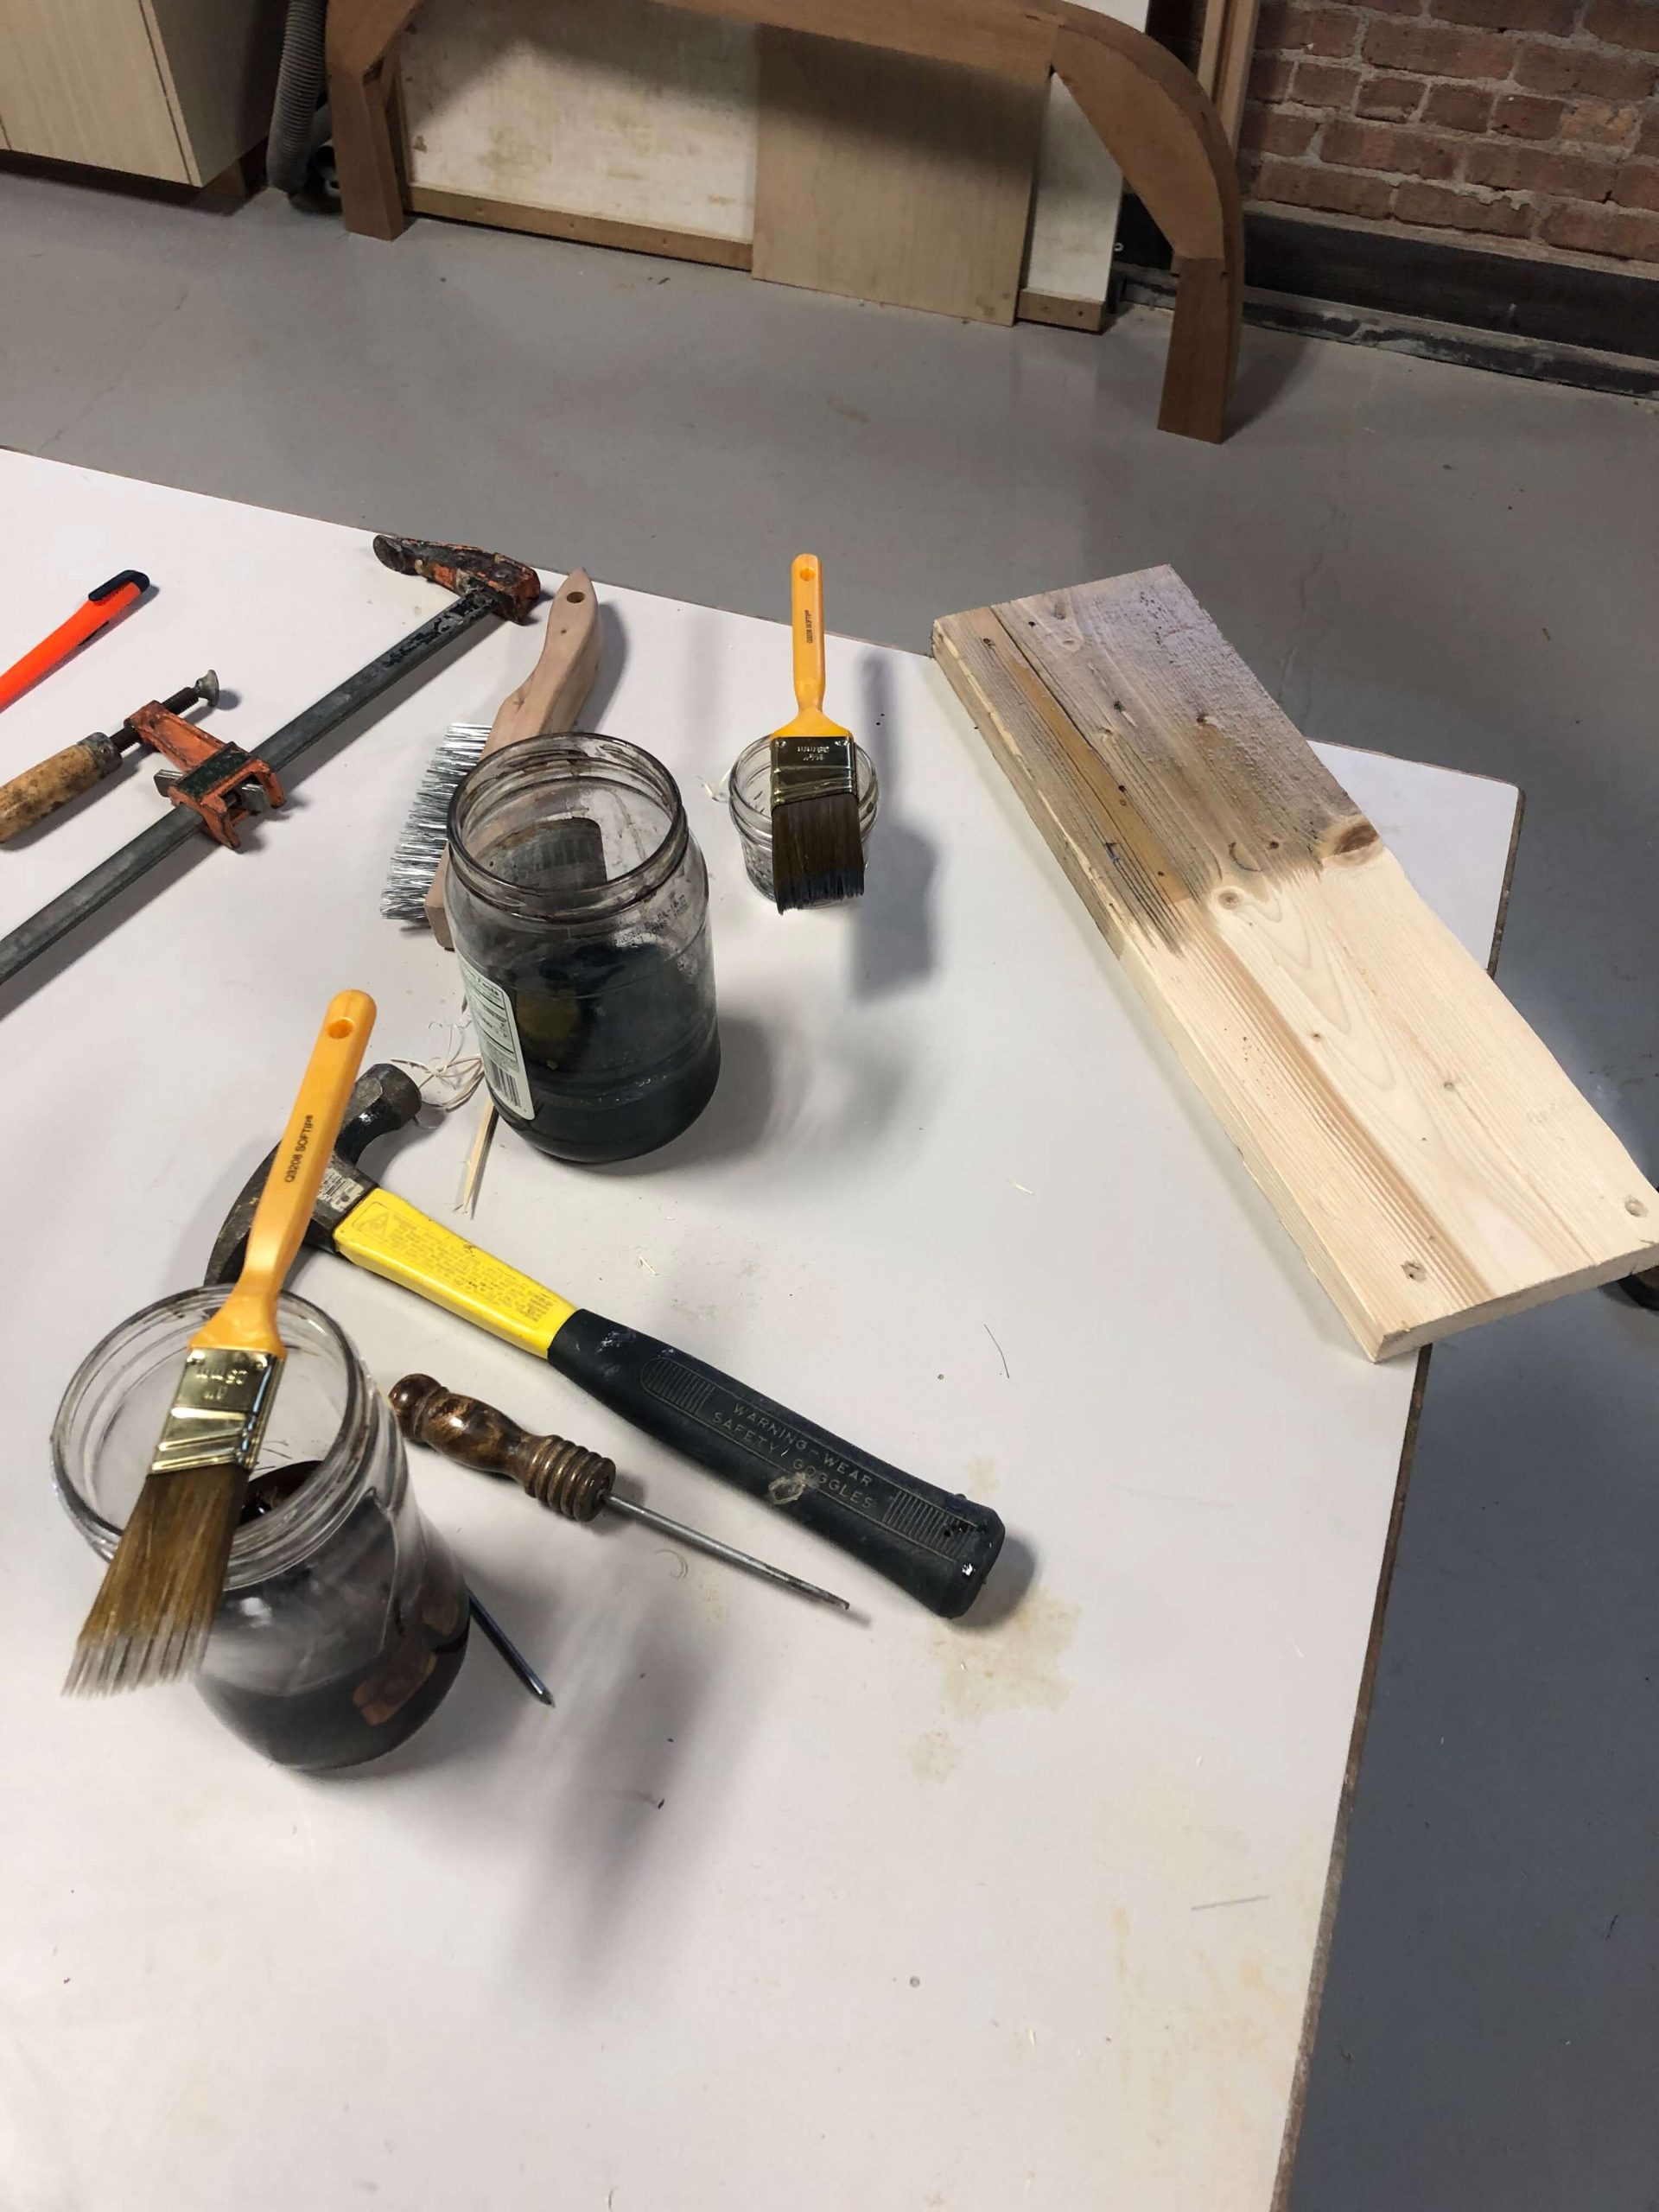
The second aging method is popular all over the internet: steel wool and vinegar. We spent some time testing this method and here’s what we found works best (and will hopefully help you avoid some of the poor results other people have had). First thing, is to start with #0000 steel wool. Wash it with dish soap to remove any oils that might slow down the chemical reaction when you mix it with the vinegar. After you’ve cleaned it and wrung the water out of it, cut it up into smaller pieces and toss them in a container. Then half-fill (or so) the container with vinegar. We used white distilled vinegar, but apple cider vinegar seems to work as well (though possibly producing slightly different color results).
Anyway, once you’ve filled the container with steel wool and vinegar, put the lid on it (after popping some holes in the lid so gasses can escape), and let it sit for a day, two days, three days, or more. The longer it sits the stronger it becomes.
When you’re ready to try the process, brew a cup of strong tea (8-10 bags of cheap tea in a cup). Take the tea and brush it onto your distressed wood. You can let it dry (which seems to produce darker end results), or you can brush the vinegar/steel wool solution over the wet tea. Either way works–the important thing to understand is that the tea and the vinegar solution must be applied in different steps! Once you’ve done that, you will not have immediate results. Over the next 5-20 minutes, the wood will dramatically age right before your eyes!
One quick note about the tea: It’s not mentioned or recommended in every post about this project, but we found that it was essential if you really want a darker, weathered gray end product. The people who’ve tried the process online and didn’t like the results generally used ONLY the vinegar and steel wool solution. That certainly works, but it’s not as dark or rich as they were hoping. Here’s why: The vinegar and steel wool mixture reacts with tannins in the wood. However, by adding the tea you infuse the wood with even more tannins.
SOME TIPS
- Be sure to strain your vinegar and steel wool mixture by running it through a coffee filter or a paint strainer to remove the small pieces of steel wool
- Be sure to TEST, TEST, TEST! Try different methods, mix the tea stronger and weaker. Brush it on and let it dry. Apply the vinegar solution immediately. Try different methods until you produce results you like!
BENEFITS OF THIS METHOD:
- Very random, very natural aging results
- Looks incredibly authentic
DOWNSIDE TO USING THIS METHOD:
- Slower process because of the wait time necessary for the solution to become ready
- Much more difficult to produce even and consistent results. The longer the mix sits, the darker it becomes when you use it.
The Comparison
Here’s a look at what we came up with using both methods side by side. The stain is on the right, the vinegar/steel wool and tea is on the left. Each side has it’s pros and cons. And largely, it depends on personal preference and what look you’re going for.
Just the Beginning, Young Grasshopper…
Try this project! Try it! We know that if you do, it will get your creative juices flowing. Once you see brand new, pristine boards become old and weathered, you’ll be thinking of ways to use them in your home. Or, if you’re like us, you’ll be brainstorming about other things you can do: you’ll be brushing paint on and sanding it off to create that look of reclaimed wood. Or maybe you’ll come up with something entirely different. We found that using a putty knife to apply simple spackling into all the grooves and the scraping most of it off produced the look of boards holding tenaciously to old layers of white paint. (We’ll cover this in a future post because it turned out so well!) Whatever you do, have fun! It’s a great project and it’s tough to screw it up. We’d love to see what you come up with. Post some pictures of your projects in the comments!