This week, Betsy and Dan discuss specific projects that will help you design remarkably creative kids’ rooms! They discuss ways to use your kids artwork on the walls of their room to add color and interest! And then they shift gears and talk about a number of interesting projects involving Benjamin Moore’s Chalkboard Paint. Also, (and perhaps most importantly), Betsy finds herself unable to say the word “great”, and in the process makes great radio memories….
View our Pinterest Board for Episode 7!
Episode Outline
- Using Your Kids’ Artwork in their Room (1:26)
- Betsy Can’t Say “Great” (1:40)
- Empty Frames (2:33)
- Corkboard Frames (4:56)
- Clipboards (5:52)
- Chalkboard Paint Projects (7:25)
- There Are Some Dumb Projects Out There (8:02)
- Paint the Wall (but not in the boring way you’re thinking!) (10:42)
- Paint Random Shapes (11:08)
- Replace Your Wallpaper Border with Chalkboard Paint (12:45)
- Cityscape (14:07)
- A Tree (15:47)
- Paint some furniture! (16:35)
- Chalk Markers (This is Awesome!) (22:21)
- Various Accessories (27:43)
Frame Their Artwork
We had a lot of fun with this topic and really, we only scratched the surface. This is such a great project for a kid’s room or playrooms because it gives you the chance to put some of their creativity on display, give them some input in the room, and bring in some (typically) bold, vibrant colors without letting them overpower the room.
The ideas we talked about were designed to be easy to change out. When your kids create new art, you (or even they) can swap out older art for newer. The walls can be updated regularly, often, and best of all, easily!
Check out the ideas in the podcast and then, if you come up with something even better, be sure to let us know! Email your photos to colormehome@repcolite.com!
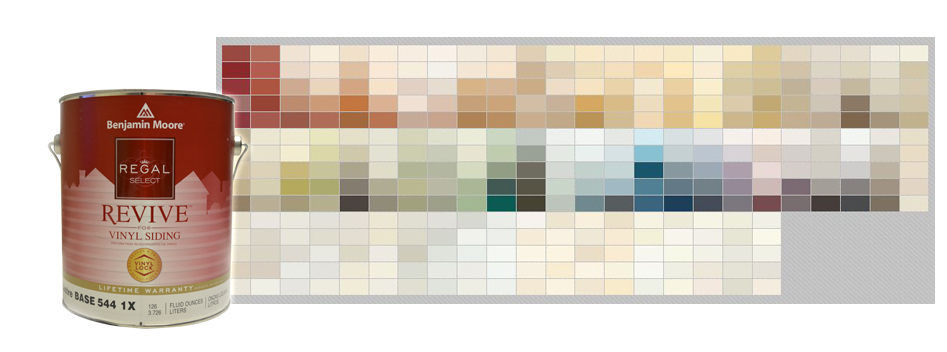
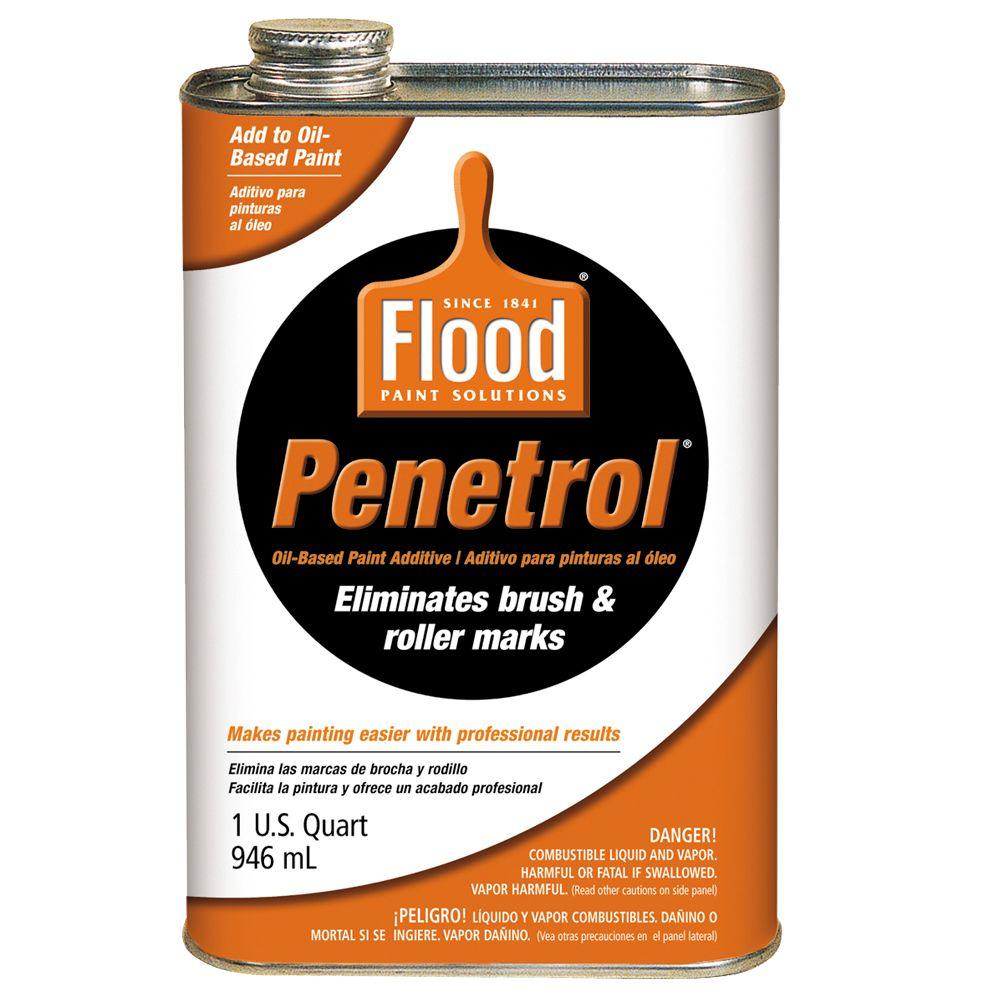
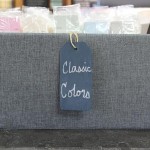
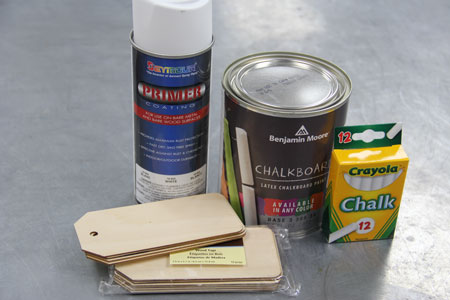
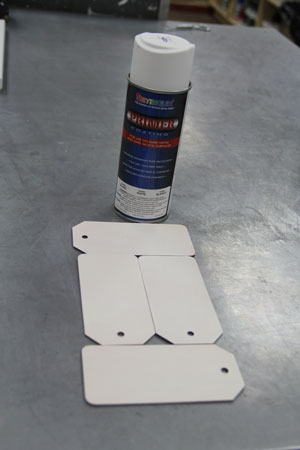
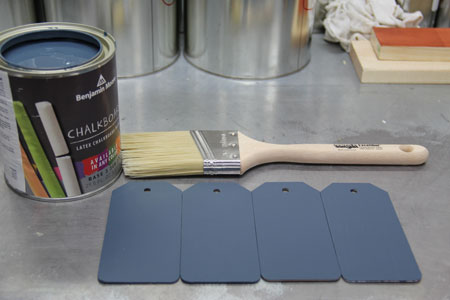
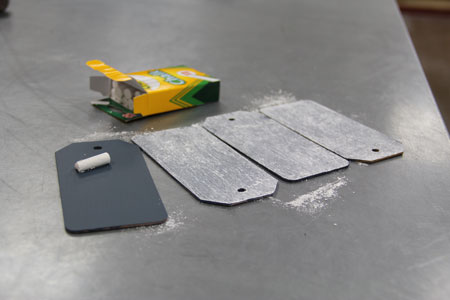
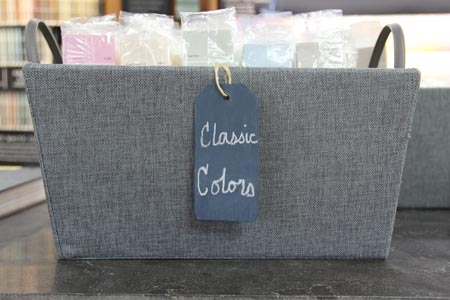
Benjamin Moore Chalkboard Paint
We spent a fair amount of time in this episode talking about Chalkboard Paint from Benjamin Moore. And that’s because we really believe this to be one of the coolest paints available! If you’re even mildly creative, it’s not going to take you long to dream up hundreds of uses. And remember, as we mentioned, Benjamin Moore’s Chalkboard Paint is available in ANY Benjamin Moore color. So, say goodbye to black chalkboards! (Unless of course, that’s what you want.)
Chalk Markers
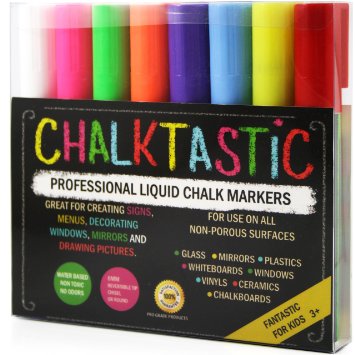
Betsy made a remarkably bold statement when we started talking about Chalk Markers. She declared that chalk markers were, and I quote, the “greatest invention ever.” Yes. Not one given to overstatement, Betsy firmly places Chalk Markers above electric lights, automobiles, moving pictures, and even computers on her list of “Greatest Inventions of All-Time”. Sorry Edison, Benz, and all you other thinkers and inventors. Sure, Betsy enjoys driving, having lights that go on with the flick of a switch, watching movies, and using her new Mac. But all of those things pale in comparison to doodling with Chalktastic Markers.
I, on the other hand, am a little more grounded and would likely place chalk markers just slightly further down on the list. Still, they’re pretty cool. And they’ll keep a lot of the chalk dust and mess off your floors. Click here for a link to purchase your own set from Amazon. (These are the ones Betsy uses and recommends. And remember, she says they’re the “greatest invention ever.”)


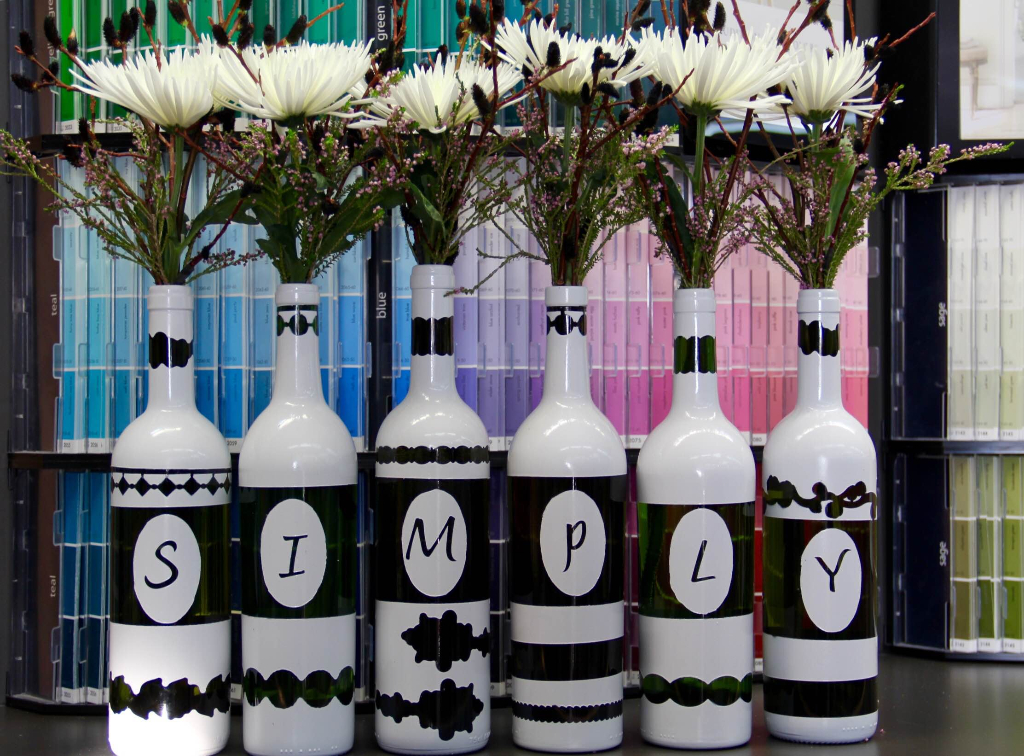 If you’re into decorating and if you’ve got even the slightest amount of creativity, you’re always looking for a project. Something outside the norms, something a little different, little things that will set your home and your decorating apart from everyone else.


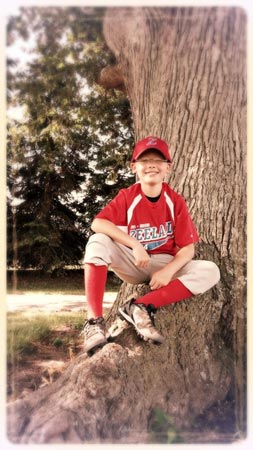 My family and I just wrapped up another Little League season and among all the wonderful things that baseball season brings into our lives, there’s one thing that I could do without: the Inevitable Forgetting of Important Things.