When it comes to home life, convenience is king. From shampoo-and-conditioner combos to convertible sofa beds, we’re surrounded by products designed to simplify our lives. The same idea applies to paint-and-primer-in-one products. On the surface, they seem like the perfect solution: saving time, money, and effort. But are these all-in-one solutions really better? Let’s dive into why primer still matters in the age of paint-and-primer-in-one products–and why they’re often the secret to a flawless finish.
The Truth About Paint-and-Primer-in-One
First, it’s important to clarify a common misconception: no product on the market is truly a hybrid paint-and-primer. Paint labeled as “paint-and-primer-in-one” is simply high-quality paint marketed as being versatile enough to skip the primer step. While it may work well in certain situations, it’s not a replacement for a dedicated primer.
Think about other combo products. Is a convertible sofa bed as comfortable as a dedicated couch and bed? Not really. Does toothpaste with mouthwash leave your breath as fresh as a two-step routine? Probably not. The same logic applies to paint-and-primer-in-one. It’s convenient, but it often falls short in performance compared to a dedicated primer and paint system.
Why Primers Still Matter
1. Primer Still Matters: Superior Bonding
Primers are specifically designed to bond to surfaces like wood, drywall, and glossy finishes, creating a strong foundation for your finish paint. Specialty primers, like Benjamin Moore’s STIX, go even further, adhering to challenging surfaces such as glass and glazed ceramic tiles. When cured, these primers create a tenacious bond that paint-and-primer products simply can’t match.
2. Primer Still Matters: Effective Stain Blocking
If you’re dealing with stains like watermarks, smoke damage, or wood knots, a specialty primer is often your only solution. Regular paint—even high-quality paint-and-primer-in-one—can’t stop these stains from bleeding through. Dedicated stain-blocking primers are specifically formulated to tackle these challenges, ensuring a flawless finish.
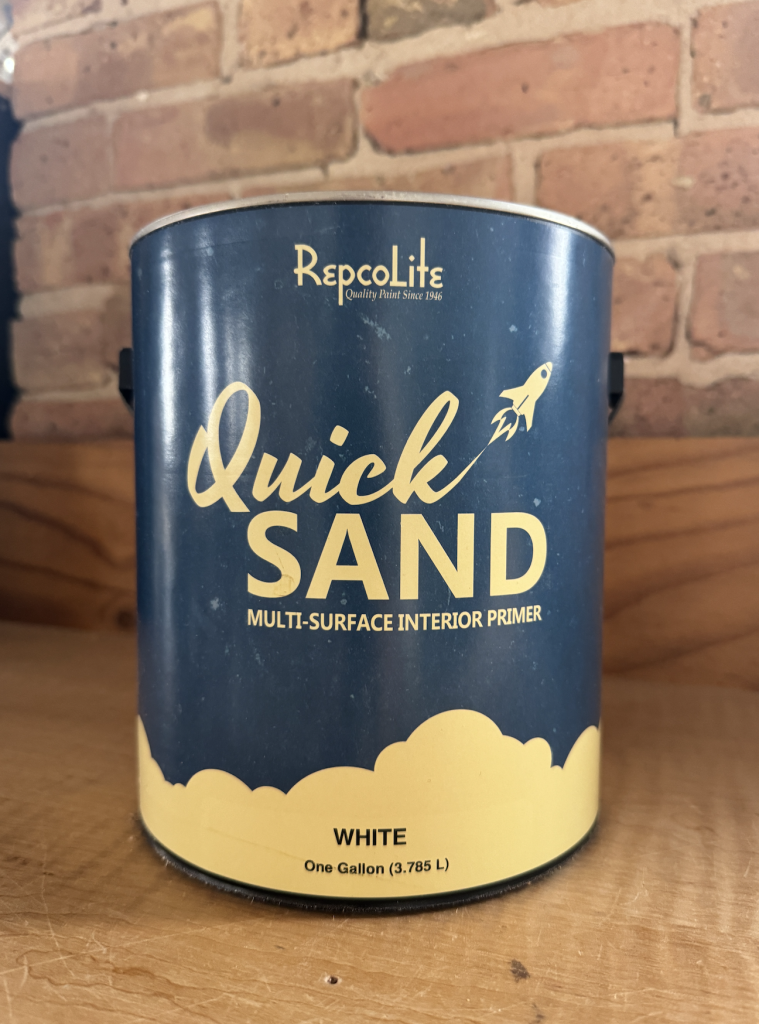
3. Primer Still Matters: Sealing Porous Surfaces
On porous surfaces like bare drywall, primers excel at sealing and covering, providing a smoother, more even base for your paint. Paint-and-primer products can struggle to fully seal these surfaces, leading to uneven absorption and requiring more coats.
4. Primer Still Matters: Cost Efficiency
While paint-and-primer-in-one products seem cost-effective at first glance, they often require more product to achieve the desired results. Dedicated primers do the heavy lifting at a lower cost, reducing the amount of finish paint needed. This can save you significant money, especially on larger projects.
When to Use a Dedicated Primer
While paint-and-primer-in-one products have their place—like refreshing a previously painted wall in good condition—they’re not a one-size-fits-all solution. Anytime you’re working with new, porous, or stained surfaces, a dedicated primer is your best bet for professional-quality results.
The Bottom Line
Primer still matters! It’s the unsung hero of the painting world. It may not have the convenience of an all-in-one product, but its superior performance in bonding, stain blocking, and surface preparation makes it an invaluable part of any project. So the next time you’re faced with a tricky surface or a stain that won’t quit, remember: a good primer is worth its weight in gold.