Common Paint Mistakes We All Make!

OK. In the spirit of honesty and the common good and all that, I’ll admit that I’ve made a lot of dumb mistakes in my life when it comes to painting. The thing with me is that I should know better. But, unfortunately, at heart, I’m busy. And this lack of time actually makes me an eternal optimist when it comes to trying shortcuts. I always figure that this time the shortcut will work. This time I won’t have a mess on my hands. Turns out, I’m almost always wrong.

Well, I’m not the only one who struggles with this. At RepcoLite, we meet people everyday who are like me. People who wanted to save a little time. People who discovered that shortcuts in the paint world don’t often end well. Here are a few of the most common mistakes we see on a regular basis. How many have you made?

One Coat Coverage or Die Trying

So you start rolling your paint on the wall. You’ve got a schedule to keep and a vision of the rest of your day and everything hinges on getting that paint to cover in one coat. And that’s when you notice, with a sinking feeling in your stomach, that the paint isn’t complying. It’s not covering like you hoped.

And so, our first thought is to load up that roller and by sheer force of will make that paint cover in a single coat. The problem with this is obvious: a heavy coat of paint on a wall will dry dramatically slower than a proper application. And the slower dry time will mean your finish will start to show sags and runs. These are huge problems that are not easy to fix!

If you find yourself in this situation, your best bet is to do what we all know, deep down, is right: Apply the paint as it’s intended. Two thinner coats are going to give you a better looking finish (by a long shot) than one heavy coat. And really, you’re probably not going to spend too much extra time anyway. Rolling two coats on properly isn’t going to be much slower than rolling one insanely thick coat on the wall and then dealing with all the drips and runs!

Scrub that Wall? Are You Kidding? I Power Washed It!

We see this all the time! We’re getting ready to paint our home or a pole barn and we know that we should wash it. And so we gas up the power washer, pull on shorts, lather up with sunscreen, and start blasting! We work our way around the house, engulfed in a rainbow mist, washing every ounce of dirt and grime and filth from the surface, right? Well…

As powerful and amazing as power washers can be, they will never replace the need for a good scrubbing on many surfaces we want to paint. Think of it this way: when you wash your car, what would happen if you just sprayed it with the hose? Do it sometime and check it out. Is it clean? Or is it still coated with all kinds of road goodies? We all know that scrubbing the car and then rinsing is necessary in order to really get it clean.

The siding on our home is the same. A power wash alone will not get it clean enough for paint. It needs to be scrubbed. And yes, I know that sounds terrible but it needs to be done. Skipping the step means you’ll probably have premature failing of your paint coat. If the surface isn’t scrubbed clean, your new coat of paint will bond to that layer of chalky residue or dust that the power washer left behind. That means it’s not bonded to the surface of your home or your barn or whatever . . . it’s only stuck to the dirt that’s stuck to the side of your home. That’s not ideal. By a long shot.

So get a scrub brush on a pole, a box of TSP, and scrub the siding before power washing it. You can still work on your tan and you’ll get a great cardio workout to boot. All the while ensuring that your paint job will last!

Wash My Interior Walls? We’re Not Pigs…

The same thing happens inside (without the power washer, of course!) All walls to be painted should be washed with a mixture of TSP. TSP is a degreaser and it will cut through all sorts of contaminants that will build up on our walls over time: cooking oils, body oils, soot from candles, just plain old dirt, and so on. Even if the walls look clean, these contaminants are likely there and they can prevent or hinder your paint from bonding well.

Also, trust me, even if you’re house is relatively spotless, there’s probably a stray cobweb or two on your wall. And nothing is more frustrating that rolling or brushing into something like that and getting it mixed up in your paint, on your roller, or in your brush.

I Just Stripped Wallpaper. I’ve Done My Penance. I Just Want to Be Done…

Another tempting shortcut when happens when we paint a room where we’ve stripped wallpaper. Taking paper down is bad enough. But then to think that there’s a primer step before you can finally roll your finish paint on is often too much for people. The outdoors is calling! The TV is calling. The tedium of wallpaper stripping has killed a part of our soul and we just need to rest. Skipping that primer step is so tempting!

But here’s the deal: wallpaper paste is water-activated. And no matter how well you clean your wall after you pulled that paper down, there’s a good chance that there’s some residue left behind. If you roll latex paint over that paste residue, the water in the paint will re-activate the paste on the wall and you’ll end up with a texture in your finish.

We see it all the time. And it’s a problem that’s typically only fixed with sandpaper on a pole. Which is definitely not a fun project.

So no matter how much you don’t feel like priming, it’s the wisest choice! You can use an oil-based primer like RepcoLite’s Pro Flo primer. Or you can use Benjamin Moore’s Fresh Start Multi-Purpose Oil Primer. Both of these can be topcoated with a good, high quality latex.

If oil’s not your bag, there’s one single waterbased option that we will happily recommend: Gardz Sealer from Zinsser. Gardz is specifically made to seal in wallpaper paste residue and we’ve seen great results when using it! So, if soap and water clean up is a must for you, there’s an alternative. But just remember: this product is specifically made for this purpose! Don’t use just any waterbased product. Because it won’t work!

Working Out of the Gallon Container

Who hasn’t done this? We pop open the lid of our gallon, grab the bucket by the handle and start marching around the room with it, dipping our brush in from time to time and working that way. I’ve done it, I’ve seen it done. I think we’ve all done it. But the problem is, it’s kind of a dumb thing to do for a few reasons:

It’s Heavy and I’m Clumsy. Carrying around a gallon can can be a little tiring. It fatigues our arms and fingers and just makes a project more painful than it needs be. Also, some of us (I’m thinking of me, here) are a little clumsy. The likelihood of me bumping into something and sloshing paint onto the floor is high. If I’m carrying around a full gallon of paint, the chances are even better.

Loading a Brush Correctly is Impossible in a Full Gallon. Yes, there’s a correct way to load a brush with paint. And yes, it’s very difficult to do that when you’re working out of a full gallon. (Here’s a video demonstration of the right way to load a brush).

Don’t Poison the Waterhole. I’ve written about this before. The concept is simple: if you’re working out of your source for the paint (the gallon) and you brush into a spiderweb, dirt, or anything else, you’re going to end up dipping that contaminant into your paint when you go to refill your brush. Suddenly your paint isn’t as pristine as it once was because you’ve introduced who knows what into it! This is especially true when working outside.

To get away from this problem, simply work out of a smaller container. We sell any number of them at RepcoLite. Get something light, easy to hold, and only pour some of your paint into it. It’s not as heavy, you won’t be as likely to drop it or spill it, and if you do contaminate it, the bulk of your paint is still clean and fresh!


Paint and Primer All-In-One: Miracle or Marketing?

By now, we’ve all heard about Paint and Primer All-In-One products. We’ve seen commercials, we’ve heard the promises. And we know that using a two-in-one product is going to save us almost miraculous amounts of time, right? Well….

Brilliant Marketing

To start with, let’s clear something up right away. Paint and Primer All-In-One products aren’t new. The labeling is. The name is. But in all actuality, all high quality, 100% acrylic paints will function as paint and primer all-in-one. There is no inherent difference between a product labeled as a paint and primer all-in-one and a high quality acrylic paint. It is really just a brilliant marketing gimmick revolving around the concept that we all like to save time and skip steps!

RepcoLite carries any number of products like this even though we don’t label them as such. Our Hallmark Ceramic Paints and Carefree Interior Paints are all paint and primer in one products. Benjamin Moore’s Aura, Regal, Natura, and Ben also fall in to this category.

So, in actuality, paint and primer all-in-one products aren’t as “cutting edge” as we may have been lead to believe by the smart tv ads! But are they still great time saving products?

Can We Really Skip the Primer Step?

Yes and no. As we mentioned in the previous post primers are different from paints. Paints are different from primers. When the two are combined into a single product, compromises have to be made. Drywall, for example, is porous and needs to be sealed. Just rolling a finish paint on, especially a finish paint that has a sheen, can result in an uneven finish. The paint is absorbed at different rates into the drywall. In the areas where it lays up on the surface, it will look shinier. In the areas where it penetrates deeply, it will look flatter. Subsequent coats can mask this problem, but not always eliminate it. A drywall primer however is made to seal and provide a uniform surface for your finish paint. And, on top of that, it’s about $15 cheaper a gallon! Why spend all that extra money for lesser results?

Or, if you want to paint a tile backsplash, a paint and primer in one product is likely going to peel right off. You need to use a special bonding primer that is designed to adhere to smooth, glossy surfaces.

Or, let’s say you stripped wallpaper off your walls and want to paint. The paste residue that is often left behind is water soluble. A regular waterbased paint and primer all-in-one will react with this and will result in a texturing problem on your walls. Use an oil-based primer (Benjamin Moore’s Fresh Start Multipurpose Oil Primer or RepcoLite’s ProFlo Primer) and you’ll seal that paste in and you’ll have no problems. (For more information and painting a wall that previously had wallpaper, check out our blog post!)

Bottom line, there are many situations that we run into on almost every painting project where a separate primer and finish paint are going to give you better results than just using a primer and paint in one.

When Can I Use a Paint and Primer All-In-One?

There are certain situations where a paint and primer in one product makes sense:

  • New Coat of Paint (same color)
  • Drastic Color Change
  • Small Repairs

Putting another coat of paint on a wall? Primer isn’t usually needed, so the paint and primer in one products work well. Switching colors? A paint and primer in one will offer better hiding than a cheap paint, so that’s an option. Patched a small area of your wall and you don’t want to buy a separate quart of primer? OK, paint and primer in one makes sense. And there are a number of other situations where paint and primer in one would make sense.

However, remember what we said earlier: Paint and Primer All-In-One products are technically no different from a high quality acrylic latex paint. So, in any of the above situations, do you need to seek out a specific Paint and Primer All-In-One? Absolutely not! If you’ve already got paint, and it’s a high quality acrylic, it’s perfect!

What Do the Professionals Choose?

Professional contractors make their money and build their reputation based on the speed of their projects and the quality of their work. And by an overwhelming margin, they choose to use a separate paint and primer. They know that they will get reliable and consistent results with a separate paint and primer. And they know they’ll get those results at a better price than using the “miracle” paint and primer all-in-one products!

So, why use a lesser system that costs more money when you could use the system the pros consistently choose?

Is Primer Really Necessary? Not If You Like Problems!

OK. We all love saving time, right? Of course we do. My kids do as well. In fact, everytime I ask them to help with any household task, they instantly slide into “time-saving-mode”. Which really just means that they look for shortcuts and ways to cut steps out of projects.

For example, when it comes to doing dishes, they routinely cut out the “scrubbing” step. We don’t have a dishwasher and so we end up standing at the sink every night after dinner. And since this is so boring, the kids have found that they can skip the scrubbing step in order to cut a lot of time out of the job. They run their little fingers over the glasses and the forks in a half-hearted cleaning effort and then they rinse like champions.

And then, days later, we have a guest over and inevitably, the guest needs a glass of water or something. And I get a cup out of the cupboard and stifle a scream when I see a spaghetti noodle, crispy and razor sharp, draped across the cup like a worm on the sidewalk in the sun. I try to hide the glass and reach for another only to find a hunk of hamburger stuck to the next one. Quickly, I toss that one behind my back and reach for a third glass only to find that it’s lined with sticky, leftover Mountain Dew.

I wish I were exaggerating, but I’m not. It’s really embarrassing. And it proves the point that saving time by skipping steps isn’t always the best plan.

And that’s brings me to the paint point: Many of us want to save time on a paint project and one of the easiest ways to do that is to cut out the primer step. After all, it’s just a time-consuming, boring, and labor-intensive step that serves no real purpose, right? Why put 1 coat of primer and 2 coats of finish when we could just do 2 coats of finish? Can’t we save time by just skipping the primer and going straight to paint?

It’s a great question and we’re going to answer it in chunks. First, let’s start by pointing out that paint and primer are fundamentally different products which serve fundamentally different purposes. Yes, they look similar in the can and they’re applied the same, but a lot of the similarities end there. Paint is designed to take tint and lock that color in a paint film that offers you a sheen (should you want one), scrub resistance, durability, and protection from the elements. Paint is designed to look beautiful and provide you with the durability you need on any given surface.

Primer, on the other hand is made to seal, to adhere, to block a stain, to resist rust, and for a wide variety of other specific situations:

So, using a finish paint on bare drywall, for example, is going to cause problems. Yes, you’re skipping the primer step, but in that instance, you’ll find that your more expensive finish paint is soaking into the surface unevenly. If you used a finish with a sheen (anything other than flat), you will notice that the wall has dull areas (where the paint soaked in) and shiny areas (where it didn’t). Subsequent coats will not completely even this out and you have the potential to produce a wall that has shiny spots that are visible no matter how many coats you apply. A specific drywall primer like RepcoLite’s Quick Seal would resolve this problem for less money!

Using a finish paint over a ceramic tile backsplash is only going to result in sorrow when you find your paint peels off whenever you bump the wall. Again, a bonding primer like Stix from Insul-X, would take care of the problem!

The bottom line is this: skipping the primer may save you some time, but it will likely cause a larger number of problems that are much more complicated and expensive to deal with. If you’re unsure if the project you’re tackling requires a primer, let us help! Just ask at any RepcoLite or Port City Paints location and we’ll let you know the best way to proceed.

Now, of course, the next issue that comes up revolves around the paint and coating industry’s newest innovation: Paint and Primer All-In-One products! All this talk about primers goes out the window when you’re using one of these miracle all-in-one products, right? Well . . . not so fast. We’ll deal with that in the next post!


Painting Your Vinyl Siding

vinyl_roundedPainting your vinyl siding isn’t typically a project we’d consider “low-budget”. Yet, in the grand scheme of things, it really is. Here’s why: painting the vinyl siding of your home will produce a remarkable change. In fact, not many outdoor projects (if any!) are going to produce as profound a change in the curb appeal of your home. So, the project produces amazing results. And to get those amazing results, you typically only have to spend anywhere from $300 – $600 on paint. Add some supplies and figure in your time to do the work and you’re still talking about a relatively low expenditure to produce the biggest change possible without remodeling or re-siding your home. So, relatively speaking, it’s inexpensive when you consider the results!

Best of all, it’s not a difficult project. In fact, it’s pretty simple. Here are the basics:

CLEAN THE SIDING: Before you apply any paint, the siding needs to be cleaned and free from any surface contaminants. The paint you will later use bonds to the surface of the vinyl. If that surface is not clean and ready for paint, you can end up with the paint bonding to whatever contaminant was there (dust, dirt, etc). So, make sure you clean the siding.

And when it comes to cleaning, there are a couple of options. First, you can go to the old paint prep standby: TSP TriSodium Phosphate. It’s inexpensive and functions as a degreaser, mild deglosser, and cleaner. If you’re painting your vinyl siding, it’s perfect. If you have mold or mildew on the siding around your gutters or downspouts, just mix a little bleach in the TSP mixture.

Never use TSP on your siding if you’re only trying to clean it because it will dull the finish of your vinyl that you mix with water and it’s an excellent cleaner

A second cleaner that would be excellent on your vinyl siding is called Jomax. It’s designed to clean vinyl siding and if you use this in conjunction with a scrub brush and a power washer, you’ll be able to get the dust, mildew, and any other surface contaminants off the siding to make it ready for paint.

Jomax is safe to use on your vinyl if you’re only trying to clean it!

Whatever cleaner you choose, make sure you scrub with a scrub brush before rinsing with a power washer or a garden hose!

PICK YOUR PAINT: Once the siding’s ready for paint, it’s time to get the paint! We recommend Benjamin Moore’s Regal Select Revive. Revive provides excellent color retention, is resistant to mildew and can be applied as long as surface temperatures are 40 degrees Fahrenheit (and rising).

Revive is designed specifically for vinyl siding and comes in a wide palette of vinyl-safe colors. This is a big deal because when you use standard paints in non-vinyl-safe colors, you run the risk of warping, damaging, or even destroying your vinyl siding.

The short story is this: the old rule of thumb when painting vinyl siding is that you need to make sure you only select a new color that is the same shade or a little lighter than the original vinyl siding color. If you don’t do that, you run the risk that the new paint color (the darker color) will absorb so much heat that it will case the panels to warp!

Vinyl Safe Colors are another story entirely. With Revive and it’s incredible palette of colors, you can safely change your light tan siding into a charcoal grey with no worries whatsoever!

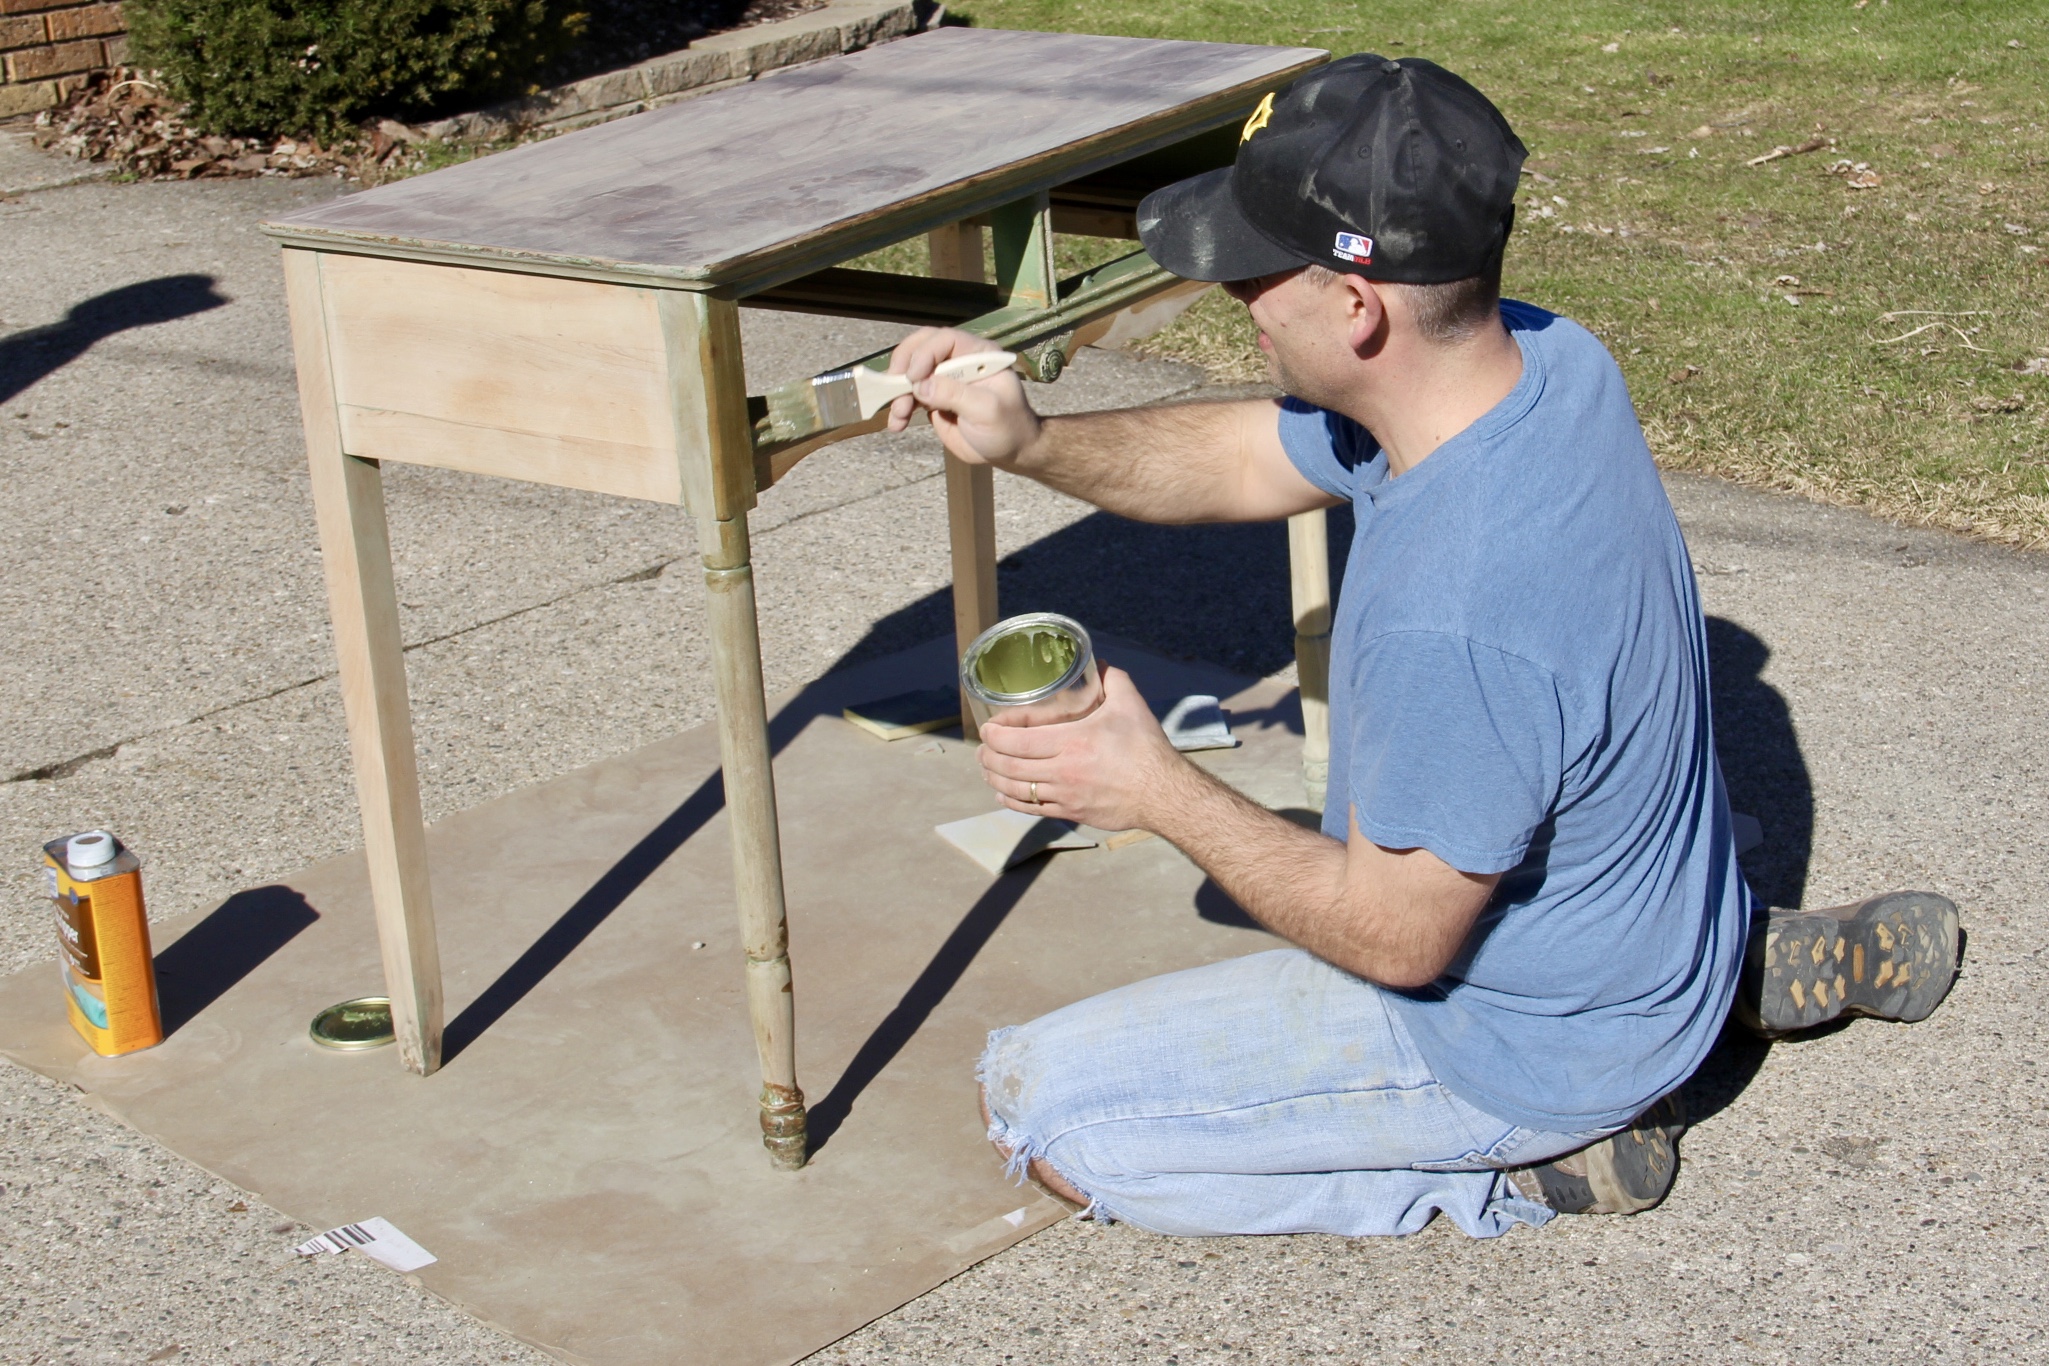
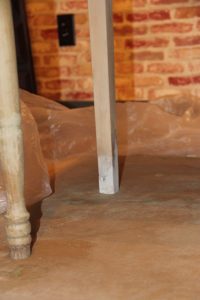
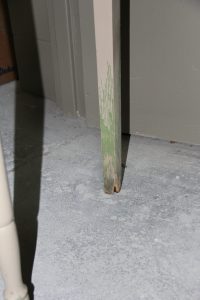
Below, we have a gallery showing you why you want to use vinyl safe colors! In the photos, the paint on the vinyl was simply regular exterior paint and a vinyl safe color wasn’t chosen. The new color was darker than the original vinyl and, in the sun, heated up so much that the actual vinyl siding warped, creating a problem that can only be fixed by replacing the siding. The lesson? Always choose vinyl safe colors!

APPLY IT and ENJOY: After cleaning and picking your paint (and vinyl safe color!) all that’s left is to do the work. Apply the paint on the cool side of the house, working out of direct sunlight. You can use a roller (we have various sizes), a paint pad, a brush (generally just for trim work), or even a sprayer (if you can safely do that without having overspray drift throughout your neighborhood!).

Painting the whole house is labor intensive. It will take you some time and it’s definitely a work out (you’re going up and down ladders all the time!). But, the good news is that once you’re done, you’ll be able to enjoy the benefits for many years to come!

If you decide to tackle a project like this, stop out at any RepcoLite, Port City Paints, or Snyder Paints location and let us give you the full rundown regarding method and tools!

Everyday Items into Easy Christmas Decor!

Yet another guest post from our Super-Hero Decorator Friend, the Purple Stiletto!

I’m dreaming of a white…and cheap….Christmas. The Purple Stiletto has been spending a good deal of time in the Craft Cave (with Christmas music blasting), trying to find the most inexpensive ways to decorate for Christmas. Now, being that this is the Purple Stiletto’s favorite time of year, it is important to have the feeling of Christmas in EVERY room. And that can get quite expensive! That is where common household items and a little bit of creative juice (and
eggnog!) come in handy.

Now, I will say, there had been ideas spinning in my head like ballerinas in tutus for quite a while. I started by gathering the items I already owned.

  • Large bowl? Easy!
  • Pitcher? Yup!
  • Hand towels? Ho ho ho!
  • Mason Jars? Thank goodness I made dinner at home last week!
  • Colander? Yes……..but it’s rather big……..and bright silver…… and if I use that, how am I going to make pasta? I can’t go without pasta until after Christmas! Option #2……… Red Ranger to the rescue! He suggested a trip to the thrift store to look for a colander and any other items that may dress up my ordinary household items. These are the reasons I need him!

With a song in our hearts (or at least in my heart!), we arrived at the first thrift store. If we were lucky, it would be our ONLY thrift store stop. We entered the store with much anticipation and were met with the MOTHERLODE! There was Christmas stuff everywhere! We walked from table to table, looking at all of the different knick-knacks and do-dads. Red Ranger found a bag of fake snow for $1 and some reindeer antlers.

And then I spotted it……shiny and copper……the perfect little colander! And a steal at just $5. We paid for our treasures and returned to the Craft Cave.

I started by folding the hand towels so that only the bottom, decorative portion was showing. I had seen something on Pinterest (a favorite Purple Stiletto website for inspiration) that showed toilet paper with greens coming out of the tube. There is just something about putting toilet paper on display in the bathroom that just doesn’t settle well with me. So my solution was to use hand towels, folded, and then rolled into a tube. The Red Ranger cut sprigs of pine that I put in the top of the towel roll. My bathroom was ready for Christmas. How simple could it be?!

IMG_6774

Next, I tackled my large wood bowl. Now, my intent was to fill the bowl with ornaments in varying shades of blue, white and silver. The colors were not a problem but the enormity of the bowl was! I had quite a few ornaments but not enough for such a large bowl. The Purple Stiletto does not let such pesky problems stand in the way! The solution was simple: place a layer of packing peanuts in the bottom and cover with a fabric napkin. I chose silver because it was more likely to blend in, should it be seen in the space between ornaments. Simple, inexpensive and literally minutes to put together. I was on a roll!

IMG_6812

I did the same thing with my shiny new colander, except I added battery powered, LED micro lights. I picked them up at a home improvement store a while back for about $7. I put the end of the lights up through the holes in the bottom of the colander so the battery box was hidden under it. I added vintage Christmas ornaments that my grandma had given me and Voile! A fabulous kitchen decoration!

IMG_6791

Last, Red Ranger and I tackled the mason jars and pitcher that holds beautiful flowers in the spring and summer. Red Ranger filled the mason jars with the fake snow and then cut tiny sprigs of pine. He also cut larger pine boughs to fill the pitcher. He added the tiny sprigs on top of the fake snow and I added tiny blue and silver ornaments for color. I added blue and green ornaments to the pines in the pitcher and a giant green bow. Our work for the day was done. Time to take a page from Santa’s book and have some milk and cookies!

IMG_6806

That night, I sat with a good book by the fireplace and admired my new decorations. They were my everyday items that were suddenly filled with the magic of Christmas. The Purple Stiletto had done it again—turned something boring into something spectacular! The only thing missing is a festive drink!

Easy Mantel Decor or Table Centerpiece (You Decide!)

IMG_6824Another post from our Super-Hero Decorator guest writer, The Purple Stiletto!

Now, the most obvious basic item was the leftover branches from the bottom of my Christmas tree. They were going to add color and texture to the top of the mantel. I also collected together tea lights, small red and silver Christmas bulbs, unused wine glasses, an empty vase, ribbon, a rhinestone buckle and some sparkly red balls.

I started by laying the branches from my Christmas tree on the mantel. I let them drape over the edge just slightly. Next, I filled the vase with red balls, wrapped black ribbon around the middle and secured with a rhinestone buckle. I placed the vase in the center of the greens, then grabbed the wine glasses. I filled the glasses with red and silver Christmas bulbs and then turned upside down. I arranged the glasses among the branches on either side of the vase. I set tea lights on the bases of the wine glasses and stepped back to admire my handiwork. Fabulous! Now THAT was a mantel worthy of my new stocking!

OK, so I know most people would have stopped there, but I still had ideas that were begging to be used. The Purple Stiletto dreams in glitter and color all the time! So what to do with the remaining mantel idea…

I know! The Red Ranger needs a little holiday cheer! Yes, he has a tree (an artificial one with a pine scented car freshener to make it “smell real”) and lights and some Christmas tidbits here and there but he could really use an amazing mantel too!

I loaded some supplies in my car and dashed through the thickening snow. Under the cover of night, while Red Ranger slept with visions of sugar plums and glitter dancing in his head, I snuck in and worked my magic on his exceptionally dull fireplace.

I, again, began with branches from my Christmas tree. I put a beautiful pillar tree candle in the middle of the branches and began working my way along the mantel. I added large wine glasses with pale blue and silver ornaments, flipped them over on either side of the center candle and added tea lights to the base of the glasses. I followed this with medium, white pillar candles along the length of the mantel, alternated with small glass votives. I scattered the remaining blue and silver ornaments among the greens and candles for a little sparkle. I lit the candles and the effect was breathtaking! It was beautiful! Now, the Red Ranger’s house was dressed for the holidays.

I snuck out, grinning to myself and wondering what the Red Ranger was going to think when he woke up…

As the Purple Stiletto settled into her armchair next to the fire with a glass of wine (in a Christmas glass, of course!), she reflected on how amazing it was that such simple objects could completely transform a mantel. The same items could also be used down the center of a table or buffet, but that was for another day. It was time for the Purple Stiletto to kick off her shoes, put her feet up and relax as the scents and scenes of the season washed over her. How was she ever going to make it better next year…